|
|
Post by oldglory on Feb 1, 2013 20:31:38 GMT -5
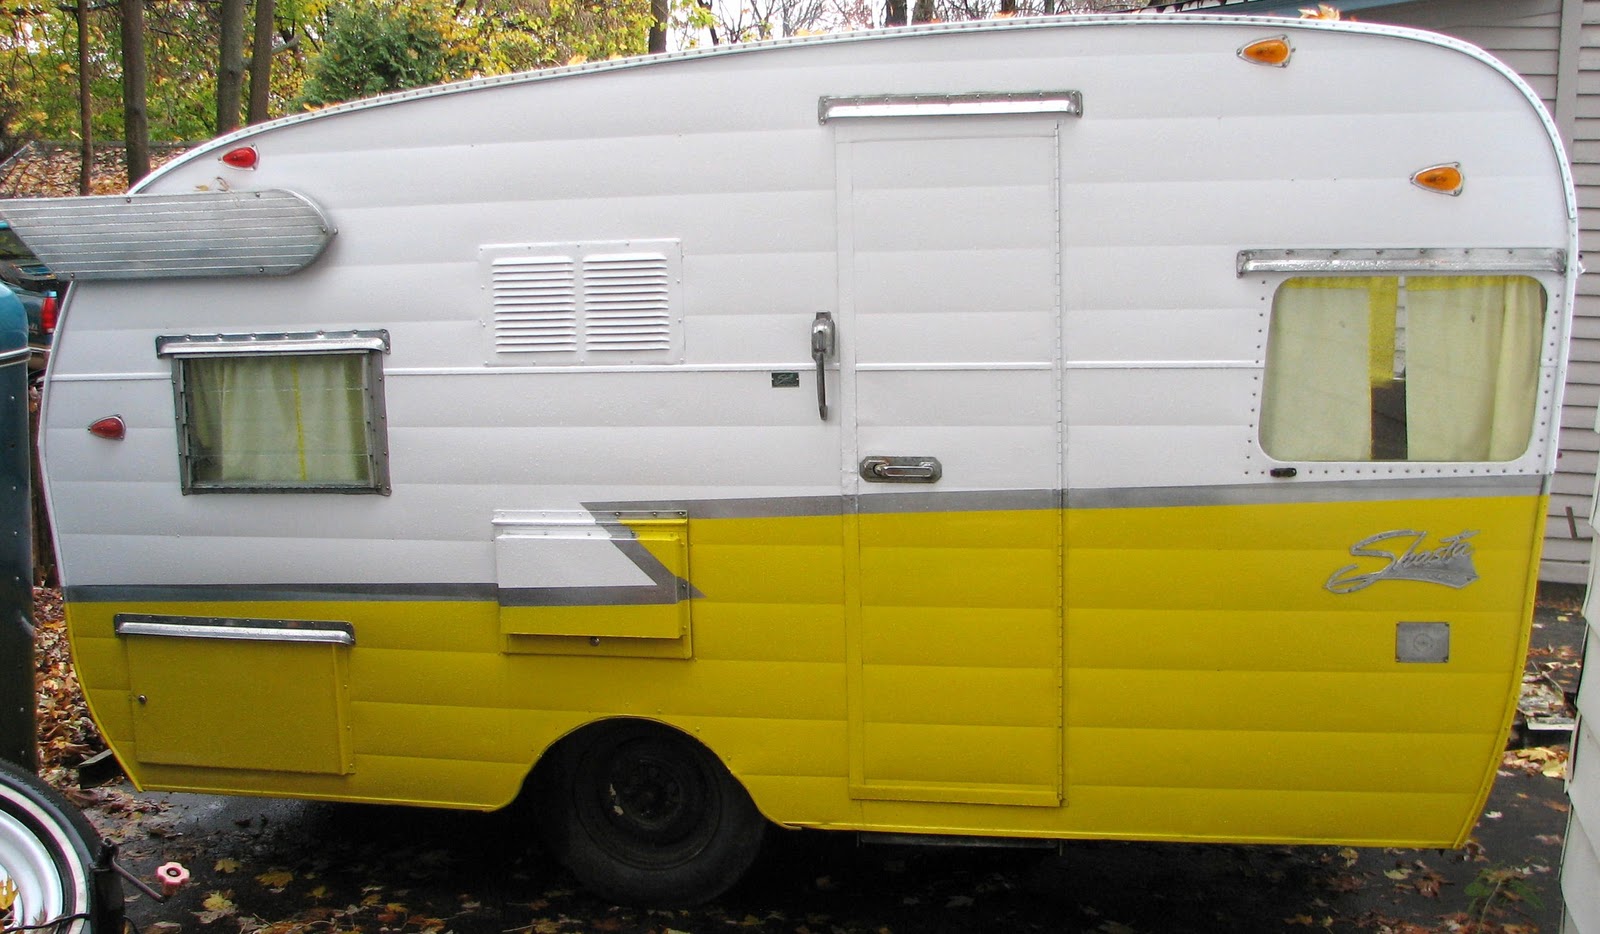
Mother nature is going to force me to replace the birch panels on the front, back and ceiling of my '61 Shasta 16sc from the inside. It is going to be in the 20's and probably snowy and windy here for a long time. I have only done this before by removing the skin and doing it from the outside but that is when the weather was warmer and I had a shop. Working with metal in a New York winter is not a lot of fun! I am restoring it to sell to some hopefully lucky new owner and put another one back on the road! I know this has been done by many, but if anyone has any tips or hints they sure would be appreciated! I have removed all the way over to the lower section going to the door to date. I will remove the front panel but the "window sill" looks like it will be a problem since it is fastened from the outside. Any suggestions on this? I could bombard you with questions....but I will stop here and save those for a later date. Attachments:
|
|
cowcharge
1K Post Member
 I suffer from Shastasomiasis.
Posts: 1,471
|
Post by cowcharge on Feb 1, 2013 21:29:00 GMT -5
|
|
|
|
Post by oldglory on Feb 1, 2013 22:22:47 GMT -5
Thanks...
So, if I remove that window sill shelf thingy along the front wall (for lack of a better word) and removed it that way, how would I go about reattaching it from the inside?
|
|
cowcharge
1K Post Member
I suffer from Shastasomiasis.
Posts: 1,471
|
Post by cowcharge on Feb 2, 2013 7:19:54 GMT -5
I haven't taken my windowsill off yet, since I started in the back, but I did remove the bunks that way, first by removing the paneling to expose the frame, then cutting the screws. Just screw the new frame into the wall frame from the inside before attaching the paneling. Use pilot holes so the wood doesn't split at the ends, and be careful not to drive your screws too deep so they go though the skin. If you have a drill with an adjustable clutch you can practice on a scrap piece to set the clutch to the right depth. If not it's still a good idea to practice driving a few to get a feel for how hard to push and how long to drive. They only built it from the outside for speed of assembly.
|
|
|
|
Post by oldglory on Feb 2, 2013 10:10:49 GMT -5
Thank you for the tips. I started at the front because my back looks like it might be more difficult. I have the gaucho at the side and a shelf and the bathroom wall. I wish we would have a few days of warm weather because it would be so much easier to remove that skin. Not sure if the back can be done without doing so....so in order to avoid frustration I'm avoiding that back area for now! lol. Sure would be nice if these old trailers did were immune from leakatosis now wouldn't it?  Good luck with yours!! Thanks again for the tips! Attachments:
|
|
|
|
Post by oldglory on Feb 2, 2013 10:12:37 GMT -5
Just noticed you are from Maine...one of my favorite states! Feeling a little guilty now about complaining about the weather....lol. Stay warm!!
|
|
|
|
Post by paigenmarc on Feb 2, 2013 11:38:36 GMT -5
Thanks for bringing up this topic, oldglory. This is a very timely question for me as well. I mentioned in a previous post that water got in and damaged our new birch on the back corner. It looks bad enough that I probably want to replace it, but I can't make myself consider removing the skin again and doing it that way, at least not right now. It makes me sick to even look at it. So is it better to remove the skins if you can, or is it just as good to do it from the inside? Thanks for any suggestions you might have.
|
|
mobiltec
1K Post Member
Restoring The 57 Shasta
Posts: 1,134
|
Post by mobiltec on Feb 2, 2013 21:58:46 GMT -5
Just a comment here. You know how I feel about it LOL. But there is one thing that most people don't consider. These things don't have much holding them together. Matter of fact, the paneling and the unibody way they manufactured these things are the only things holding them together. Now add in the fact that the metal skin only wraps around on the top of the trailer and not the front or rear, and what is holding the trailer together? And even if it is newer and does wrap around the corner all the way around, that is still all that is holding it together once you seperate the paneling from the frame.
The only thing holding it together is the paneling being mounted and attached to the outside of the curve of the two wall frames. If you put a seam there you have just removed all the structural integrity of the trailer. What little they have to begin with.
I know it's a pain to do even once, much less twice but it's something else to consider when you are trying to make up your mind.
|
|
vikx
3K Post Member
Posts: 3,556
|
Post by vikx on Feb 2, 2013 23:43:05 GMT -5
I agree with Mobiltec but it can be done safely from the inside and keep the integrity of the trailer. Here is a picture of Canasta (57 Deluxe). She was gutted with a new roof. Even tho I had to pull the front and rear skins for rot repair, the upper edge boards were OK. I spent two days making support boards, kerfing them and gluing/tacking in place. They made a firm attachment point for the ceiling panels. It was a PAIN. Attachments:
|
|
vikx
3K Post Member
Posts: 3,556
|
Post by vikx on Feb 2, 2013 23:44:18 GMT -5
Here's the other side: Attachments:
|
|
|
|
Post by paigenmarc on Feb 3, 2013 18:43:34 GMT -5
We talked it over, and we're going to take the back metal off and do it that way. I'm not excited about it.
|
|
mobiltec
1K Post Member
Restoring The 57 Shasta
Posts: 1,134
|
Post by mobiltec on Feb 3, 2013 21:15:57 GMT -5
One thing you will notice is how much faster it will go this time. You'll be surprised how quickly it will go if you just take a couple days and get er done.
|
|
boandsusan
2K Post Member
Christmas parade 2012
Posts: 2,000
|
Post by boandsusan on Feb 3, 2013 23:36:16 GMT -5
Before removing anymore interior paneling or skin, you may want to consider building a couple of T`s (2x4s)from the floor to the ceiling, to stop any sagging and help keep your ceiling at the correct highth. As stated above, there isn`t too much keeping these campers together.
|
|
|
|
Post by dazredford on Feb 5, 2013 21:46:24 GMT -5
mobiltec - I am confused or scared. Are you saying the inside paneling is suppose to be one solid piece from the bottom back to the top? I just pulled the bottom section out of my 65 compact today (behind the benches and under the window). There was water damage and wanted to check for mold. (clean). That section was in two pieces. One below the windows which I took off and the piece surrounding the window and going to the top. Should I be trying to replace it with a single piece? Yikes?
|
|
mobiltec
1K Post Member
Restoring The 57 Shasta
Posts: 1,134
|
Post by mobiltec on Feb 5, 2013 22:40:51 GMT -5
mobiltec - I am confused or scared. Are you saying the inside paneling is suppose to be one solid piece from the bottom back to the top? I just pulled the bottom section out of my 65 compact today (behind the benches and under the window). There was water damage and wanted to check for mold. (clean). That section was in two pieces. One below the windows which I took off and the piece surrounding the window and going to the top. Should I be trying to replace it with a single piece? Yikes? No... One solid piece from side to side overlaping the outside of the framing. It holds the walls up. There is usually a seam at the bottom of the window and a seam at the top of the window and then it's 3 or 4 foot rips continuing to and over the top and down the other end. |
|
|
|
Post by oldglory on Feb 17, 2013 20:30:09 GMT -5
I think the thing to always take into consideration is that everything is holding these things together....cabinets, braces, walls, skin. Once you remove one you have taken away some of the integrity of the trailer. I have never done an inside repair, but believe it can be done safely depending on where it is being done. Most of mine have been done by taking off the skin but without a shop now and being stuck in this climate, I am glad to have had the blogs to read and advise regarding doing it from the inside. I did a floor up on a scotty and once things started to be removed...it started to cave in rather quickly! This photo of the scotty right after the curbside wall was removed always gives me shivers! Attachments:
|
|
|
|
Post by schweetcruisers on Feb 17, 2013 20:37:10 GMT -5
You really should take these apart in the opposite order they were put together.
Order of disassembly should be this-
1) roof skin
2) wall skin
3) roof framing and ceilings
4) cabinets
5) walls(keep the interior skins on to prevent racking)
6) floor
7)frame
Do it in this order and what happened in the picture above won't!
|
|
znorm
100 Post Member
 Go camping before the big one gets away!
Posts: 160
|
Post by znorm on Feb 18, 2013 1:01:56 GMT -5
|
|
|
|
Post by oldglory on Feb 18, 2013 18:17:03 GMT -5
In that photo I took the skin off first and set it aside. After that it didn't really matter too much. The Scotty was taken down to the floor and rebuilt. Some of the cabinets were saved but doing it this way was the smoothest way. The neighbors were amazed at how quickly it went and how easy it was. Actaully so was I! Unfortunately, after that is when the real work started! Not sure I want to do one of those again and if I try someone stop me...please!  Here is a link to the blog if you are interested, vintagescottytraveltrailer.blogspot.com/2012/08/introducing-faith-1962-scotty-travel.html |
|
|
|
Post by oldglory on Feb 18, 2013 18:31:31 GMT -5
Soup...thanks for that write-up. I talked to an engineer about this strength thing because I really wanted to know what I was loosing. Not that he is an expert or anything on building Shasta's but he took a look and his opinion was the same as yours. He said if done properly you should still retain the strength it needs to last quite a long time. I think maybe if you are removing all the walls or most of them as well as cabinets and you have rotted braces/frame then you may run into more problems. I was lucky, the water damage was mostly to the interior side of the birch. Except of course under those side windows at the front. The skin on this one wraps around the trailer about an inch and the side skin goes over the top of that. I plan to remove the skin to do the back section under the window. It is so much easier! However, I have to wait for some nice weather and really take advantage of the day.
I often find myself in need of reminders that if you try to be an absolute perfectionist on these....you will be working on them for the rest of your life! I especially do this with the polishing....drives me crazy trying to get the perfect shine!! I have seen people do things an easier way with a few improvisations and end up with the same kind of quality and it still looks great too. We can always teach each other our tricks of the trade, that's for sure!
|
|
cowcharge
1K Post Member
I suffer from Shastasomiasis.
Posts: 1,471
|
Post by cowcharge on Feb 20, 2013 16:19:24 GMT -5
IMO, I think some may be overestimating the amount of lateral strength in a piece of 1/8" plywood... When the roof is screwed to the walls, the bit of ply sandwiched in between doesn't add much strength in a pulling apart direction. It won't be the ply that keeps the walls from being pulled off, it'll be the screws through the roof frame into the wall frame. Most of the added strength from the ply is in rigidity, keeping the walls from going out of square, and in compression resistance.
|
|
|
|
Post by schweetcruisers on Feb 20, 2013 17:28:36 GMT -5
IMO, I think some may be overestimating the amount of lateral strength in a piece of 1/8" plywood... When the roof is screwed to the walls, the bit of ply sandwiched in between doesn't add much strength in a pulling apart direction. It won't be the ply that keeps the walls from being pulled off, it'll be the screws through the roof frame into the wall frame. Most of the added strength from the ply is in rigidity, keeping the walls from going out of square, and in compression resistance. Wrong, Plywood even 1/8" has a ton of lateral strength. Don't believe me? Build 2 boxes out of 2x4's fasten the corners with nails or screws and sheet one of them with plywood. Then drop each one on a corner, the one with plywood will not rack and the one without will be out of square. That's why they sheet new houses with plywood, to prevent racking, nails, screws and hangers alone can't hold it together. mgacon0.tripod.com/plywood.htmBut hey do whatever you want, just let me know when your in my state so I keep a eye out for a pile of shasta on the road! |
|
cowcharge
1K Post Member
I suffer from Shastasomiasis.
Posts: 1,471
|
Post by cowcharge on Feb 20, 2013 17:45:58 GMT -5
I said it adds strength in compression, stiffness and keeping things square, it's pulling apart in its own plane where it doesn't do much. If the frame's weak the fastenings will pull right out of the edges of that 1/8" stuff, and glue will just tear the veneer off. If the frame joint won't keep the wall from falling off, the ply certainly won't. The experiment that would illustrate what I mean would be to nail the edge of a sheet of ply to a 2x4, fix the 2x4 so it can't move, and pull on the plywood. |
|
|
|
Post by oldglory on Feb 20, 2013 22:30:30 GMT -5
Are we talking about removing entire walls, cabinets, benches, etc. here or just sections? I have seen it done lots of times where, for example, just the section under the side window down to the top of the bench or even the whole section with the bench removed has been replaced from the inside and I can't imagine it would cause that big a loss of strength if the braces behind it were put in properly and reinforced to add strength before just slapping on a piece of birch.
I agree skin off is the best way, but I am not sure it is the only way and would lead to a trailer avalanche. Of course, I don't know this for sure. Anyone have this done and see any issues after a period of time and use?
|
|
|
|
Post by schweetcruisers on Feb 20, 2013 23:27:22 GMT -5
I said it adds strength in compression, stiffness and keeping things square, it's pulling apart in its own plane where it doesn't do much. If the frame's weak the fastenings will pull right out of the edges of that 1/8" stuff, and glue will just tear the veneer off. If the frame joint won't keep the wall from falling off, the ply certainly won't. The experiment that would illustrate what I mean would be to nail the edge of a sheet of ply to a 2x4, fix the 2x4 so it can't move, and pull on the plywood. So when I built mine I stood up bith walls and then stapled the 1/8" birch ceiling to the walls. After about 3 sheets the walls became rigid, the sheets I installed the stiffer the walls became. I then installed the roof bows, but the majority of the strength came from the plywood. You can see the pictures of this on my blog in May of last year. While yes I under stand what your saying and agree that the results of your test would be true, the way these trailers are built the ply is never just fastened to one wall. The ply is fastend on each edge and that is where it gets it's strength. The ply is intended by design to provide racking strength, keep in mind what these trailer suffer going down the road, wind, g force, vibration, bouncing. Don't under estimate the strength of that ply. |
|
cowcharge
1K Post Member
I suffer from Shastasomiasis.
Posts: 1,471
|
Post by cowcharge on Feb 21, 2013 11:56:41 GMT -5
I agree, if possible it's best to take the whole thing apart. But all I was getting at was that not being able to fasten a new sheet of plywood between the roof frame and the wall frame, due to not having the skins off, will not make the walls fall off. It shouldn't keep one from repairing it with the skins on if that's the only option, nor should it make you worry about driving down the road. I mean look at some of the years and distances people have towed these things BEFORE they were repaired.
|
|
|
|
Post by familyof6 on Apr 17, 2013 15:47:54 GMT -5
You really should take these apart in the opposite order they were put together. Order of disassembly should be this- 1) roof skin 2) wall skin 3) roof framing and ceilings 4) cabinets 5) walls(keep the interior skins on to prevent racking) 6) floor 7)frame Do it in this order and what happened in the picture above won't! I'm confused, maybe molbitec can help me with this. I've watched your videos (still finishing those up) I know you say to do one section at a time, but is there an order of which sections to do? We know that our rear and front floors may need to be replaced. We haven't taken the skin off since living in rainy WA and no indoor shop makes that tricky, but we do know our front, rear, and adjacent sides near the corners will have yo be replaced. We also know we will need to replace the middle section panel on our ceiling where the vent is. I have a 1961 Shasta sc (though we plan to change the layout to exclude the potty area, make it a closet). Any advice on order of demolish, then repairs if I just did sections (not taking all the skin off) or maybe not at all. Thanks! |
|
mobiltec
1K Post Member
Restoring The 57 Shasta
Posts: 1,134
|
Post by mobiltec on Apr 17, 2013 23:03:15 GMT -5
znorm has the right idea if you are lucky enough to have an enclosed working area BUT.... That isn't always the case. So doing it in sections not only keeps it all square with itself, it keeps it out of the weather too. You can always bag it up for rain or what ever if need be. I am the tarping king now. I could tarp a battle ship.
Looks like you need to do the same exact thing as I did with my 57 and in the same order. Only thing I would do different is if you have the two layer floor with celotex being the bottom layer, get rid of that and just replace the front and rear floor with full 3/4 inch exterior grade plywood and seal it with Killz oil base paint.
Take care of the top, then take your pick. Front then rear or the other way around. If you need any side panels you will need to get those in before you start to button up the top because of the radius.
|
|
vikx
3K Post Member
Posts: 3,556
|
Post by vikx on Apr 18, 2013 1:22:39 GMT -5
I have to disagree on 3/4 ply for the belly. It adds too much weight. If that's the only belly and floor, it's OK. If the floor is framed/insulated above the belly, I would go with something lighter, frame, then the 5/8 ply subfloor.
PM me for a link to the Order of Build.
|
|
mobiltec
1K Post Member
Restoring The 57 Shasta
Posts: 1,134
|
Post by mobiltec on Apr 18, 2013 10:20:19 GMT -5
The reasoning behind the 3/4 inch solid plywood is to get rid of the problem that is common to all of the early models. The "Floating Frame" syndrome. The celotex, over just a little time becomes compressed under the 3/8 plywood floor that comes stock from the factory and that makes the carriage bolts loose. This causes the entire box to float up and down on the frame. The longer it goes the worse it gets. With a solid piece of 3/4 inch plywood that won't happen. I wish I had done that with mine.
Weight? We are only talking an extra 50 pounds. So I wouldn't be worried about weight in a trailer this size.
|
|


 Here is a link to the blog if you are interested,