|
|
Post by Vintageshopnut on May 11, 2013 19:52:33 GMT -5
I was planning to reseal my original vent today but the darned thing busted when I removed it. Sooooo...I keep hearing great things about the Fantastic Fans but I don't see how I run the wires. I saw some strings that said you put the battery in the cubbies, (I have a 60 Compact). There doesn't seem to be any room between the birch veneer and the insulation/outer shell. Am I missing something or is everyone else installing their fans when replacing their interior birch? My interior doesn't need replacing and am assuming that not everyone is replacing theirs either. If that's what's required I guess I'll just install a regular vent but as long as I have it off wanted to explore upgrading.
Any pictures or advice will be greatly appreciated.
|
|
|
|
Post by universalexports on May 11, 2013 20:48:44 GMT -5
you can drill a small hole though the 1x2 that is around the inside of the square hole the vent goes in, to run wires into the ceiling, then a small hole in the ceiling inside the cabinet then a hole through the back wall,then pull the back aluminum skin out to run the wires down the wall, the outer skin is not really that hard to remove, just a bunch of screws. or you could put an outlet in the cabinet bringing the wires off the breaker box, then use a 12 volt converter to convert the outlet power to 12volt power. here is my converter. you can either connect the 2 wires, or use a cigarette lighter type plug. you just need to make sure it cuts the 12 volt power down to what the fantastic fan uses, 3 amps if I recall. 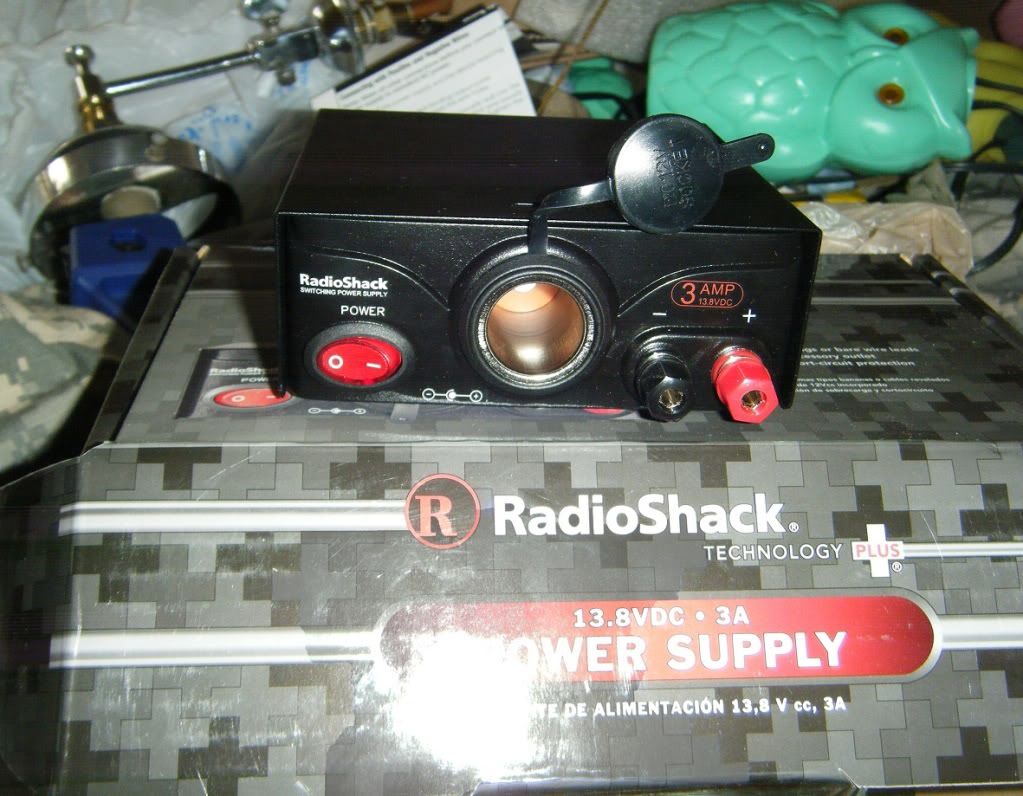 |
|
vikx
3K Post Member

Posts: 3,556
|
Post by vikx on May 12, 2013 1:00:31 GMT -5
Here is what it looks like in the ceiling: (front is to the left, pix taken from the street side)  The wires go on the left side toward the front. You will need a little cutout for the wires. This wiring is not in the correct location, but shows the cut out.  The wires run into the kitchen cabinet and can be junctioned from there. Drill a hole in the left vent frame about 2 1/2 inches back from the front. There will be open framing to the K cabinet. As Universal mentioned, cut a hole in the ceiling to "find" the wires, then run to a j box. Y 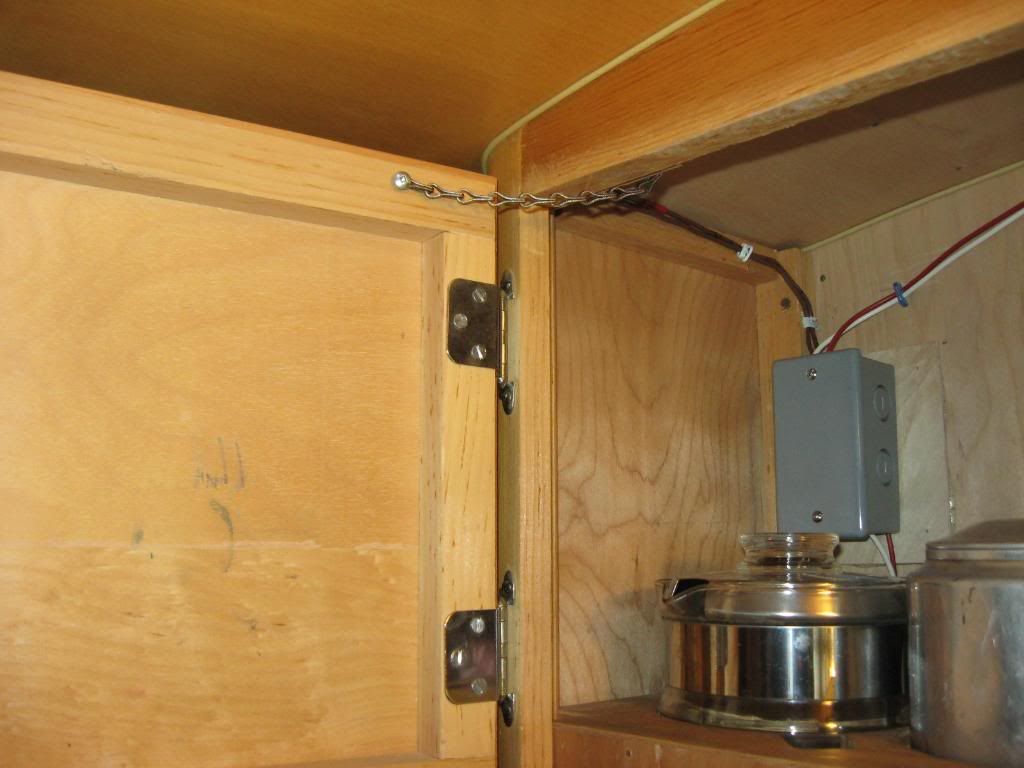 ou'll need 12 volt hot and ground to that J box. A small chase under the K cabinet from the lower should accomplish that. The trim flange covers everything nicely.  |
|
Deleted
Deleted Member
Posts: 0
|
Post by Deleted on May 12, 2013 6:43:58 GMT -5
Everything goes better with photos to push the descriptions. Thank you for not only the photos, Vikx, but for getting the hang of adding them on!
|
|
|
|
Post by Vintageshopnut on May 12, 2013 11:26:55 GMT -5
Much appreciated with the photos! I'll give it a shot.
|
|


