pga26
100 Post Member

Posts: 116
|
Post by pga26 on Oct 4, 2010 1:50:29 GMT -5
hello everyone, i'm going to finish documenting my restoration/renovation of our 1960 airflyte here on the board. it makes more sense to me than trying to keep up on my blog (which i haven't been) and posting here (where i can get the help i need). i am getting close to completing the exterior (yay!!) and will be diving back into the interior with a goal of general completion by the end of 2010. here is a quick timeline of how i got to this point: jan. 2009 - bought a tent trailer and became enamored with the idea of camping in comfort april 2009 - after several camping trips, decided a tent trailer is nice, but still a lot of work to setup/takedown may 2009 - sold tent trailer at an $800 profit. considered quitting my job and trying my hand at flipping tent trailers full time. wife shot that idea down immediatley. started searching craigslist for a small travel trailer. happened upon a vintage listing for a split second and was sold on the idea without delay. began a fervant, obsessive, near stalking level search for an old trailer. happened upon a listing for a shasta. saw the magazine rack. now i knew exactly what i had to find. my search resumed and ended with the purchase of a 1960 airflyte in poor to fair condition. i've been working on it ever since. as normally is the case, i killed myself on it the first six months and then slowed the pace a little. i had to really back off once my wife finally had "the talk" with me. it seems i had been missing a lot of family events and people were wondering what had happened to me. it was the summer of 2010 by now and here in arizona the heat is beyond relentless. so i haven't done much the last three months, but the weather is starting to show signs of cooling so i am back on task. following are some recent pictures of the exterior. see the link below to the blog i started for some early pics of the trailer, etc... thanks! paul 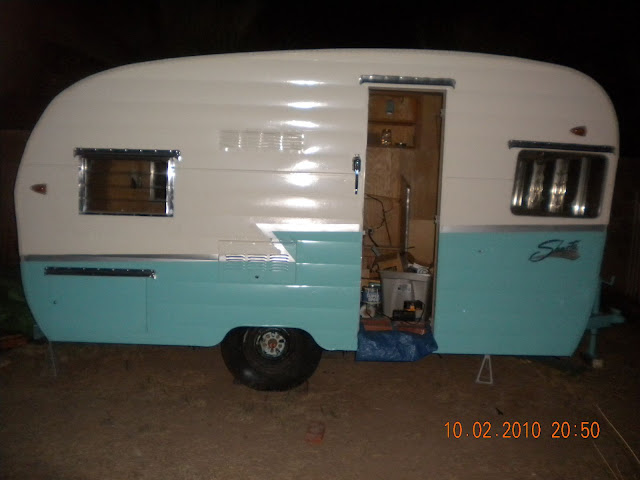 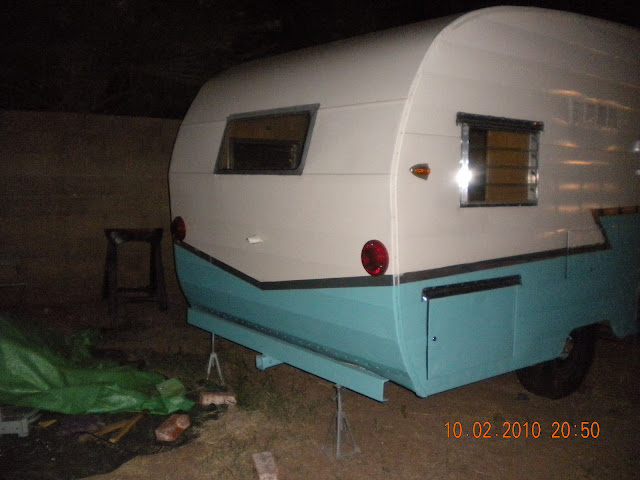 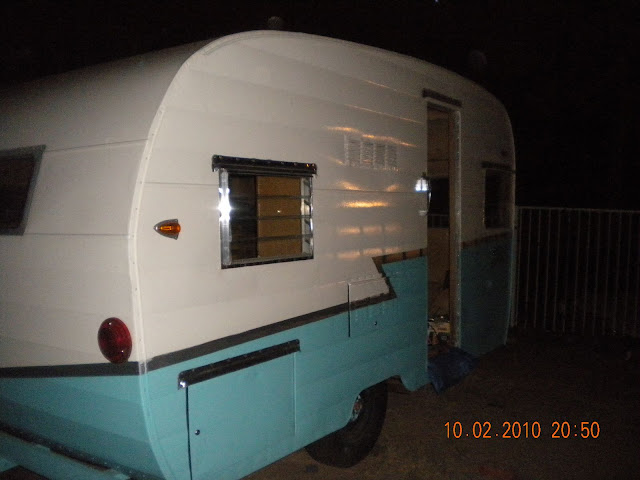 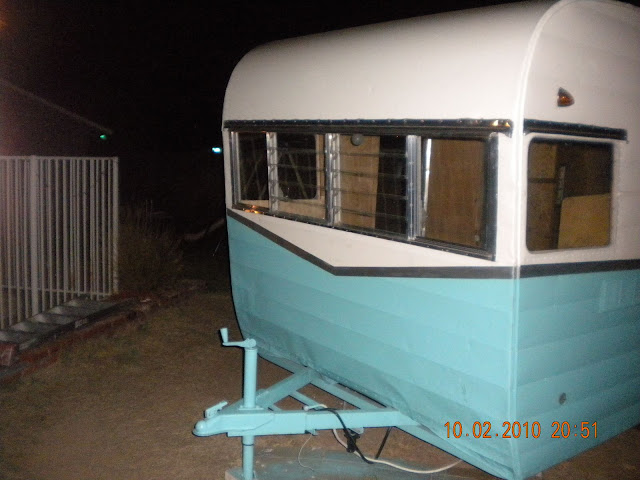 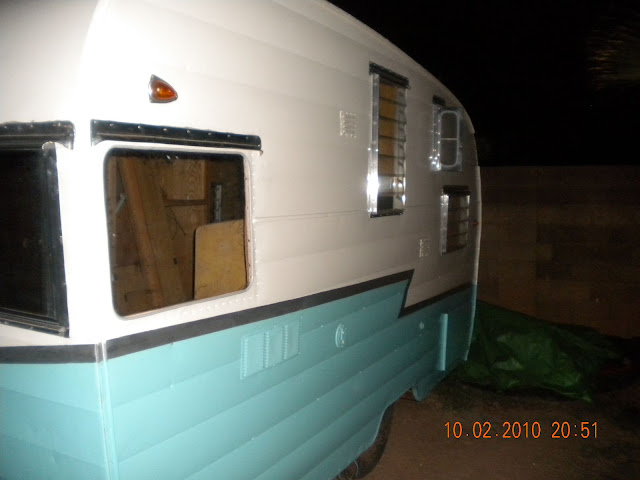 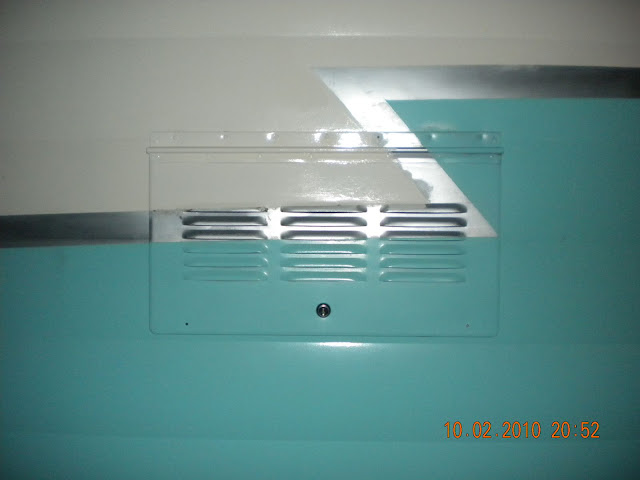   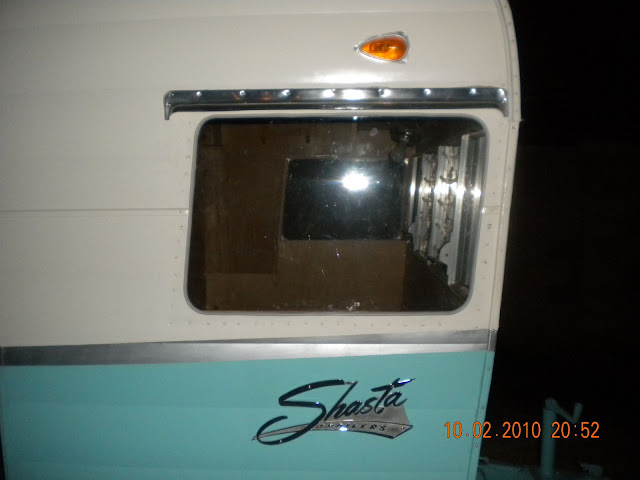   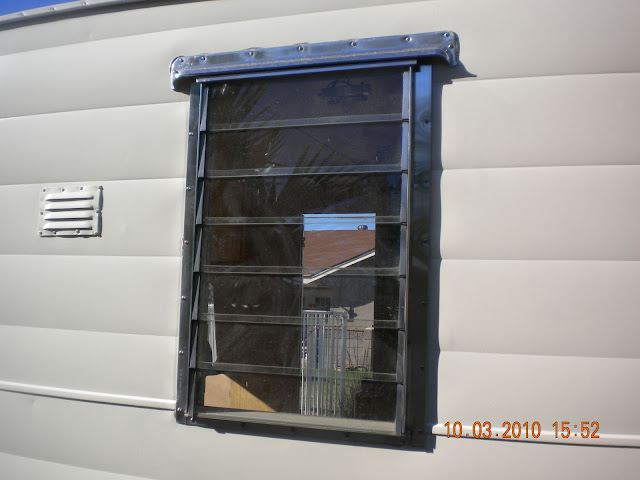 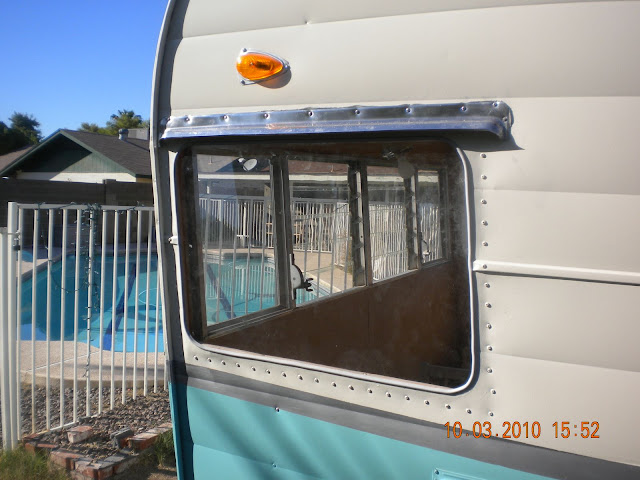 |
|
|
|
Post by cdraz on Oct 4, 2010 7:43:45 GMT -5
Wow, all that shiny newness!! It looks wonderful!
|
|
|
|
Post by LittleVintageTrailer on Oct 4, 2010 8:52:51 GMT -5
It looks gorgeous!! I was looking at your blog and that one pic where there is a bunk over the rear bunk. That would be neat! Did they make any of these models come with that bunk? hmmm, gosh if I added one to the Astroflyte, that would make sleeping for 7-8 people LOL! Not that I would, but it's a neat idea.
|
|
|
|
Post by LittleVintageTrailer on Oct 4, 2010 8:58:45 GMT -5
I'm referring to this pic by the way, just in case I wasn't making any sense (: 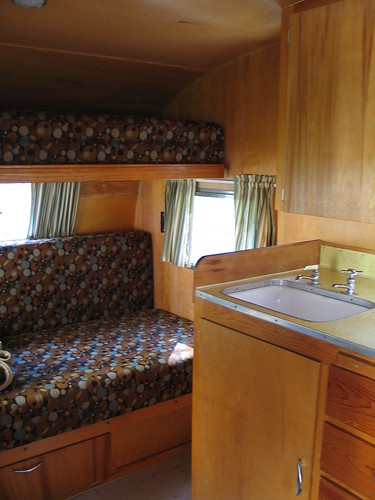 |
|
pga26
100 Post Member
Posts: 116
|
Post by pga26 on Oct 4, 2010 11:31:03 GMT -5
hi cdraz, thanks for the nice comment. having something shiny to admire has been a long time coming and is definitely gratifying. i find myself sneeking peaks out the back window hoping to catch the sun glaring off one of the polished windows. i am sick indeed....
hi daisyshasta, i don't believe any wood bunks were included with any new shastas, but i could be wrong about that. i believe that pic you referenced is actually none other than flyte 63's trailer (another member of this board). i love the way he constructed that bunk.
by the way, i love the color of your trailer. i think that gold/yellow gives it a very vintage feel.
thanks!
paul
|
|
|
|
Post by LittleVintageTrailer on Oct 4, 2010 11:53:52 GMT -5
I'd love to learn how they constructed it. I wonder if it pulls out more. Thank you for the nice comment on our Shasta colors. I like it too (:
|
|
|
|
Post by distant75 on Oct 4, 2010 20:02:48 GMT -5
Yes I have to agree that you sure do shine. It looks great!
|
|
|
|
Post by Bow_Tied on Oct 4, 2010 22:02:58 GMT -5
Very nice!
|
|
safetybruce
2K Post Member
 Miss Alabama 1961
Posts: 2,547
|
Post by safetybruce on Oct 4, 2010 23:14:59 GMT -5
Your work and obvious dedication is indeed inspiring! All of us will look forward to the pictures of your final push to complete the inside. Hope you can make your timeline and still balance family affairs and commitments.
|
|
pga26
100 Post Member
Posts: 116
|
Post by pga26 on Oct 4, 2010 23:32:39 GMT -5
thanks everyone! i'll do my best to post regular updates and pictures of my progress. it has been such a long journey so far. i think i must have 300 hrs into it already. i found an old email i had sent to a friend telling him "i think i'll be done in a couple months or so...". oh how naive i was... haha
|
|
pga26
100 Post Member
Posts: 116
|
Post by pga26 on Oct 5, 2010 14:50:13 GMT -5
here is my interior task checklist. i will post the exterior checklist later. i am diving back in to the exterior tonight. my wife gave me an incredulous look last night @ about 11 pm when she found me painting the propane tank holder again (although it was originally black and needs to match the turquoise of the tongue it will be sitting on...). but, i need to make faster progress for sure.
after writing this all down, it is daunting... but one step at a time, right?!?
if you happen to read through this, please let me know if you think i may be missing a key step/task, etc...
thanks!
paul
interior:
1. cover electrical components with plastic and tape - DONE
2. remove rest of the hardware from cabinet doors, etc… - DONE
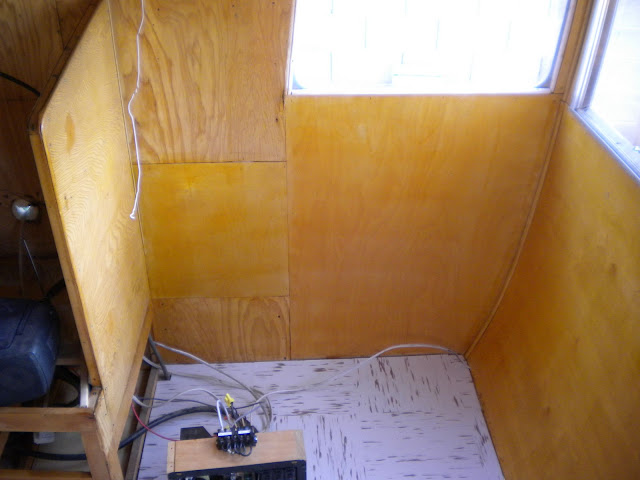
3. purchase new sheets of 1/8” birch and replace areas that have water stains - DONE
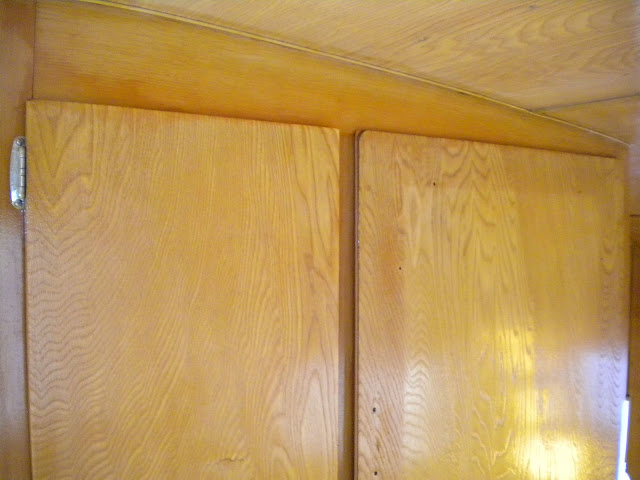
4. sand all interior wood - DONE
5. sand all cabinet doors - DONE
6. apply a coat of clear shellac on interior wood and cabinet doors - DONE
7. lightly sand first coat of shellac - DONE
8. apply second coat of shellac on interior wood and cabinet doors - DONE
9. apply howards feed-n-wax to all interior wood and cabinet doors – STILL DO?
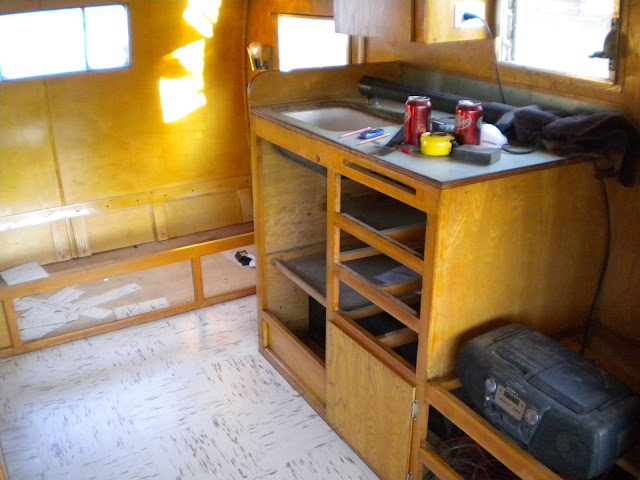
10. scrape up as much of original flooring glue as possible - DONE
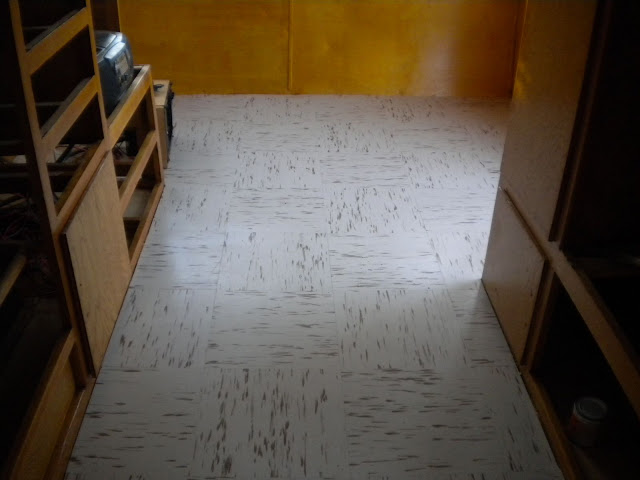
11. purchase cheap 4x8 subfloor (luan…?) and install over entire floor - DONE
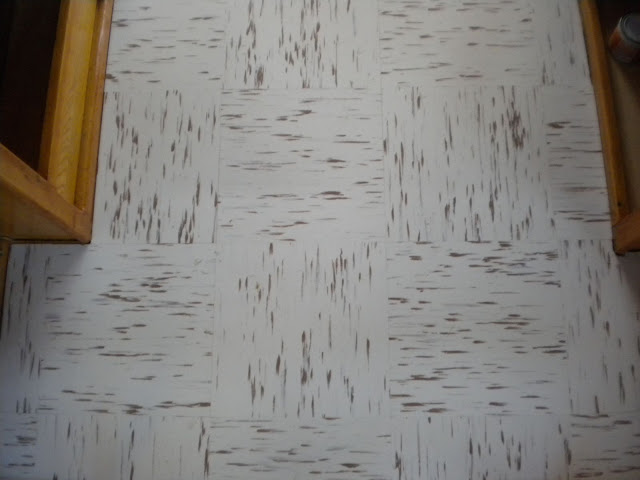
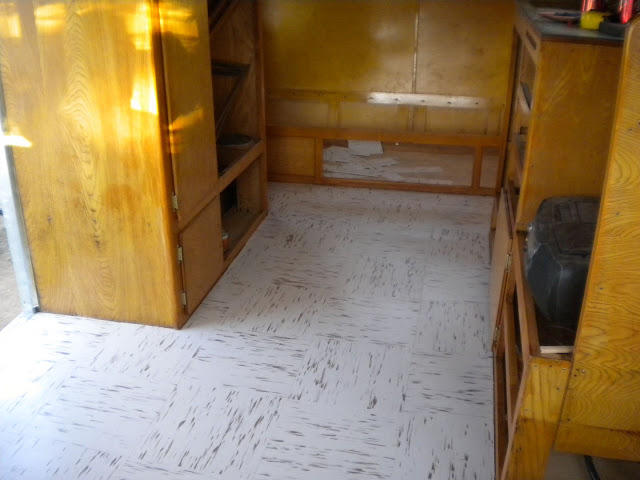
12. install new vintage pattern vct tile (see pic below) - DONE
13. install quarter round along floor edges - DONE
14. sand and rebuild dinette seat support wood structures -DONE
15. shellac dinette support wood - DONE
16. install dinette support wood - DONE
17. rebuild rear bed/sofa with new wood - DONE
18. install wood and/or welt trim along edges of new wood paneling - DONE
19. clean interior of windows with mineral spirits and steel wool, then lightly polish – 75% DONE
20. reinstall window screens
21. clean window glass – DONE
22. repair chips in two jalousie windows with windshield repair epoxy
23. purchase foam or a mattress for rear bed/sofa - DONE
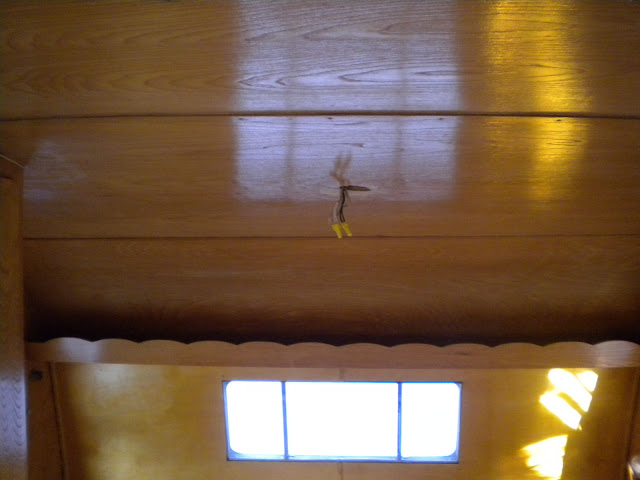
24. finish wiring for 12v light above bed/sofa area - DONE
25. clean and reinstall all light fixtures - DONE
26. run new gas line from tongue to interior and run new line to closet area for the heater - DONE
27. test gas line for leaks – DONE
28. install heater and test - DONE
29. reinstall gas lamp above dinette with new screws and test – DONE
30. find powdercoat company and have them sandblast and coat stove/oven white - DONE
31. install new water tank and purchase and install fittings - DONE
32. run new water lines into tank and from tank to water pump @ sink - DONE
33. run new city water line to faucet - DONE
34. clean countertop - DONE
35. polish and reinstall counter metal trim - DONE
36. purchase counter edge moulding and install - DONE
37. reinstall stove/oven and test – DONE
38. restore icebox and install
39. install new upholstered dinette seats - DONE
40. do touch up painting on Z stripe and on white and blue
41. install fire extinguisher
42. cut plywood for cabinet shelves
43. cover foam in bunk bed to protect from sun
44. vent plastic light covers and install
45. finish wings and install
|
|
|
|
Post by Red Dirt on Oct 8, 2010 9:45:25 GMT -5
Beautiful work...
That's all i can say.
Red Dirt
Oh, and of course, I love the color too!
|
|
pga26
100 Post Member
Posts: 116
|
Post by pga26 on Oct 8, 2010 11:09:22 GMT -5
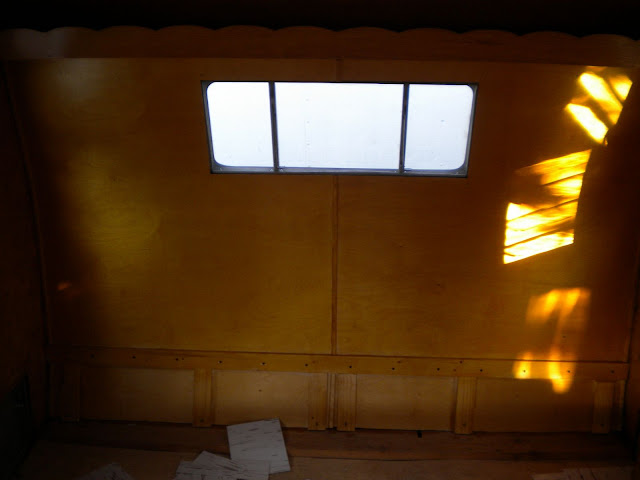
thanks everyone. got some serious sanding done inside the other night. i can almost feel a finish line on the horizon...
|
|
|
|
Post by flyingham on Oct 9, 2010 21:07:07 GMT -5
In the last photo you posted, it appears that the camper would like to go swimming. Almost like it is sad to be on this side of the fence.
Tell it no. Bad idea. Shasta's do not need help taking on water. ;D
GREAT work BTW
Jeff
|
|
pga26
100 Post Member
Posts: 116
|
Post by pga26 on Oct 10, 2010 11:46:11 GMT -5
just looked at that pic again and you are exactly right. it's been sooo hot this summer, i'm sure that's exactly what the trailer has been thinking! although with the door off, its been getting a monsoon cool off every other month or so. thanks!
|
|
pga26
100 Post Member
Posts: 116
|
Post by pga26 on Jan 16, 2011 0:18:12 GMT -5
|
|
|
|
Post by clutchburner on Jan 16, 2011 9:09:13 GMT -5
 Good job there.I think the shellac turns more amber in time and the uv rays may have an affect too.
|
|
|
|
Post by shastabear1 on Jan 16, 2011 20:39:05 GMT -5
AWESOME job ya guys did with her....she looks great. Wish I had me an older canned ham style every time I see one restored!!!
And Im with Red Dirt.....EXCELLENT color choice!
Randy
|
|
|
|
Post by aahicnow on Jul 6, 2011 20:57:46 GMT -5
Quick question on the color the trailer i just picked up has faded to what appears to be a baby blue , and I would like to restore it close to its original color. Is the color you picked a original color or just some thing you liked? it is so hard to color match 40 plus years of sun fade
|
|
cowcharge
1K Post Member
I suffer from Shastasomiasis.
Posts: 1,471
|
Post by cowcharge on Aug 3, 2011 15:14:18 GMT -5
Quick question on the color the trailer i just picked up has faded to what appears to be a baby blue , and I would like to restore it close to its original color. Is the color you picked a original color or just some thing you liked? it is so hard to color match 40 plus years of sun fade I would hit it with some rubbing compound to bring out the original color, then match it. Simply rubbing a wet finger over it will probably show you the original color as well. |
|


 Good job there.I think the shellac turns more amber in time and the uv rays may have an affect too.