Post by universalexports on Aug 21, 2011 13:24:24 GMT -5
Well, I decided to replace an inside skin on one of my wings since it had a couple of huge gouges in it, here is a little write up of how I done it,
it was really easy and didnt take long at all.
first I drilled out the 2 pop rivets on the back.
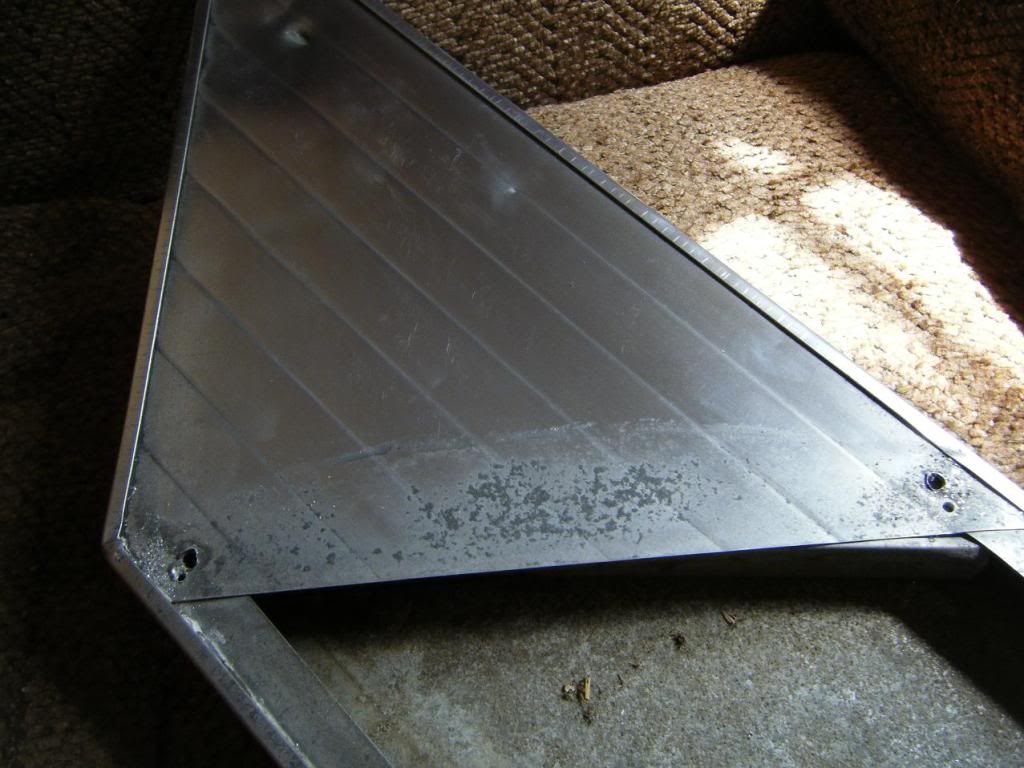
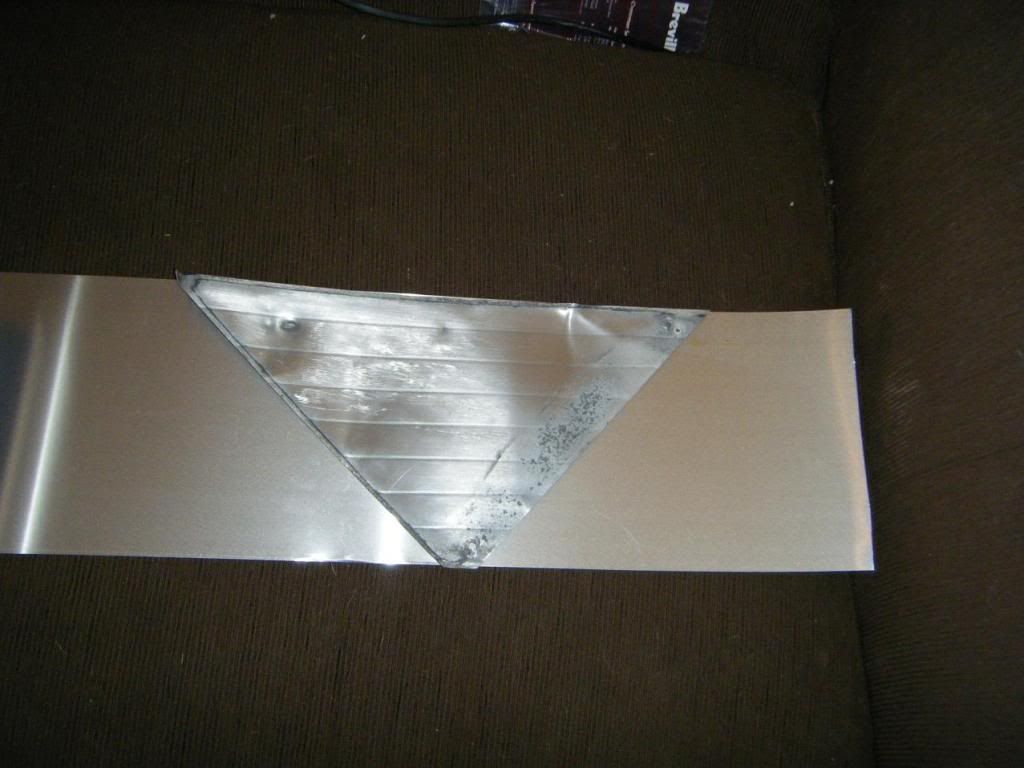
next, I carefully worked out the piece of aluminum, it is wedged in there a bit tight.
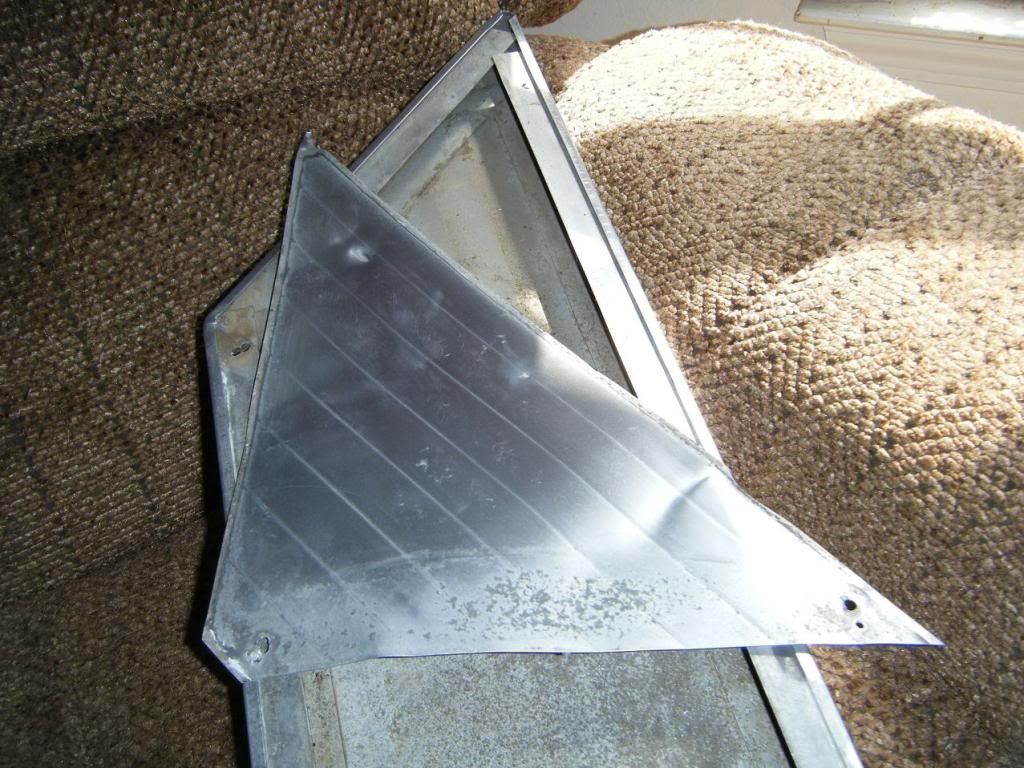
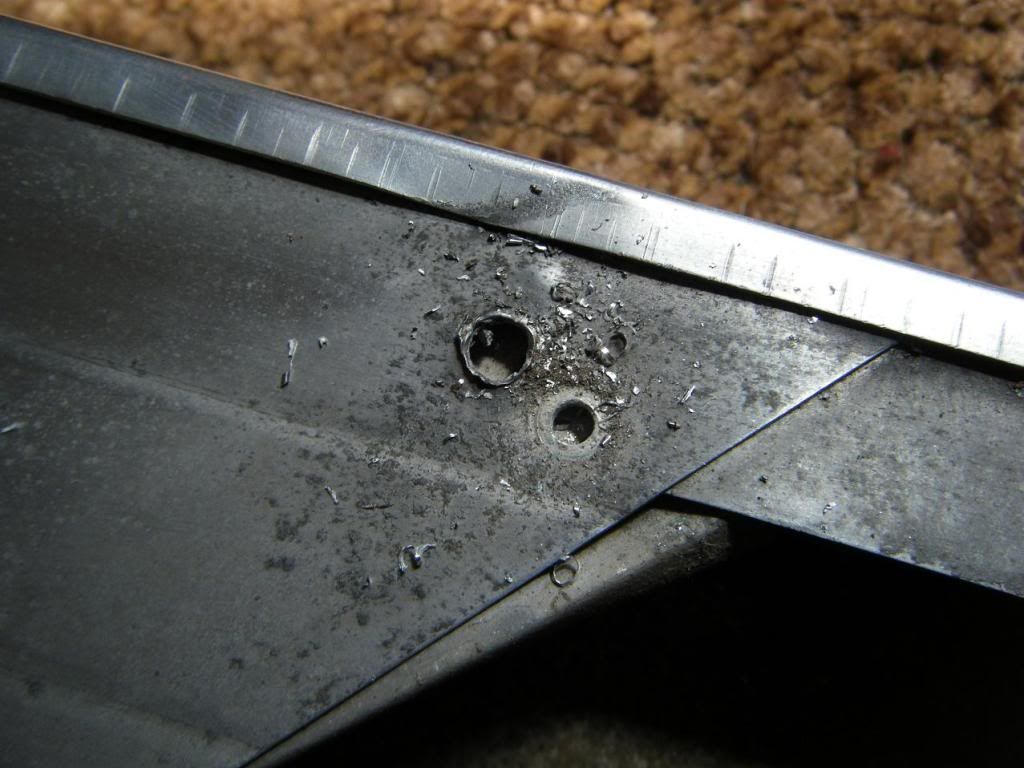
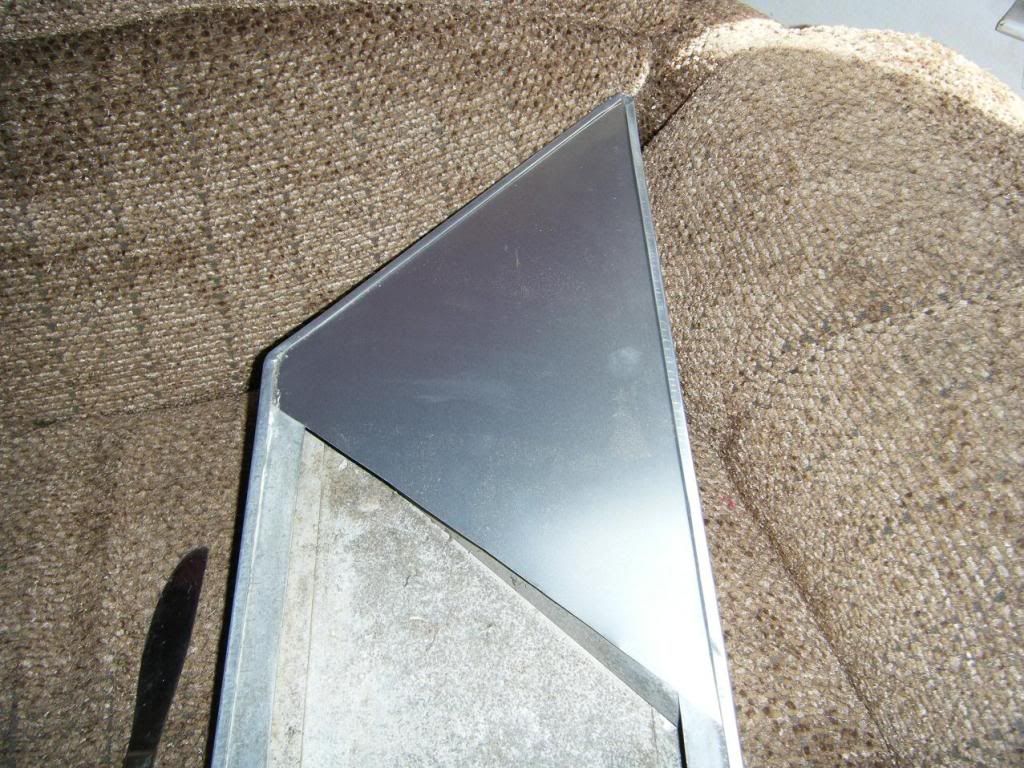
this pic shows where the screws go through the back, real close to the pop rivets, I drilled new holes for the pop rivets a bit farther away from the screw holes.
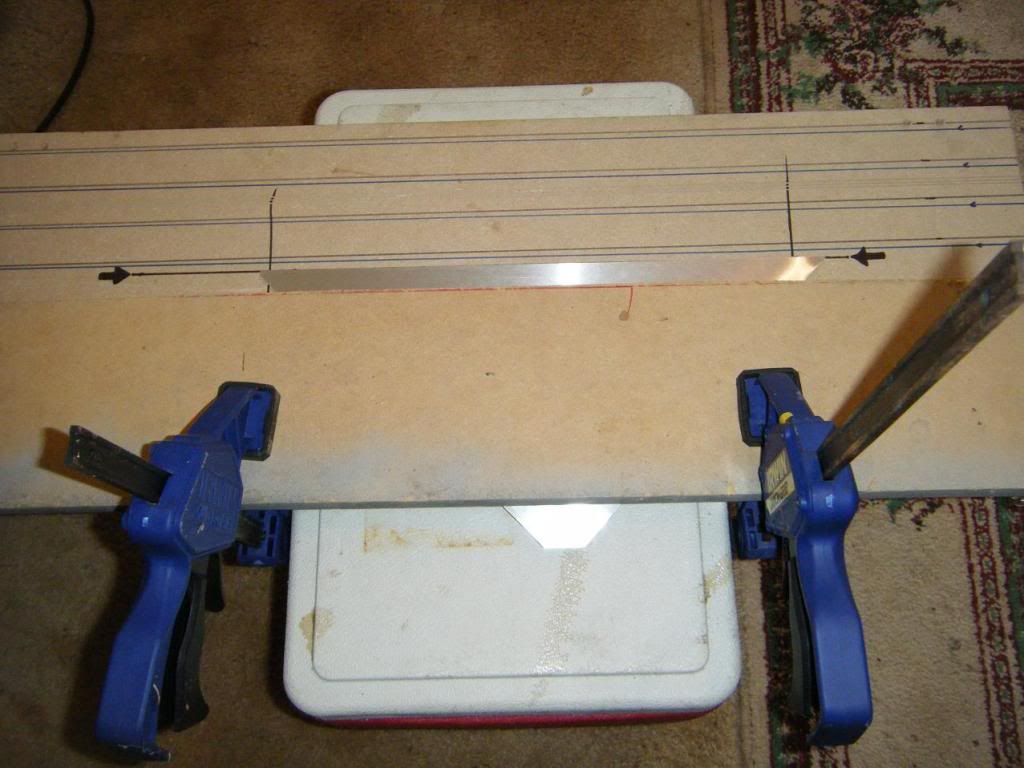
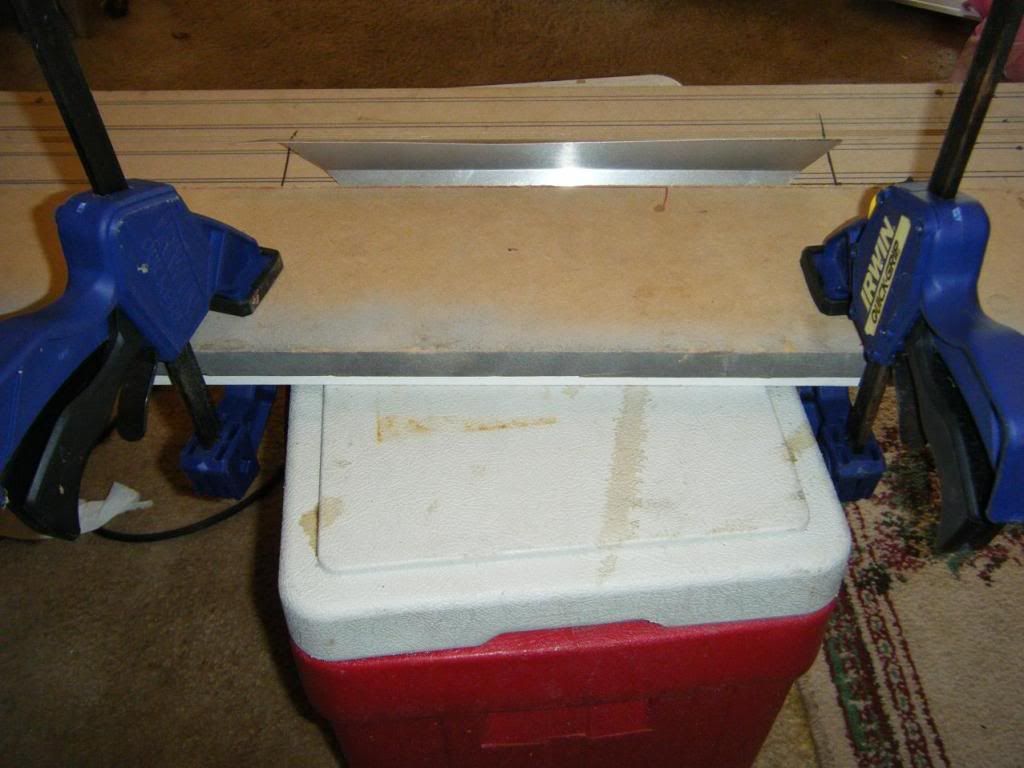
next I used a piece of 8 inch wide flashing and measured off a new piece using the old as a template.
test fitting the piece, in hind sight, you will want the new piece a bit wider than the stock one because when you put the bends in in it will get a bit shorter, mine was just barely long enough to tuck under both sides.
hint: I used a butterknife to bend the edge up in a couple places where the aluminum was a bit tight, it helped a lot that the flashing was thinner than the stock piece.
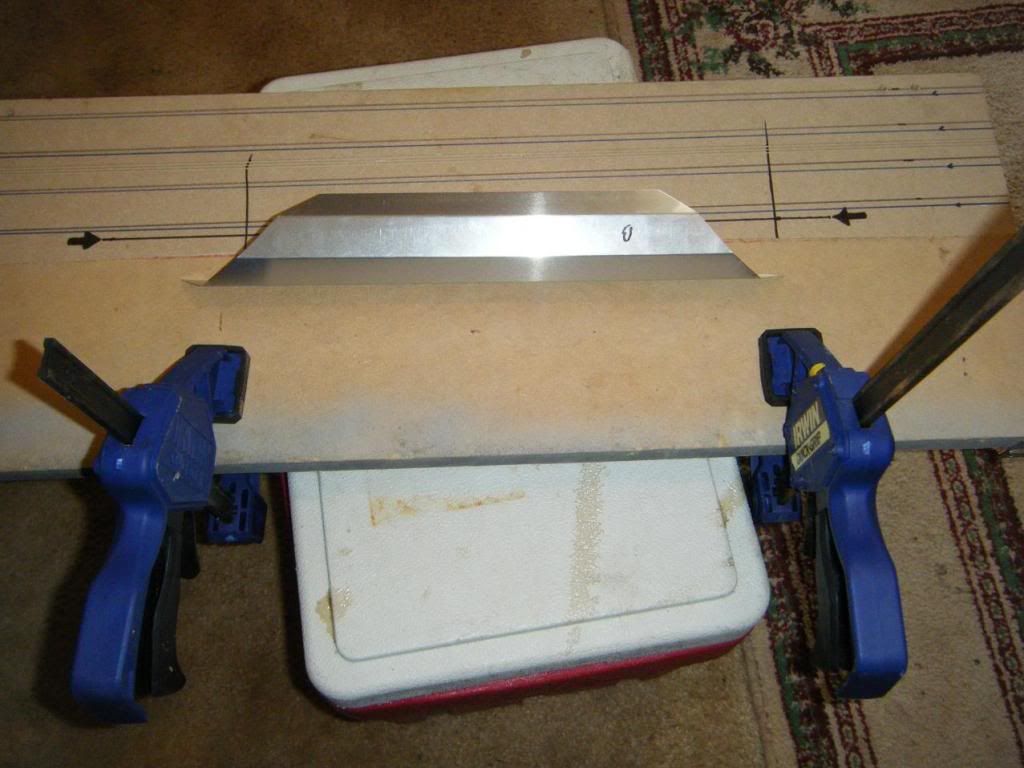
here i used my el'cheapo aluminum break to put the bends in the aluminum,
next i installed the piece, and drilled new holes and pop riveted it in,
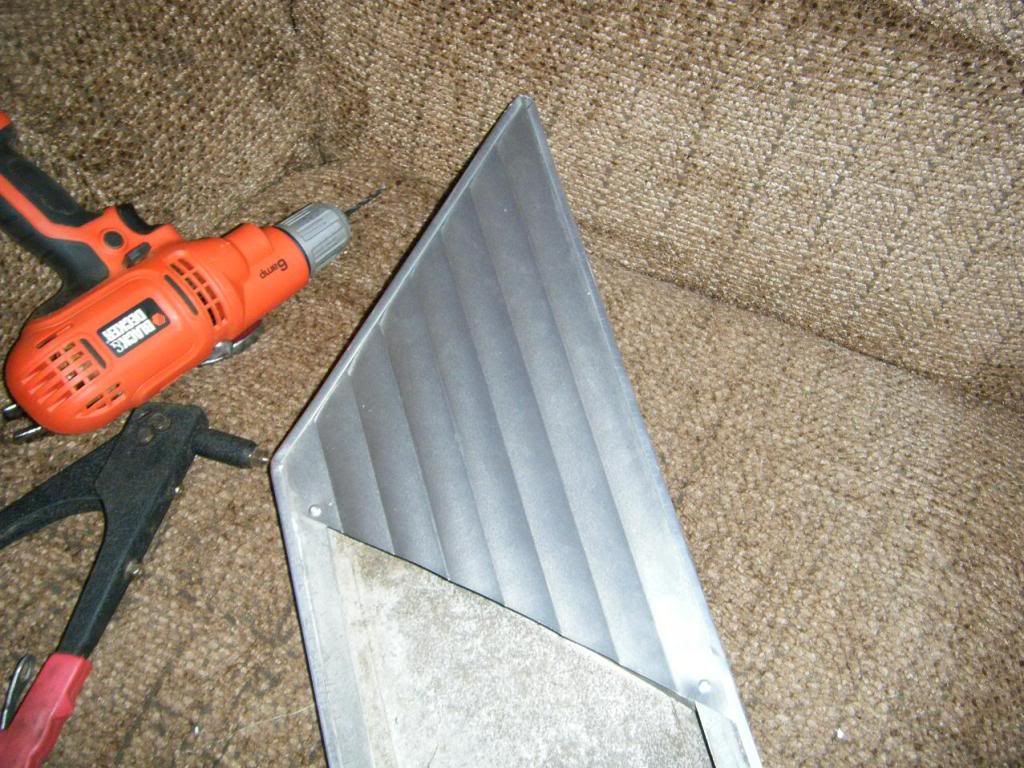
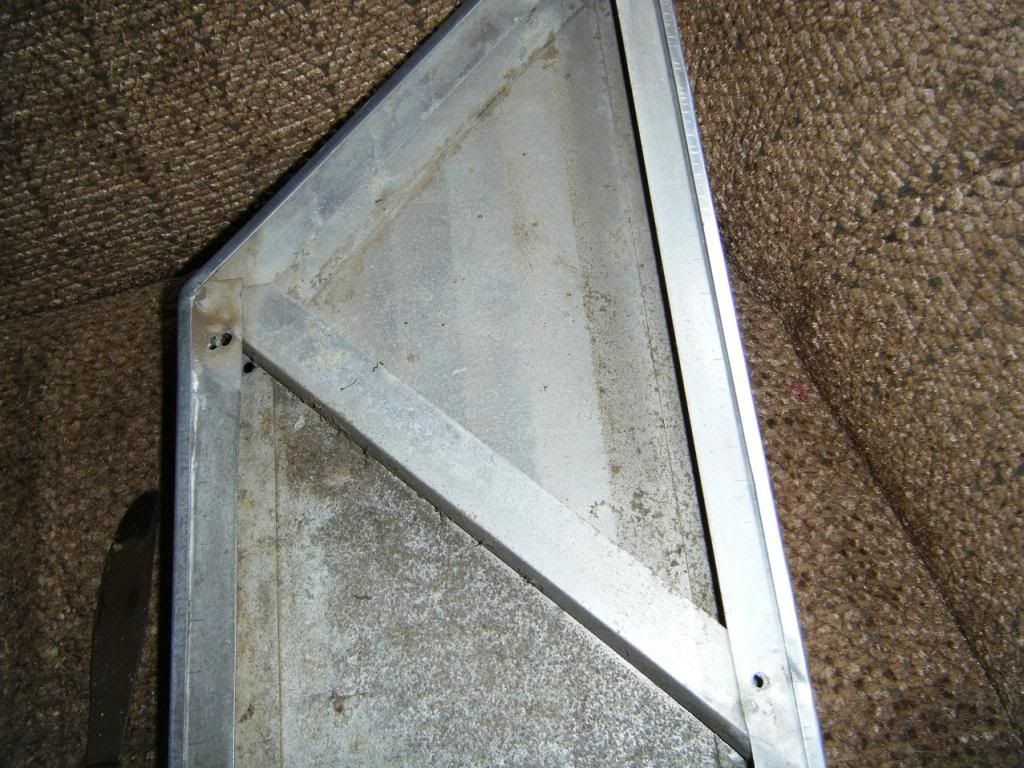
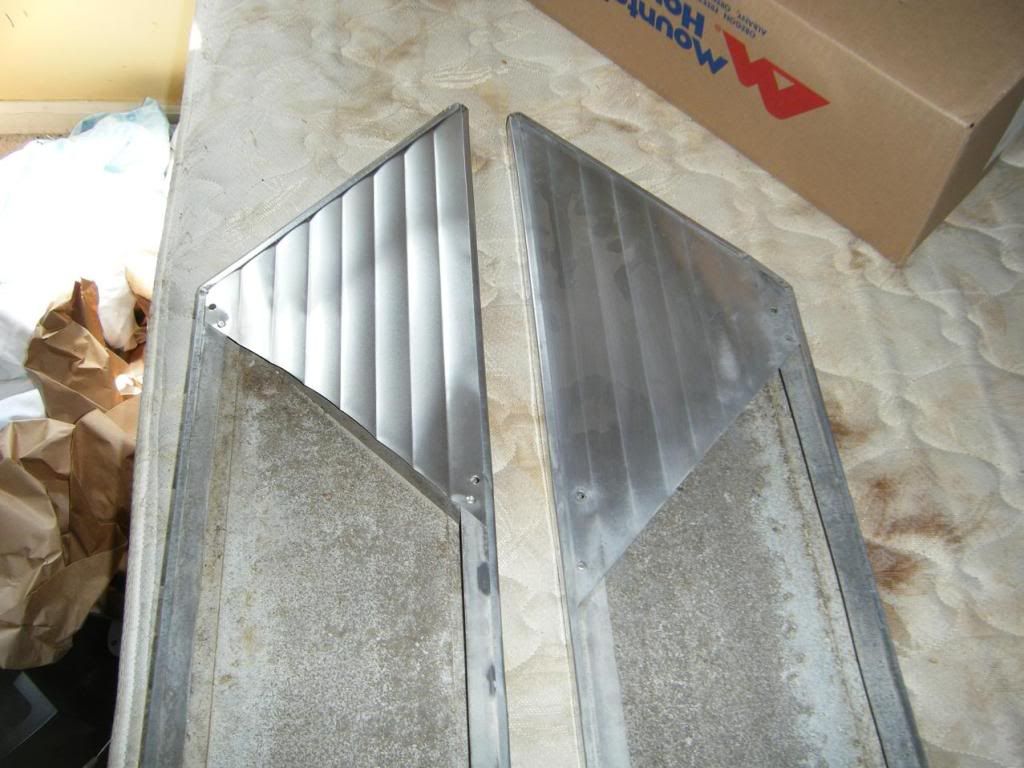
here it is on the left compared to the other piece, after I drilled the holes for the screws, I drilled a small hole through the front to the back piece, then used a bigger bit from the back to make the hole bigger.
not sure why the other has a longer piece on the back???
things to keep in mind.
1. this stuff is sharp, watch out when pushing on it and such.
2. when drilling holes, be careful that you dont punch through both sides, or allow the end of the drill to hit and scratch the aluminum.
it was really easy and didnt take long at all.
first I drilled out the 2 pop rivets on the back.
next, I carefully worked out the piece of aluminum, it is wedged in there a bit tight.
this pic shows where the screws go through the back, real close to the pop rivets, I drilled new holes for the pop rivets a bit farther away from the screw holes.
next I used a piece of 8 inch wide flashing and measured off a new piece using the old as a template.
test fitting the piece, in hind sight, you will want the new piece a bit wider than the stock one because when you put the bends in in it will get a bit shorter, mine was just barely long enough to tuck under both sides.
hint: I used a butterknife to bend the edge up in a couple places where the aluminum was a bit tight, it helped a lot that the flashing was thinner than the stock piece.
here i used my el'cheapo aluminum break to put the bends in the aluminum,
next i installed the piece, and drilled new holes and pop riveted it in,
here it is on the left compared to the other piece, after I drilled the holes for the screws, I drilled a small hole through the front to the back piece, then used a bigger bit from the back to make the hole bigger.
not sure why the other has a longer piece on the back???
things to keep in mind.
1. this stuff is sharp, watch out when pushing on it and such.
2. when drilling holes, be careful that you dont punch through both sides, or allow the end of the drill to hit and scratch the aluminum.