|
|
Post by universalexports on Sept 24, 2012 16:57:44 GMT -5
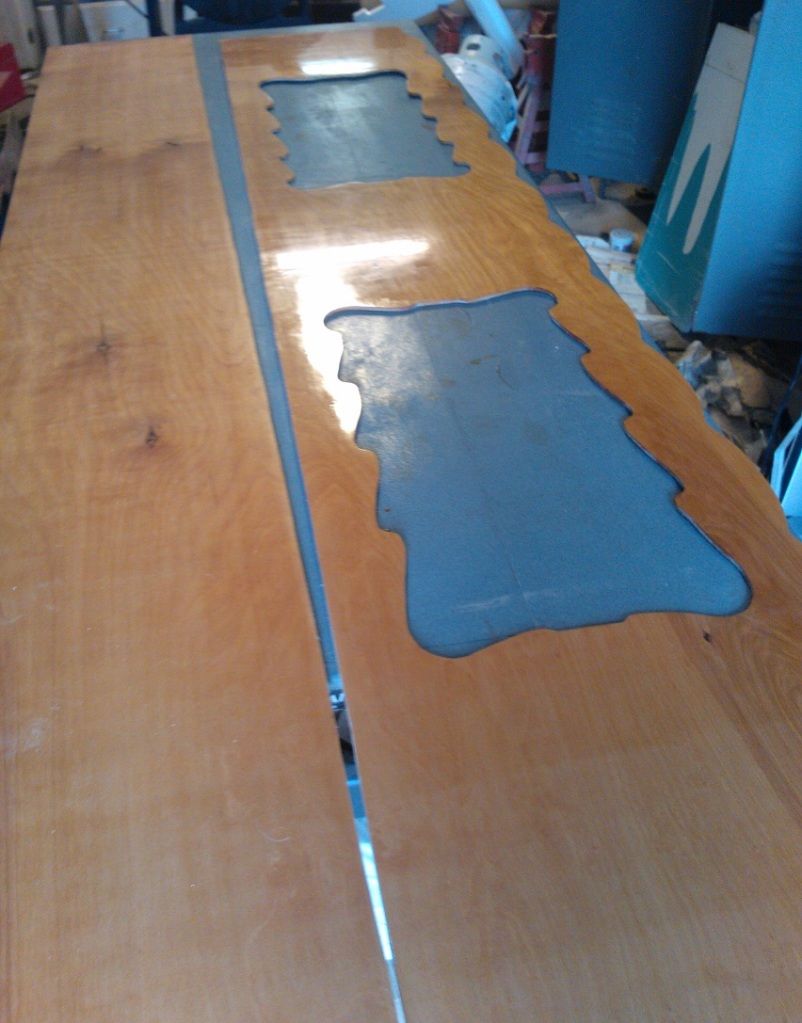
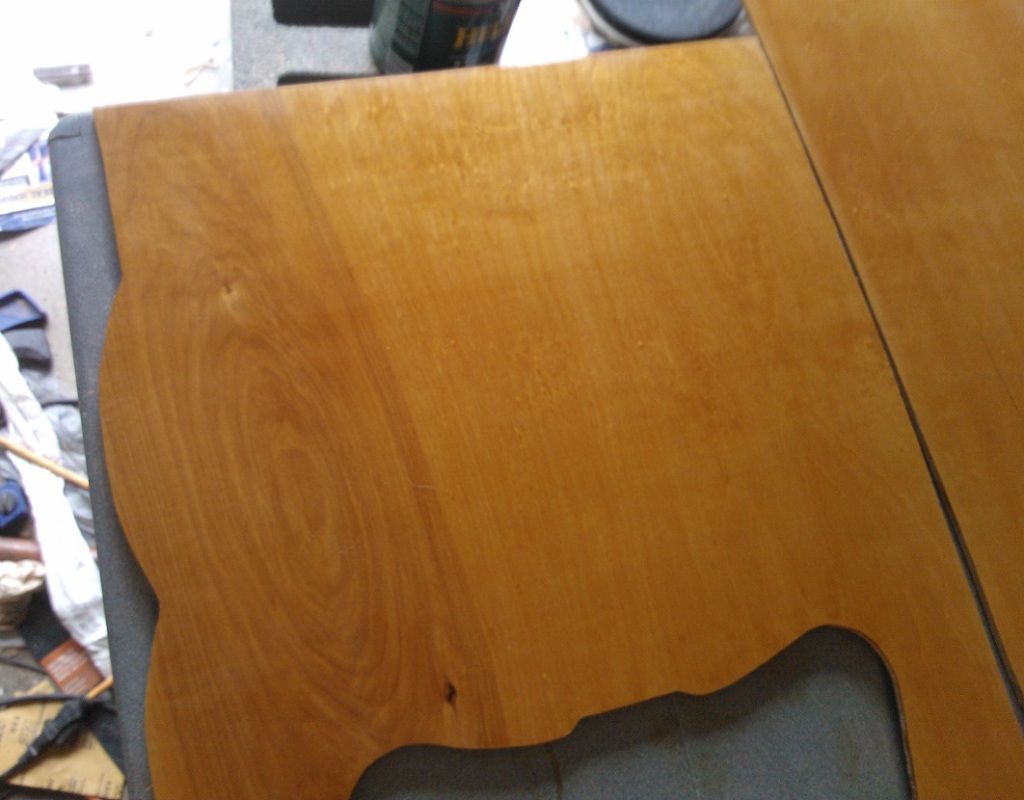
well I had my first try at laying down shellac today what I done bought a can of Bullseye amber shellac i mixed it with denatured alcohol from what I understand the canned stuff is a 3 cut, and I wanted to work with a 1 cut so mixed it 2 parts denatured alcohol to 1 part shellac. cut up cotton T-shirt, made a application pad. (folded up piece wrapped in another piece. then wiped it on my board using long strokes. I put 8-10 coats on it. it, with it this thin there are no bubbles or runs. (I found vids on youtube) it turned out great except I have light and dark lines in places where the wood was not perfectly flat (high and low spots). I'll probably go over it with a coat of polyurethane for a nice shine. so what do you suggest I do, sand it down and try and take off the high spots? and reapply some shellac. here is a pic the jar in the middle was full to the top (24 oz) when I started. so I used about 8 ounces. 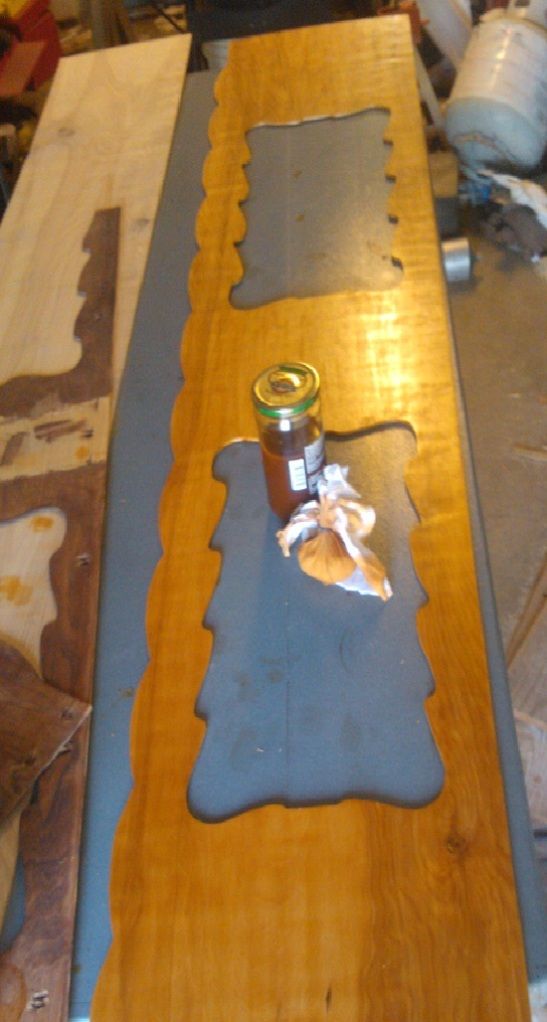 |
|
|
|
Post by universalexports on Sept 24, 2012 17:05:16 GMT -5
a better pic showing the high and low spots 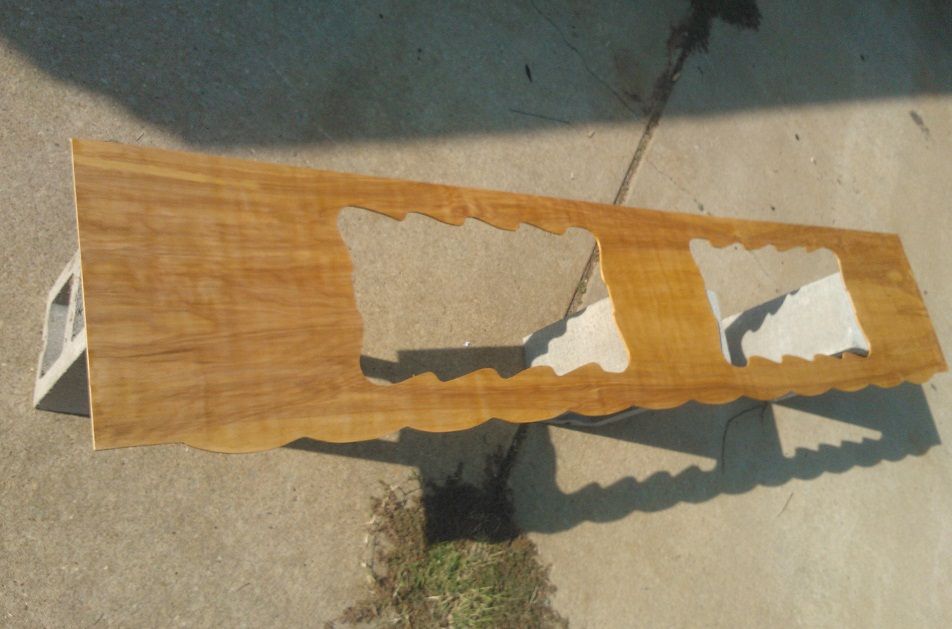 |
|
|
|
Post by dawgpound on Sept 24, 2012 17:56:39 GMT -5
When I restore damaged antique furniture tops, I usually will "Pad" a new finish on. I admire people who are willing to try this process.
From what I can tell from the problems in the last picture, it won't matter if you sand it down and start again. The problem is in the wood. The lighter shades are where the plywood is higher (the peaks) and has been sanded very well. The darker areas (the valleys) are still open and coarse, thus taking the amber shellac in more. If you were to have stained it prior to padding on a finish, you would still have the same issues.
When you were padding on the shellac, did you apply all 8-10 coats on at once....one right after the other? Did you allow any dry time in between coats. When you applied the shellac to the pad, did you evenly disburse it over the entire pad? I usually will do this by patting the pad into the palm of my hand, while rotating the pad as I am patting it, in order to get good disbursement.
Also, don't over load the pad with shellac. This is where the patting comes in. The minute you allow a soaking wet pad to come into contact with the newly applied finish, it will instantly melt the older finish. This will cause the color and finish to be melted away faster on the higher peaks of the wood, thus the peaks loose their color and the valleys get darker.
One more thing, you don't need to cut the Bullseye shellac that is already pre-mixed. "Cutting" really refers to using Shellac Flakes and Denatured Alcohol.
|
|
|
|
Post by universalexports on Sept 24, 2012 18:07:30 GMT -5
yeah it was evenly dispersed on the pad, dont think that was the problem since I went with the grain with my strokes and the high/low spots are actually across the grain.
I applied one coat right after the other, I think I will let it dry a bit and then try adding a couple of coats with dry time between them.
I know the bullseye doesnt need cutting but I wanted a thinner mixture, such as a 1 cut. most of the stuff I read on line people use a 1 or 2 cut when working with shellac. but most use the Flakes and mix it to their liking, after some online research I found you can cut the can of bullseye that comes in a 3 cut down to a 1 cut or 2 cut,
I know it's true I read it on the internet LOL
|
|
|
|
Post by dawgpound on Sept 24, 2012 18:17:36 GMT -5
Dry time is key. Good luck!
|
|
|
|
Post by universalexports on Sept 24, 2012 19:24:40 GMT -5
Thanks, I just added 2 more coats with about 5-6 minutes dry time between coats, and it looks a lot better, with it so thin it dries really quick.
I found some 1/4 inch birch today at Rideout lumber, $15.00 a sheet, but lots of small knotholes, well not so much knotholes but small black semi-knotholes. but it did look smoother than the stuff from Lowes.
|
|
|
|
Post by kto17 on Sept 24, 2012 19:59:48 GMT -5
|
|
61 Shasta
100 Post Member
 Chuck's Waggin
Posts: 194
|
Post by 61 Shasta on Sept 25, 2012 18:51:51 GMT -5
I am certainly not an expert on anything associated with applying shellac but would an application or 2 of sanding sealer have helped the finish?
|
|
|
|
Post by universalexports on Sept 27, 2012 17:36:53 GMT -5
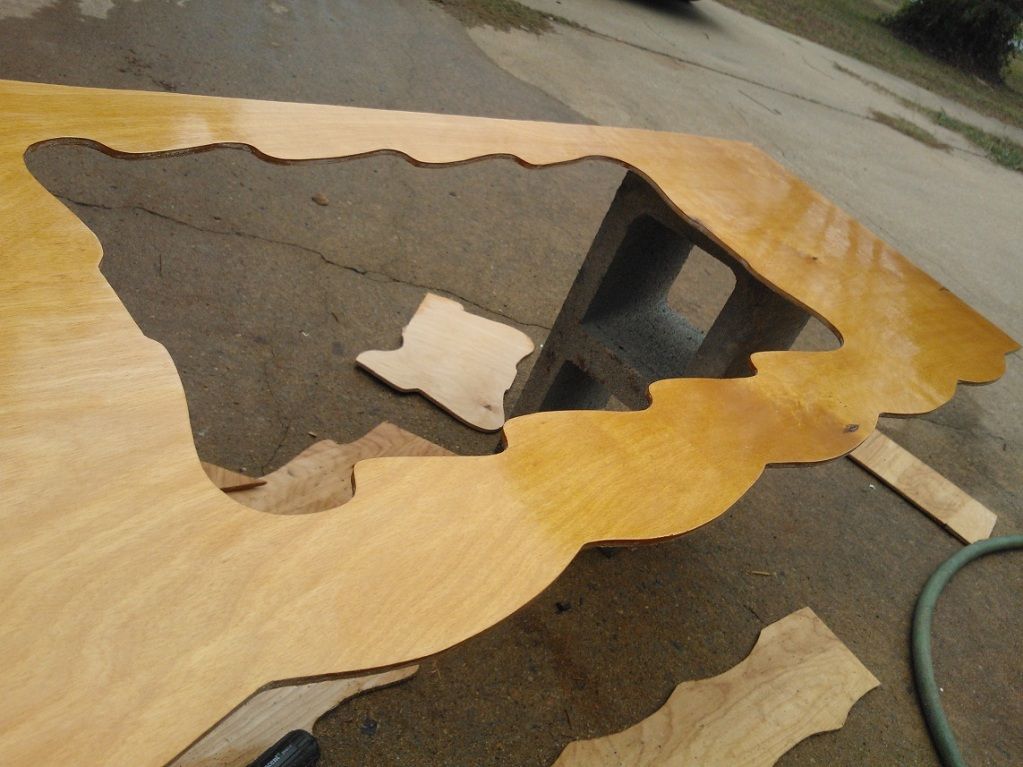
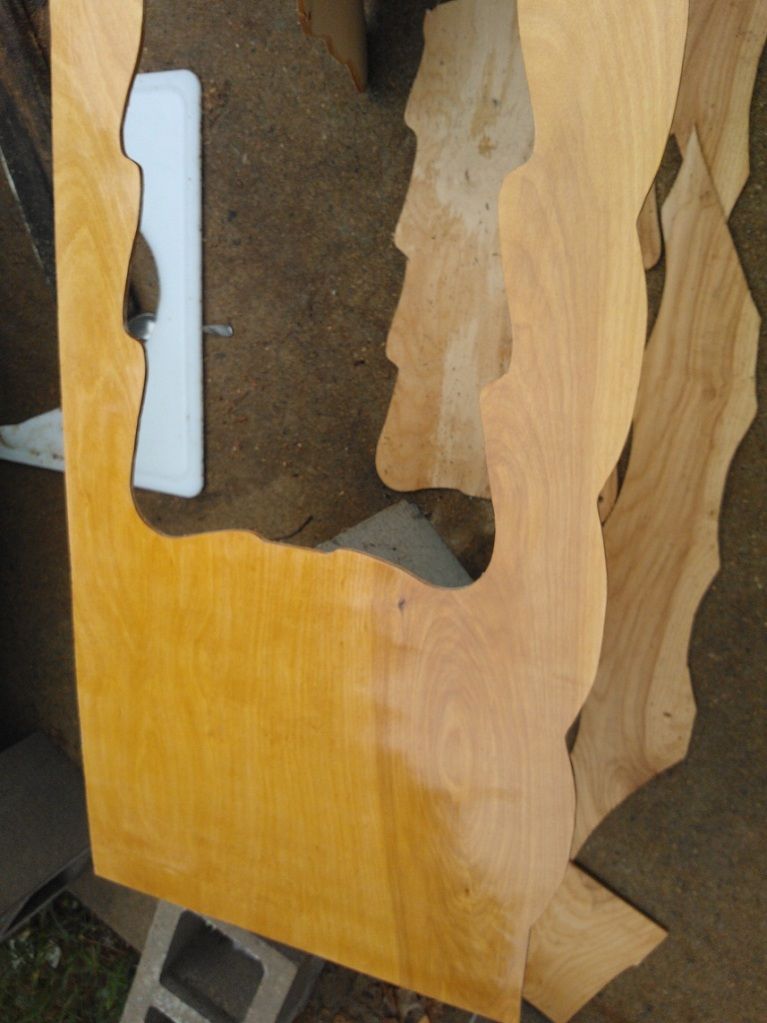
well Ross you were exactly right, it would not matter if I sanded it down and started again, all that done was remove all the shellac from the high areas, I sanded a while on it with 100 grit, and realized it was a lost cause.  so time for round two with a new piece, I got it cut out today and sanded down VERY well, I think it will turn out better, my openings are 2 inches shorter lenghwise than the original, this is by design as I have a plan. 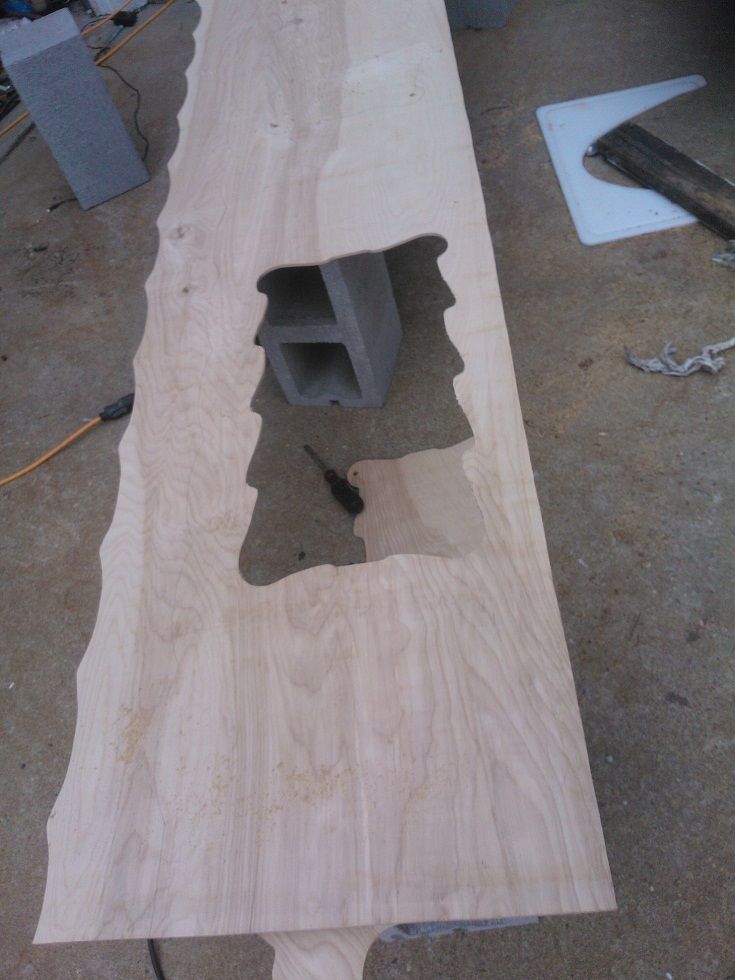 |
|
|
|
Post by dawgpound on Sept 27, 2012 17:54:13 GMT -5
Hope this one goes smooth!
|
|
|
|
Post by universalexports on Sept 29, 2012 12:06:38 GMT -5
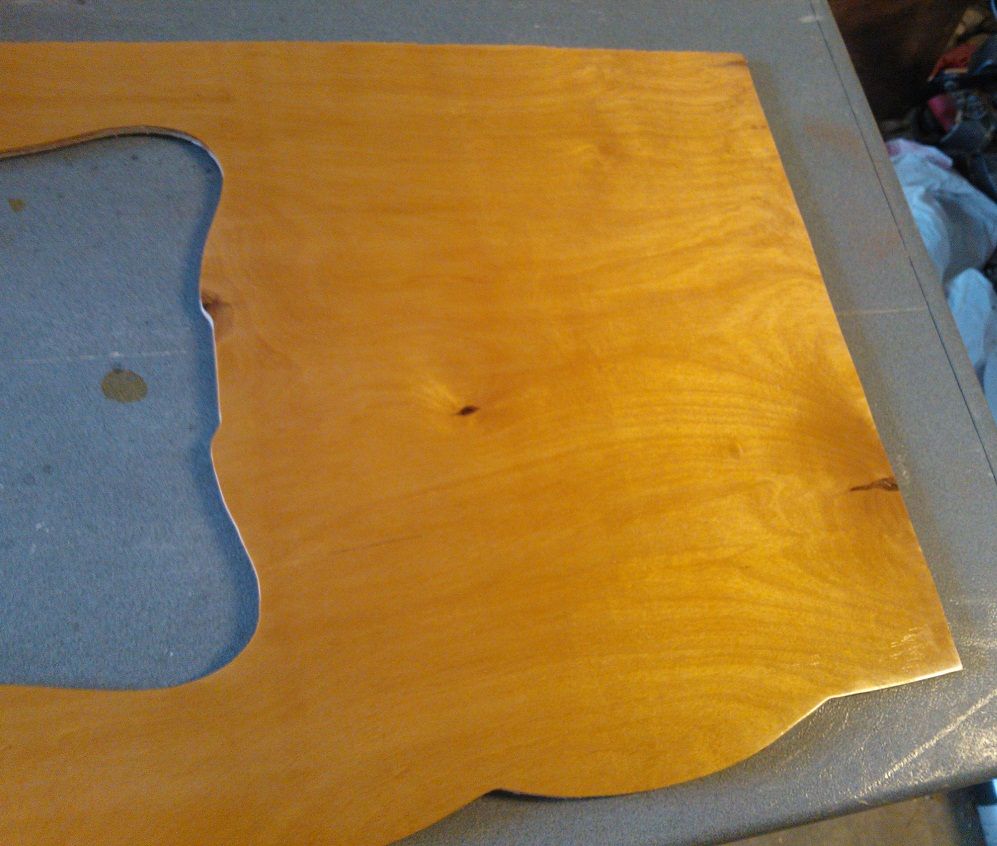
well, I got the 2nd one done, turned out really good, now I just need a good wax to give it a bit more shine. 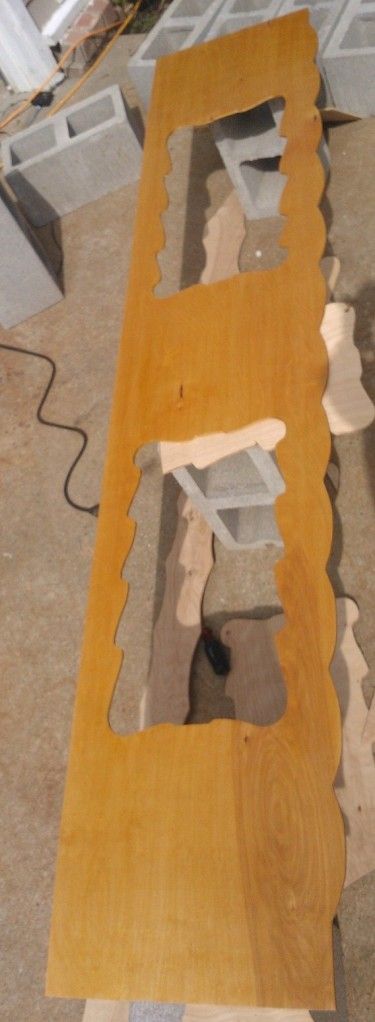 |
|
egar
100 Post Member
Posts: 204
|
Post by egar on Sept 29, 2012 14:30:13 GMT -5
Looking great. You've got me excited to begin my interior.
|
|
Gone Kayaking
1K Post Member
 long live the Vintage Shasta Trailer Forum....we're gone but you are not forgotten!
Posts: 1,600 
|
Post by Gone Kayaking on Sept 29, 2012 21:36:42 GMT -5
so nice when things work isn't it!
|
|
|
|
Post by universalexports on Sept 29, 2012 22:19:13 GMT -5
it's getting shiny now, 3 coats of Bullseye (Zinesser) seal coat, then 3 layers of Spar polyurethane.
tomorrow I will sand and polish it.
|
|
|
|
Post by universalexports on Sept 30, 2012 15:14:30 GMT -5
|
|
|
|
Post by harrison429 on Oct 1, 2012 8:09:59 GMT -5
wow, beautiful work!
|
|
61 Shasta
100 Post Member
Chuck's Waggin
Posts: 194
|
Post by 61 Shasta on Oct 1, 2012 23:37:26 GMT -5
2 thumbs up! That is a beautiful finish.
|
|
|
|
Post by universalexports on Oct 20, 2012 13:19:50 GMT -5
well I got the two pieces up today, and used gold twist nails, they look way better, 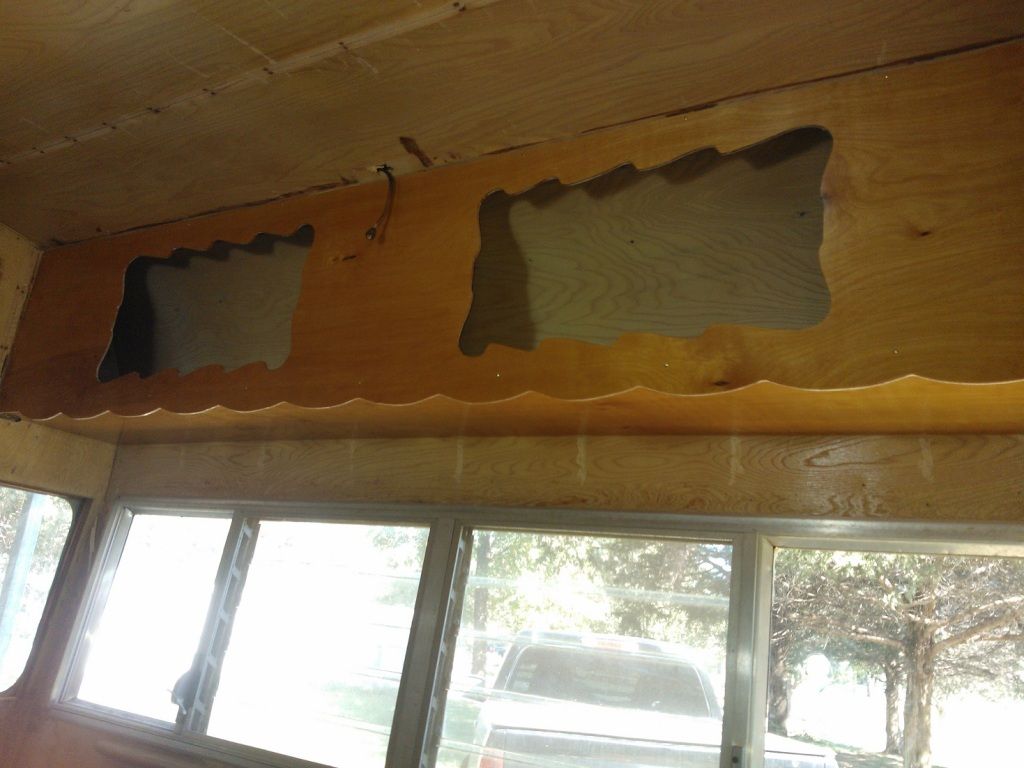 |
|
Gone Kayaking
1K Post Member
long live the Vintage Shasta Trailer Forum....we're gone but you are not forgotten!
Posts: 1,600
|
Post by Gone Kayaking on Oct 20, 2012 22:00:34 GMT -5
Looking good. What are you going to use for the seam?
|
|
|
|
Post by universalexports on Oct 20, 2012 22:20:45 GMT -5
I am using FRP plastic for the walls and ceiling and Birch for the counter, cabinets, bed, benches, etc. I will use wood trim for the edges of the wood and the white FRP trim for the FRP sheets.
|
|