Gone Kayaking
1K Post Member
 long live the Vintage Shasta Trailer Forum....we're gone but you are not forgotten!
Posts: 1,600 
|
Post by Gone Kayaking on Apr 3, 2011 12:52:54 GMT -5
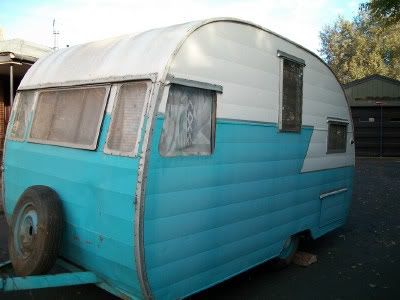
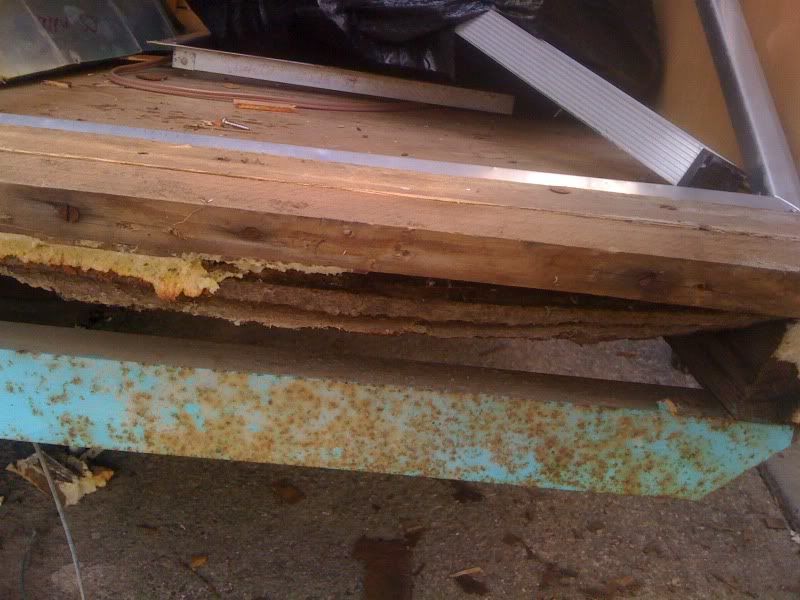
Previous owner did a repair/modification that doesn't seem like it could be quite right on the front skin. Unlike the rest of the trailer, the skin was just screwed into a piece of 1x (which was in turn screwed to the floor) along most of the length and then a couple of wings were added on each side that extended down to meet with the framing on the side. I would appreciate any pics or documentation/explanation of how it should be done, so I get it right this time. Especially how the skin works around the hitch. Getting ready to get the rest of the frame built and want to get it set up to accept a new front skin. Here are some pics to give you an idea of what I'm talking about. The wings  You can see how it was attached kind of in the corner of this photo  How it was attached.   How it looks now   Thanks for any help advice, pics of how it's supposed to fit. |
|
|
|
Post by dawgpound on Apr 3, 2011 15:30:32 GMT -5
I just did this same repair on the 1971 Scotty.  The treated 2" x 2" is bolted on top of the ANGLE IRON frame and then the plywood sub floor is then screwed to the treated 2 x 2, I like to run a bead of LEXEL Sealant between the plywood and the 2 x 2.  This is the front right side corner and the under framing has been replaced with a piece of treated 2 x 2.  This is our 1970 Straflyte and I did the same to it. Just left the skin on and only peeled back what I need to.  As for your Shasta's under framing....See the 2 x that is bolted on top of the Angle Iron Frame ( side wall framing)....you will need to cut a piece of treated 2 x the same height as that framing. You will then have to cut a bevel to match the same angle as the piece of side wall framing that is bolted to the Angle Iron. Once you have the NEW piece of treated 2 x cut to the same height and has the same beveled angle cut, you will then cut it to length from the side wall framing to the A FRAME Hitch. Repeat this same process for all three cavities along the front edge. I hope this makes sense. If not and you would like to talk, send me a Private Message and I will give you my phone number and I will be more then happy to talk with you. |
|