Gone Kayaking
1K Post Member
 long live the Vintage Shasta Trailer Forum....we're gone but you are not forgotten!
Posts: 1,600 
|
Post by Gone Kayaking on Apr 23, 2011 19:53:19 GMT -5
 ???Now I know why the street side baggage door was jammed shut. Not sure this is the right place or that my explanation will make sense. I finished framing the streetside front and back and then put up the skin to make sure everything was aligned. Much to my surprise, the floor in the back ends up being a full inch higher than the skin. Don't know what to do. - Do I have to get new skin for the sides as well (already have to get new front and back cause the po cut the overlap off on a previous repair).
- Or do I adjust the framing so that it will line up, which will result in a useless Street side baggage door.
What would cause this....could the top of the trailer be sagging on one side so that the whole frame has slumped? The side windows line up and the front aligns fine. I could understand messing up the measurements in other areas of the framing, but can't change where the floor is....does this mean the frame is bent? I'm stumped and frustrated. If I've made any sense at all, please help with suggestions. from the inside 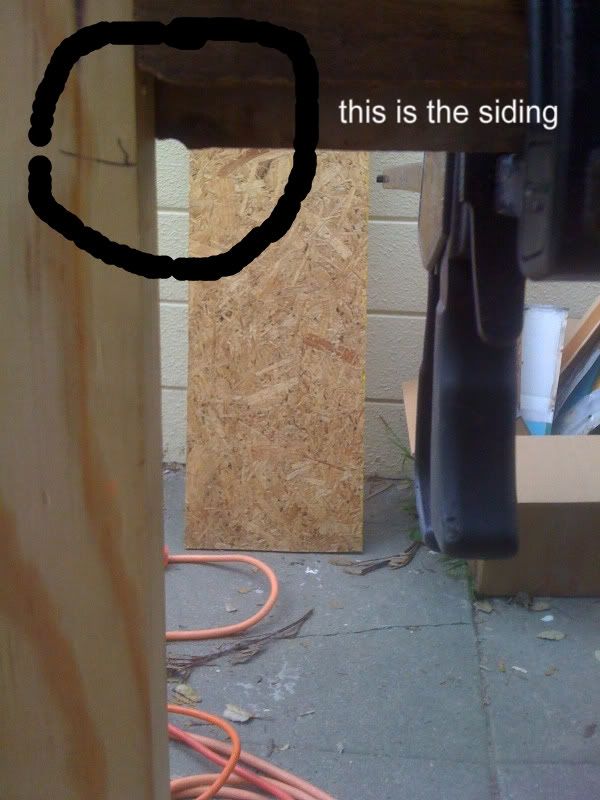  another view 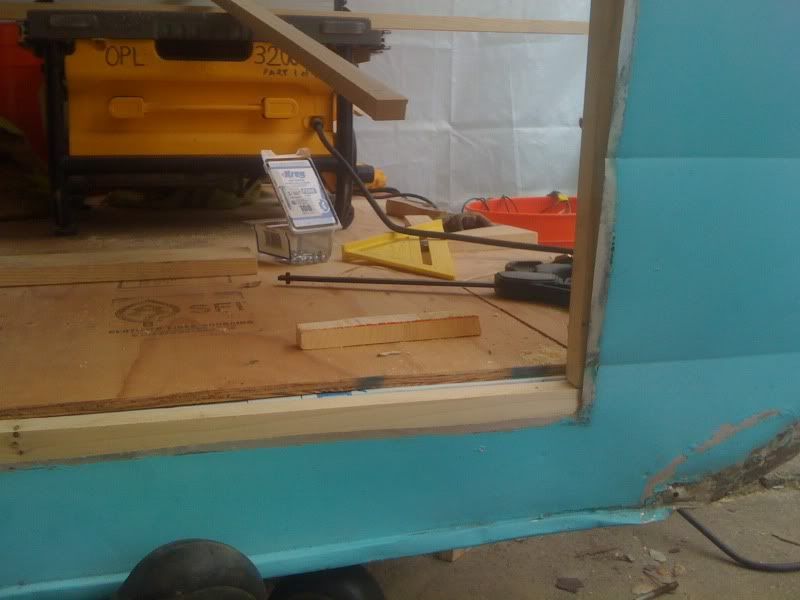
|
|
vikx
3K Post Member
  
Posts: 3,556
|
Post by vikx on Apr 24, 2011 1:13:47 GMT -5
Hi, do you have a multi tool? All you need to do is trim the bottom board next to the skin to fit. The cargo door opens out, so the floor won't interfere. You will have a lip into the storage area, but the cargo door will fit.
|
|
|
|
Post by flyingham on Apr 25, 2011 18:39:02 GMT -5
Lets see a bigger photo of the side, maybe a few. I wonder if you can trim the top of the aluminum a little ... or will that goof the door opening?
|
|
Gone Kayaking
1K Post Member
 long live the Vintage Shasta Trailer Forum....we're gone but you are not forgotten!
Posts: 1,600 
|
Post by Gone Kayaking on Apr 25, 2011 19:25:41 GMT -5
Nope the top of that piece includes the side window. VK thinks try jacking it up or just adjusting the placement of the runner and cargo hatch framing so that it fits the skin. The floor is level side to side and front to back. There is a 1" difference in the distance from the floor to the bottom of the window btwn curbside and streetside. The curbside skin aligns perfectly. When I put the 5' level up on top of the trailer it's low on the streetside by about 1 inch. What I just noticed in running down to take these pics is that the brake pattern in the ss skin seems pretty flattened out towards the back ....wonder if I could get a bit of it back by having that re-braked (is that a word?). In the pics below the framing for the curve and the runner have been removed in anticipation of needing to rework. 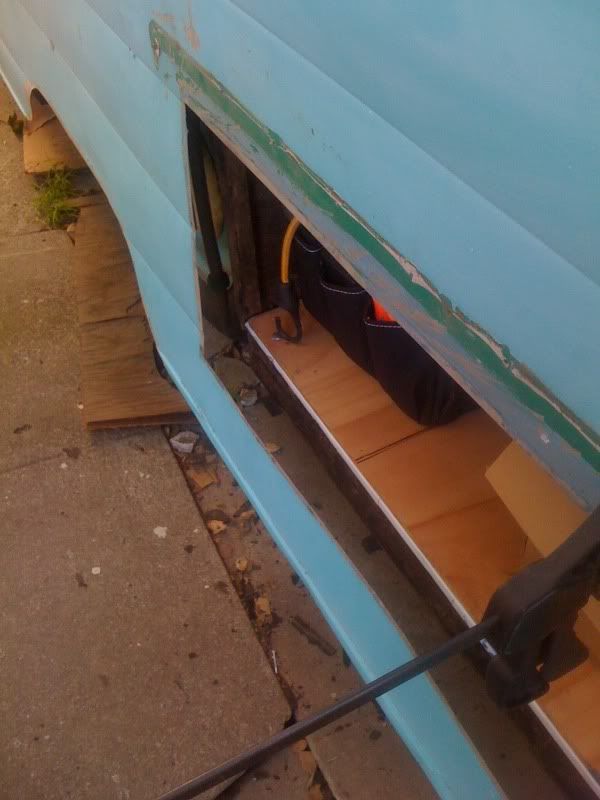 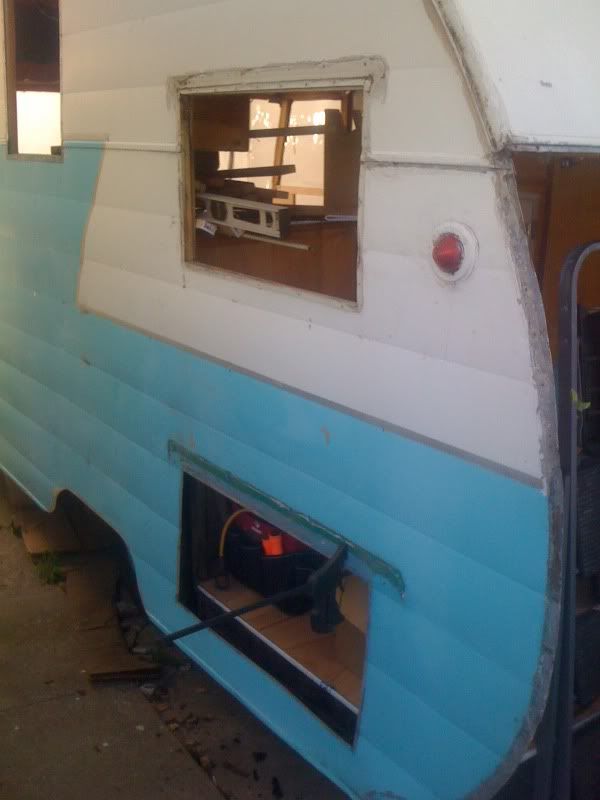 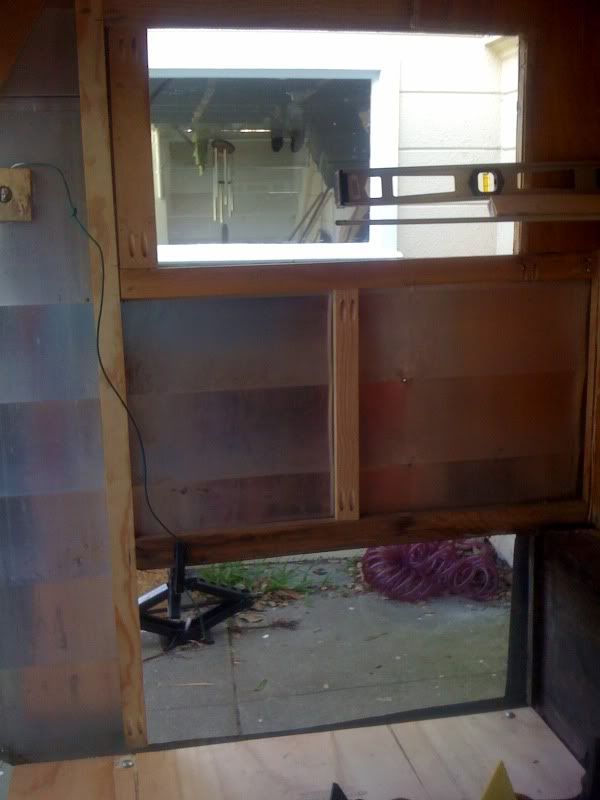 |
|
vikx
3K Post Member
  
Posts: 3,556
|
Post by vikx on Apr 26, 2011 1:49:34 GMT -5
You are doing such good work! I believe the trailer is sturdy and sound and you will figure this out. I've been there, believe me.
|
|
Gone Kayaking
1K Post Member
 long live the Vintage Shasta Trailer Forum....we're gone but you are not forgotten!
Posts: 1,600 
|
Post by Gone Kayaking on Apr 26, 2011 9:55:36 GMT -5
Thanks VK
I've been trying to figure out how to safely try to jack everything. and beginning to reconcile just to making it all fit the way it is. we'll see.
|
|
|
|
Post by flyingham on Apr 26, 2011 11:52:50 GMT -5
OK, I do remember when I went to reinstall my walls, and they are straight... that the bottom of the wall, which is straight, would not line up with the flooring.
We literally had to pick a place to start (the rear) and attach the wall to the floor system (joists). As we worked forward, we had to use the wall as a big lever and pull down/push up and screw it to the floor joist as we went. Somehow, it worked out, and everything lined back up.
Mine was so rotten, it did not "spring" out of position as I took it apart, as rotten mulch does not have the ability to hold tension.
I figured this out as we went back together. Some minor adjustments are expected, and you should be able to adjust that floor of yours up or down to meet the opening. Tell us about it after you make some headway.
You could use a bottle jack under the trailer, or inside the trailer as needed, or a heavy person on the inside to make the floor see things your way.....
|
|
Gone Kayaking
1K Post Member
 long live the Vintage Shasta Trailer Forum....we're gone but you are not forgotten!
Posts: 1,600 
|
Post by Gone Kayaking on Apr 26, 2011 12:01:25 GMT -5
I'm gonna work on it again this evening and then again tomorrow evening....trying various approaches.
|
|
|
|
Post by flyingham on Apr 26, 2011 12:04:19 GMT -5
Another thing, do you have a photo of the opening before it came apart?
I just remembered that my door opening looked just like this compartment opening.
It had a small strip of wood to make up the difference between the top of the floor and the top, and then it was hidden by the entry sill plate...
|
|
|
|
Post by flyingham on Apr 26, 2011 12:07:30 GMT -5
wait a minute... did you replace the floor joists? or the black underlayment, or the plywood? (yes on the ply, I see that).
The floor joist are not a full 2x4.... they are about 2 x 3, I remember ripping them....
This would set your floor back down to the aluminum
|
|
|
|
Post by 61shastacompact on Apr 26, 2011 13:49:55 GMT -5
You may be on to something there Flyingham. My original floor joists were a true 3" in height. I used 2x4 (1.5"X3.5") lumber as replacement, but notched out a 1/2" where it dropped down onto the steel crossmembers.
Jim
|
|
Gone Kayaking
1K Post Member
 long live the Vintage Shasta Trailer Forum....we're gone but you are not forgotten!
Posts: 1,600 
|
Post by Gone Kayaking on Apr 26, 2011 14:46:07 GMT -5
sorry guys, wish it were so. I didn't replace my original joists....they were in amazingly great shape (I guess cause they were soaked in creosote or something). Also, it's just on the street side not the curbside which is aligned perfectly (well not perfect but good enough) So the floor frame is as it was intended to be. I don't have a picture from before (of course) but that cargo door was jammed and couldn't be opened. I had to pry it off and remove the lock. So I'm guessing that the misalignment happened at some prior point, but I don't think it was a whole inch. I suspect that the rest slumped once the skin was removed and I had removed the rest of the framing. I'm going to build up the frame on the streetside to the same dimensions curbside below the window....and then do what I need to do to make it fit.
Will do a bit tonight after work and then again tomorrow night....see where I get.
|
|
|
|
Post by Redwings on May 1, 2011 12:25:45 GMT -5
Hope all is going well on the refit. This is where my husband and I had the hardest time. (I even think the D word came up...Divorce!). He used a hammer to whack down the skin so it fit. NOT a good idea as it introduced stress cracks which will leak and are now covered up with putty tape.
Keep up the good work!! Love following it.
|
|
Gone Kayaking
1K Post Member
 long live the Vintage Shasta Trailer Forum....we're gone but you are not forgotten!
Posts: 1,600 
|
Post by Gone Kayaking on May 4, 2011 17:54:13 GMT -5
Thanks for all the encouragement in figuring this out. I had success with bottle jacks!! I was able to easily raise up the sagging end about 1.5 inches so that it's only off by .25 now. which I will just make fit. where I started  Borrowed a couple of bottle jacks from our local tool lending library (every community should have one!!) and on the suggestion of a couple of VSTF members tried jacking up the back side of the trailer. First I screwed a 2x4 across the frame to hold it together and to give the jack something to push on. Then very easily lifted it 1.5 inches...no problem. 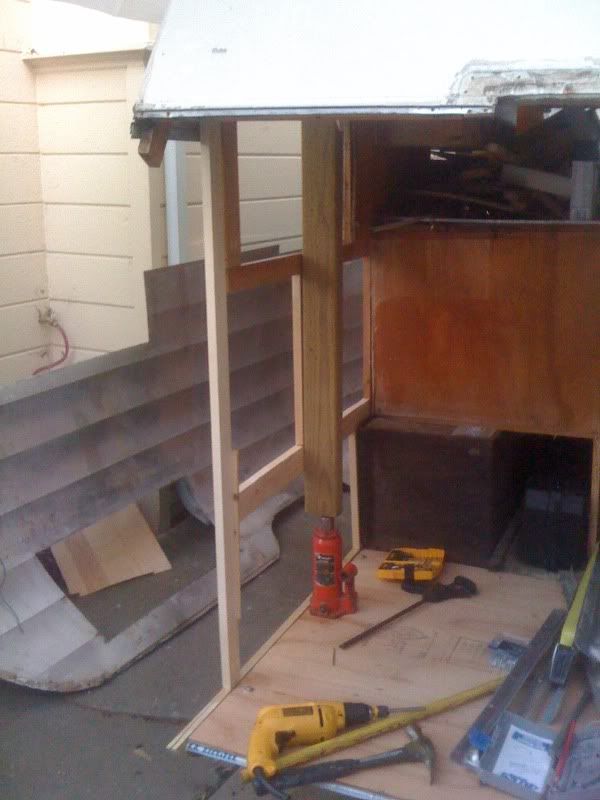 Checked the fit with the skin.....perfect. Had to reframe the baggage compartment area to match, and adjusted the runner board to fit. Still need to cut a new curved back frame. 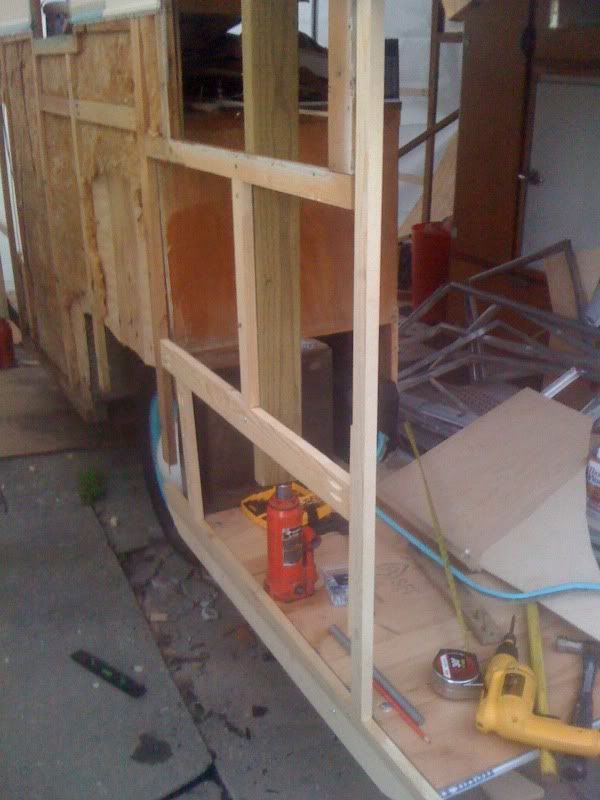 Screwed in everything. lowered the jack, took off the 2x4, checked against the skin again....well a little slippage, but I'm not going to lose sleep over a quarter inch...I feel confident I can make it work.  Light at the end of the tunnel |
|