|
|
Post by hntnhrd on Jan 14, 2012 22:39:46 GMT -5
So I have been lurking here for 6 months. The wife and I saw a refurbished Road Runner at our local fair this year and thought " wow what a great idea!!!""" so we started searching the net and settled on a shasta trailer as our intended target. We searched craigslist and ebay and the local paper. We found the trailers for sale section here and watched that for any leads. We really liked the early 60's models because of the birch interior. Fast forward to yesterday and in our local craigslist there was an add for a 17 foot shasta trailer. I sent an email and got no response so I called this morning. The owner called back and we went to look this afternoon. We weren't expecting to find our project in the next town to us so we didn't have high hopes. After crawling around under it and looking it all over we dropped the trailer on the hitch on the back of the truck, handed over some cash and headed home!!! We paid 550 for this diamond in the rough i think we did ok!! It appears what we found is a 19 super. The model number says 19 S L on the 1982 registration that is in the storage closet. Tear down will start tomorrow. It has some after thought wiring done so once i get the walls off I can straighten things out. I am thinking the paneling look is going to have to go and refinsh in a wood look. Lots of ideas and lots of questions so I will be leaning on you more experienced "shastaites" for help. 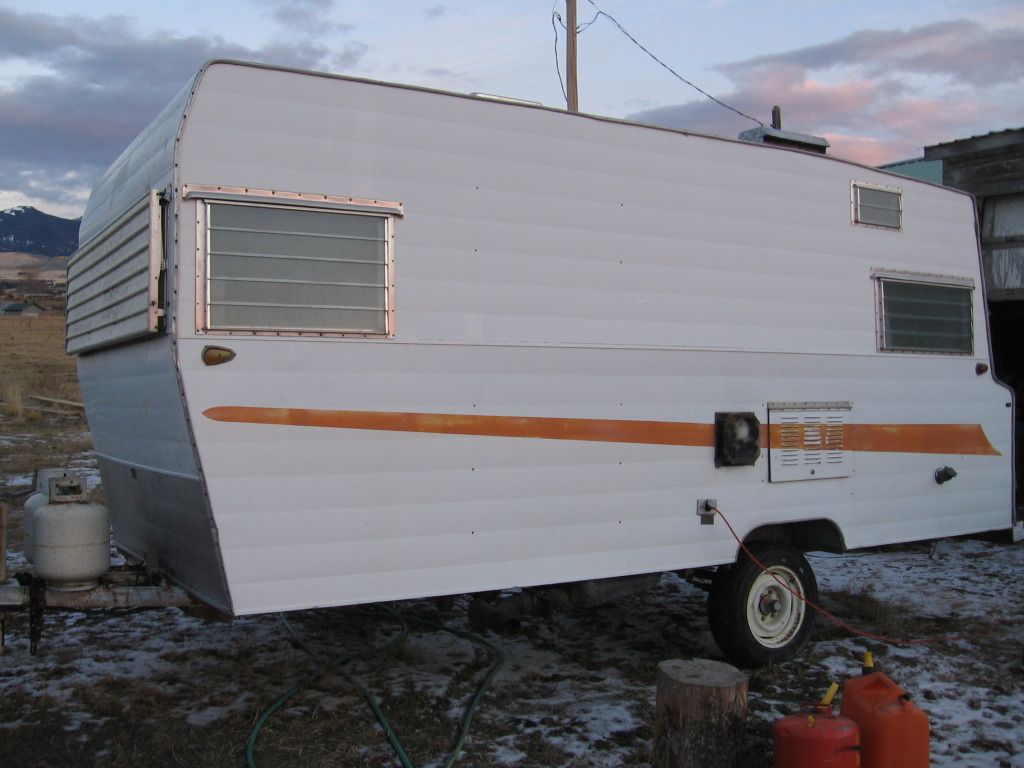 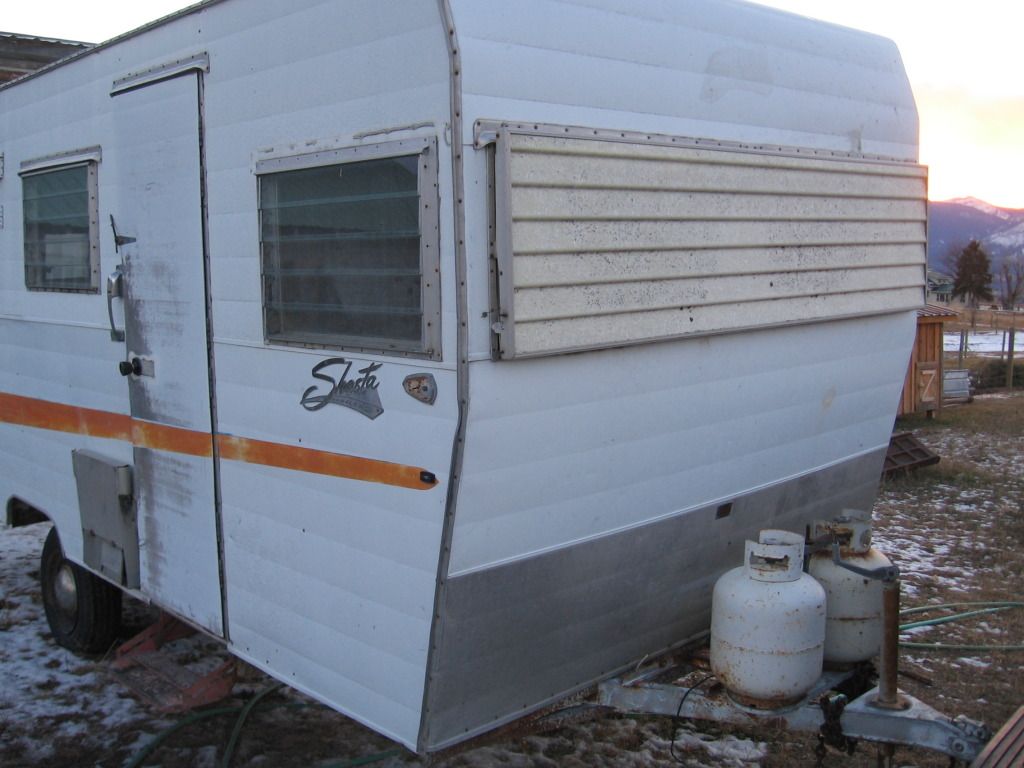 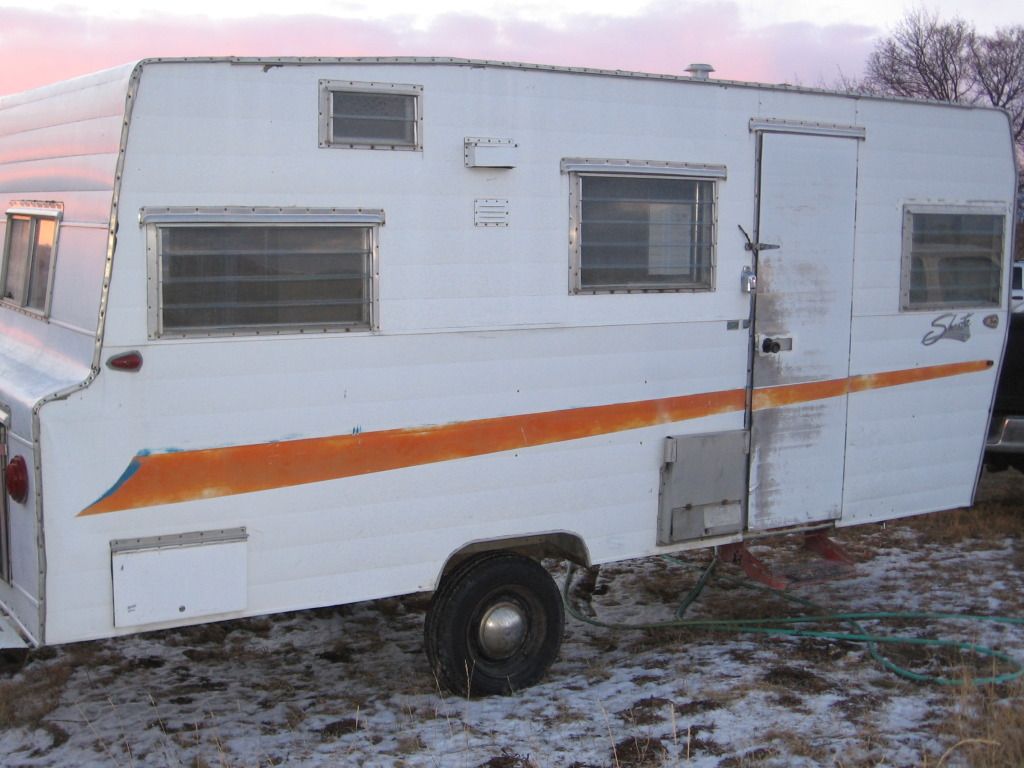 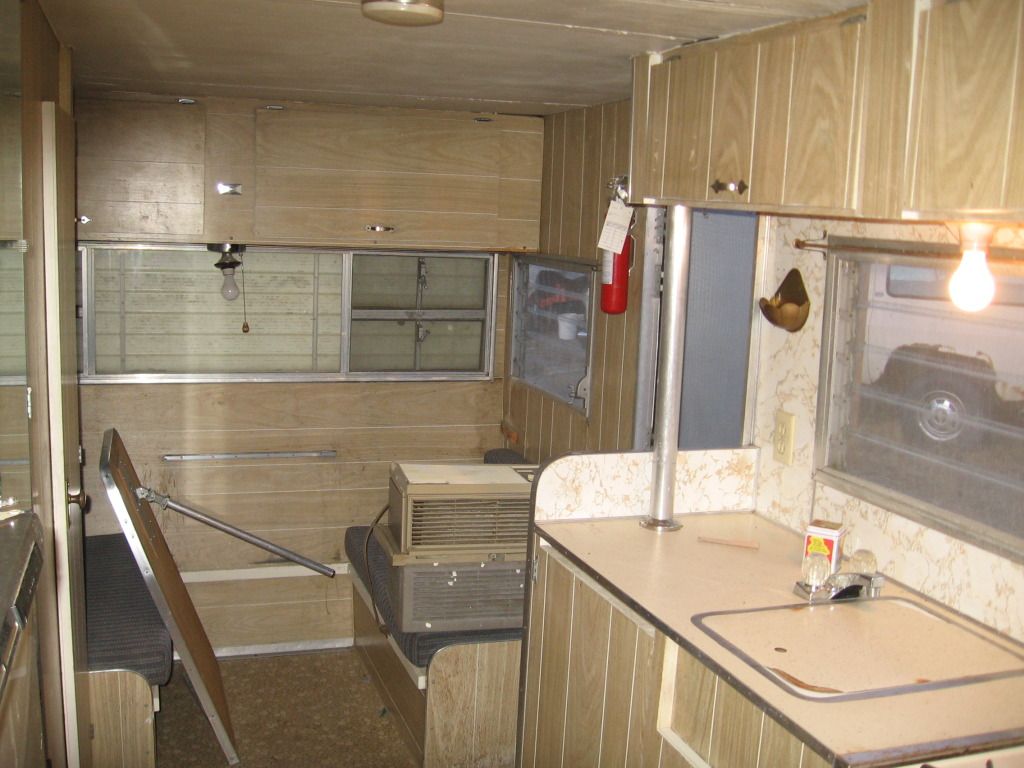 |
|
|
|
Post by 65callie on Jan 14, 2012 23:19:06 GMT -5
Nice! Congratulations and welcome! Yours is laid out just like our 18' Super except ours doesn't have the large rear cargo area. Ours was already painted inside so we just refreshed the paint after ceiling repair. I think you will enjoy all the space and open feeling with all the windows. Is that an A/C on the bench? Where was it mounted? We are trying to decide where to put one.
|
|
|
|
Post by 65callie on Jan 14, 2012 23:29:19 GMT -5
|
|
|
|
Post by hntnhrd on Jan 15, 2012 8:47:29 GMT -5
65 I like the paint. MAybe instead of full blown replacement of wood we may go that route. The ac Unit was in the camper but It wasn't mounted anywhere. I think it was put in there for storage? Well coffee is ready headed out witha a note pad to start really going over everything and listing the "TO DO's"
|
|
|
|
Post by ModernMe on Jan 15, 2012 9:57:04 GMT -5
Wow, great find! You got a bargain, imo. Yours looks to be in better shape than mine, plus original paint. I'm looking at taking mine to the frame and building her back up. Please post all the pictures that you can. I am missing a lot of fixtures and trying to collect them to put her back together.
|
|
Gone Kayaking
1K Post Member
 long live the Vintage Shasta Trailer Forum....we're gone but you are not forgotten!
Posts: 1,600 
|
Post by Gone Kayaking on Jan 15, 2012 11:44:36 GMT -5
@callie65 when I open your photobucket link it only has 5 pics...is there another link? would love to see what you've done.
|
|
|
|
Post by ModernMe on Jan 15, 2012 12:04:06 GMT -5
@ GoneKayaking -in the middle of the page at the bottom, click on "View Full Website". The link is to the mobile site, but clicking there will take you to all of the pix.
|
|
offspringin
1K Post Member
 Never question the engineer's judgement!
Posts: 1,424
|
Post by offspringin on Jan 15, 2012 12:25:52 GMT -5
Looks like you got a sweet deal. How did it tow for you? Looks like the axle has been flipped.
|
|
|
|
Post by hntnhrd on Jan 15, 2012 14:06:35 GMT -5
|
|
|
|
Post by 65callie on Jan 15, 2012 17:17:50 GMT -5
Thanks for posting all the pictures! I think the only difference between the 18' and the 19' is the rear cargo area. Ours is exactly the same except our backsplash is a different pattern and our frig is harvest gold. Even the bathroom is the same except we removed the toilet because it was broken. Just using a porta potty for now. We removed the rusted out water tank under the rear couch and the water heater also because of rot.
You will be amazed at what a little paint can do. We spray painted the tongue, propane tanks, step, rims, hubcaps, cabinet hardware, and furnace cover. Major improvement!
|
|
|
|
Post by 65callie on Jan 15, 2012 17:27:37 GMT -5
Here is the sales brochure for the 19' Super Attachments:
|
|
|
|
Post by hntnhrd on Jan 15, 2012 22:26:26 GMT -5
thanks for the flyer. i will print it out and keep that one! Ok last pics until next weekend have to get back to boring work tomorrow. Got the kitchen torn out and the ceiling down around the roof vent. Could tell there was some rot there as it was sagging. didnt expect the rafter to be held up only because it was stuck to the insulation. Also found some holes in the aluminum from nails used to hold up the ceiling !! Anyway nothing to bad . Ha, also found the light over the sink was wired to a switch with a piece of an extension cord!!! Also found some rot in the roadside back corner. Everything else is pretty solid. Couple more pics 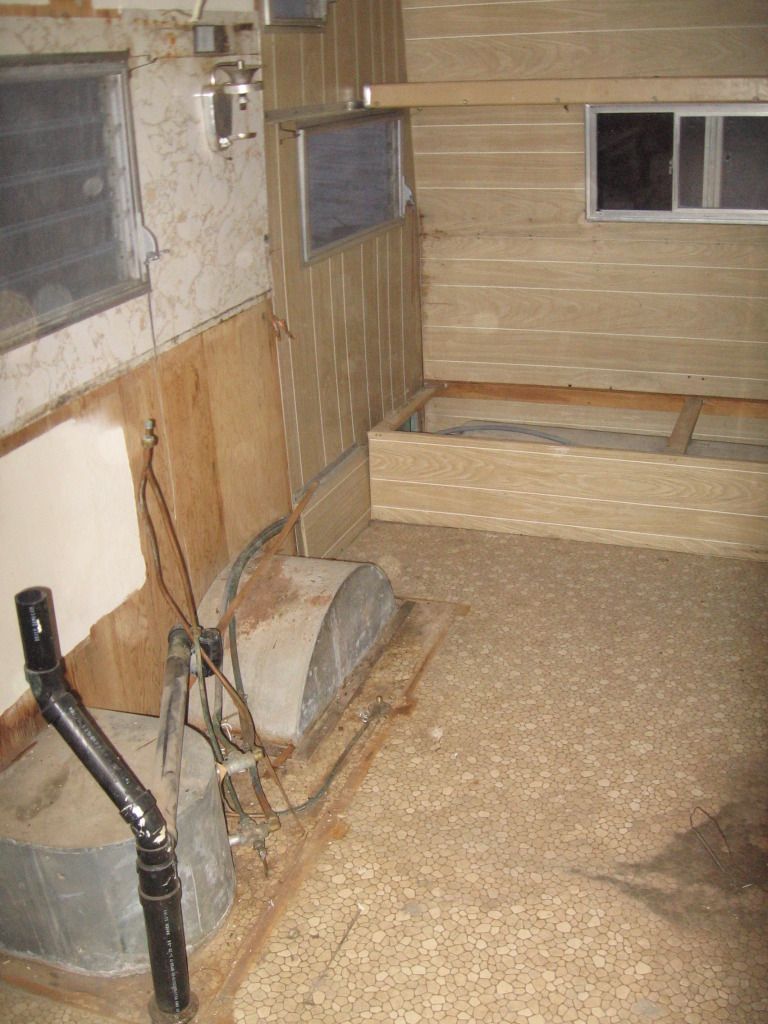 you can see the nails sticking up that went through the roof skin 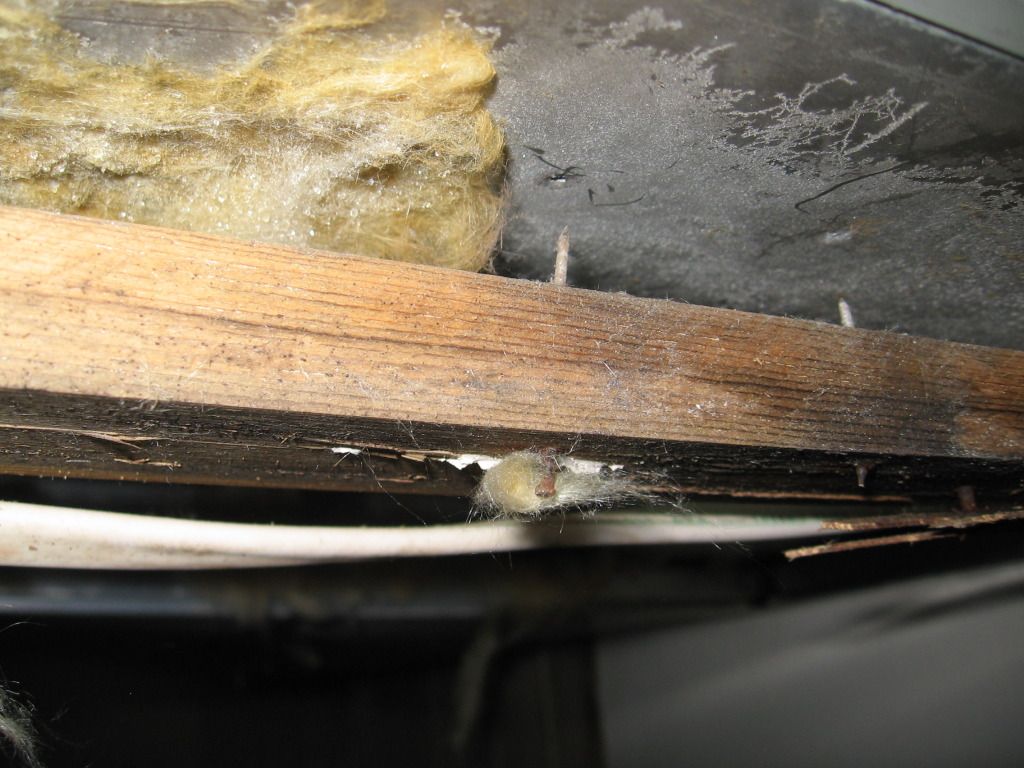 |
|
|
|
Post by ModernMe on Jan 15, 2012 22:45:57 GMT -5
Wow, I love your go-gettem style! I'm really looking forward to watching your progress unfold. I'm gonna live vicariously through you for a while! Thanks for posting pictures.
|
|
|
|
Post by hntnhrd on Jan 17, 2012 22:54:56 GMT -5
Ok so I said no updates till the weekend but It was snowing and windy today so no outside work (construction). So I started the woodstove in the shop this morning and got to work on the trailer. Found some more rot and got the dinette out. 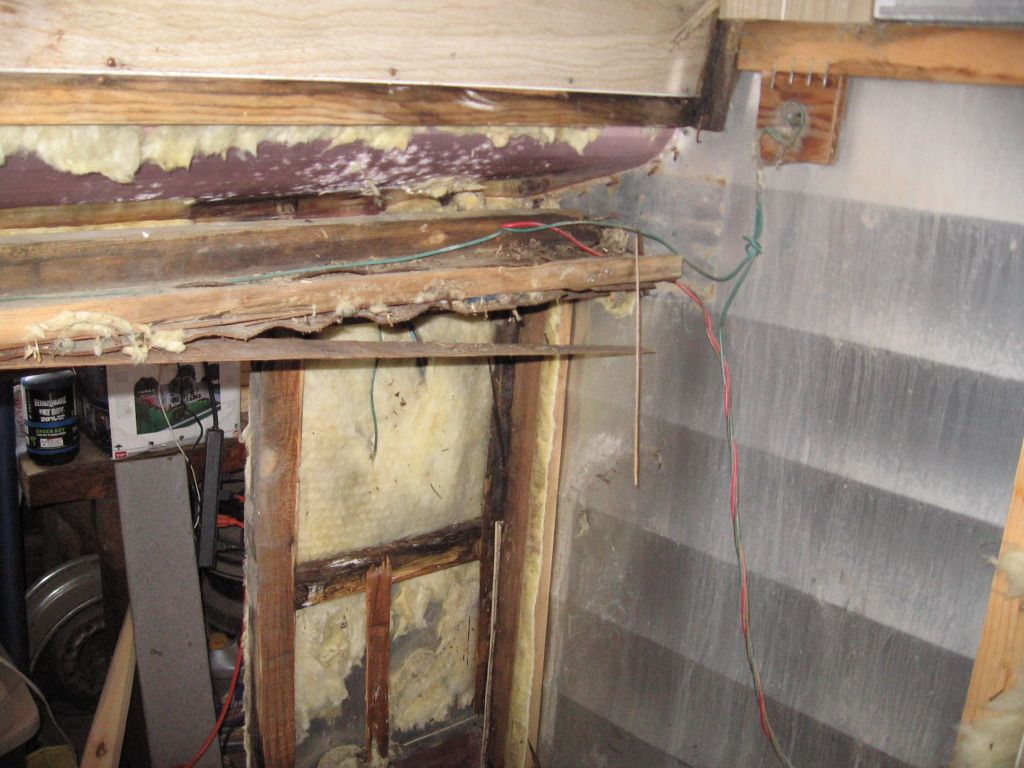 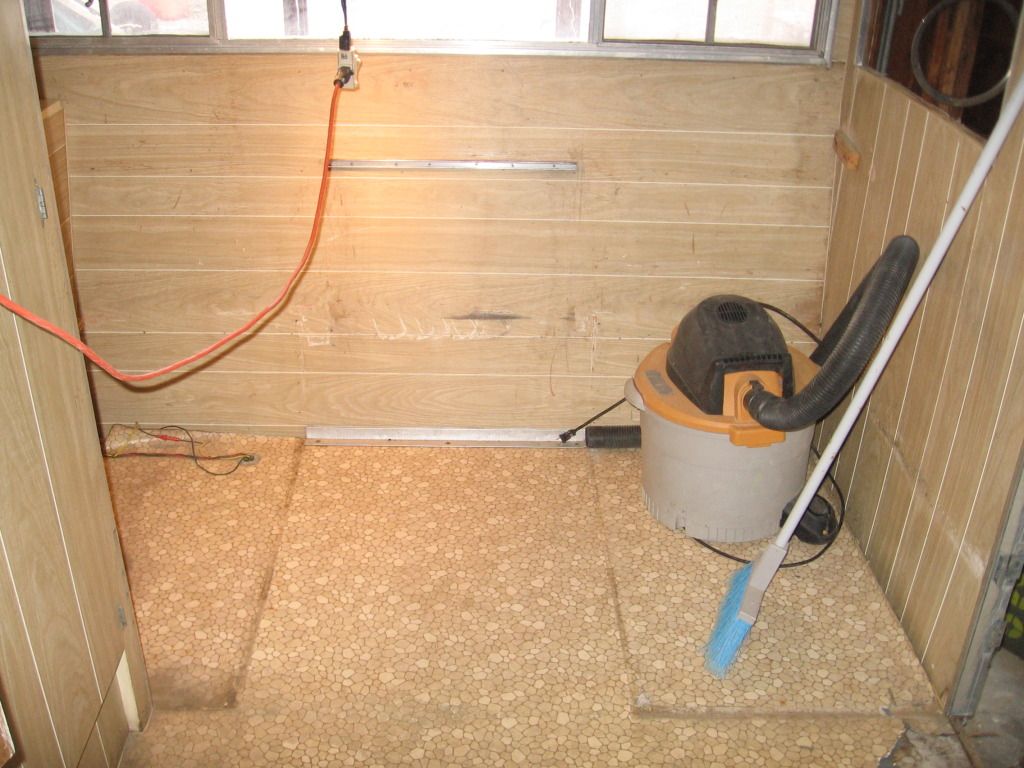 Took out the furnace and it fell apart!!! Guess new wave 3 is a must now  . the back door to the storage area was all blown apart and the outside skin was half off. Got that taken off torn apart and almost rebuilt when I thought it was time to reward myself for a good days work 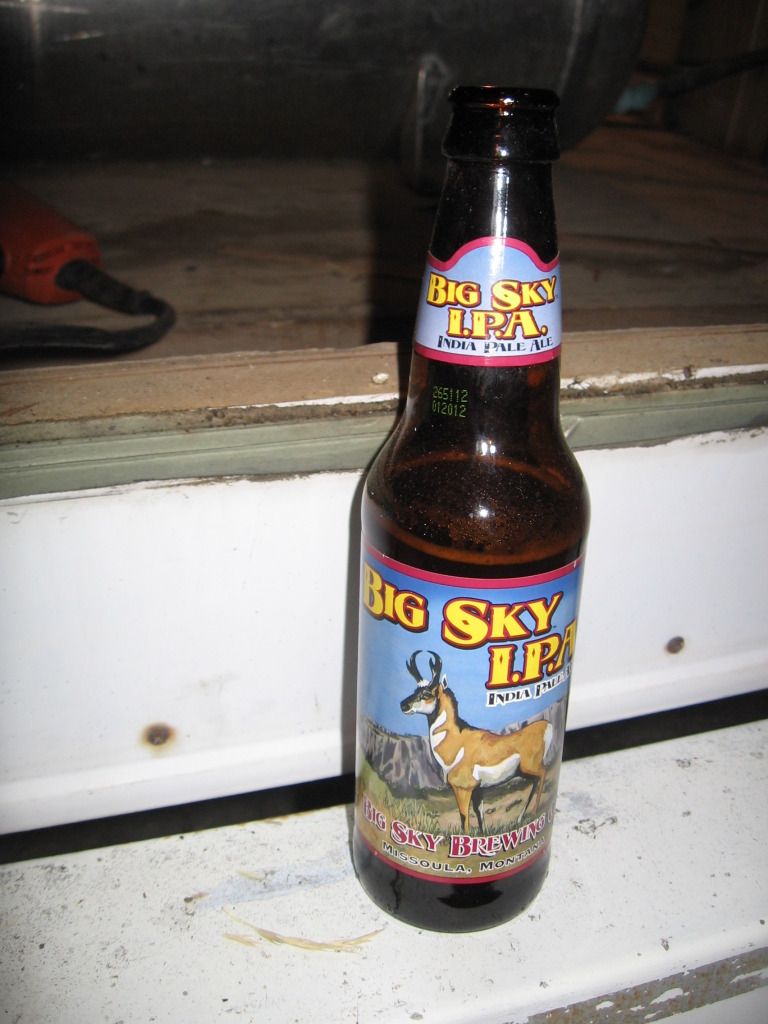 Forecast is for more snow and wind so looks like another shop day tomorrow |
|
offspringin
1K Post Member
 Never question the engineer's judgement!
Posts: 1,424
|
Post by offspringin on Jan 18, 2012 0:42:51 GMT -5
your making good progress, what did those nails that went through the roof hold up? those could not have been original. I didn't find anything in our roof that was long enough to hit the roof and i was super careful in my screw choice when putting everything back in.
|
|
vikx
3K Post Member
  
Posts: 3,556
|
Post by vikx on Jan 18, 2012 1:50:07 GMT -5
Good to see progress in the middle of winter... we're supposed to get awful snow and cold til Friday. Drat.
|
|
|
|
Post by hntnhrd on Jan 21, 2012 16:49:10 GMT -5
Progress is coming along. I think the nails up through the roof were attempted fixes to water damage around the vent. The ceiling sagged so the nail her back up. I sent 100 % silicone up trough the hole and when I get to the roof I will patch from above. So I got the batch hatch door rebuilt and back together. ready to reinstall whenI get there. The back wall is all rebuilt and insulated fixed broken/ rotted ceiling supports. Put some insulation up there. Next is wiring (want to add some extra light and and an oultet out side (TIKI LIGHTS need a place to get plugged in). then plumbing. I need to figure out why the sparkplug is in the hose. 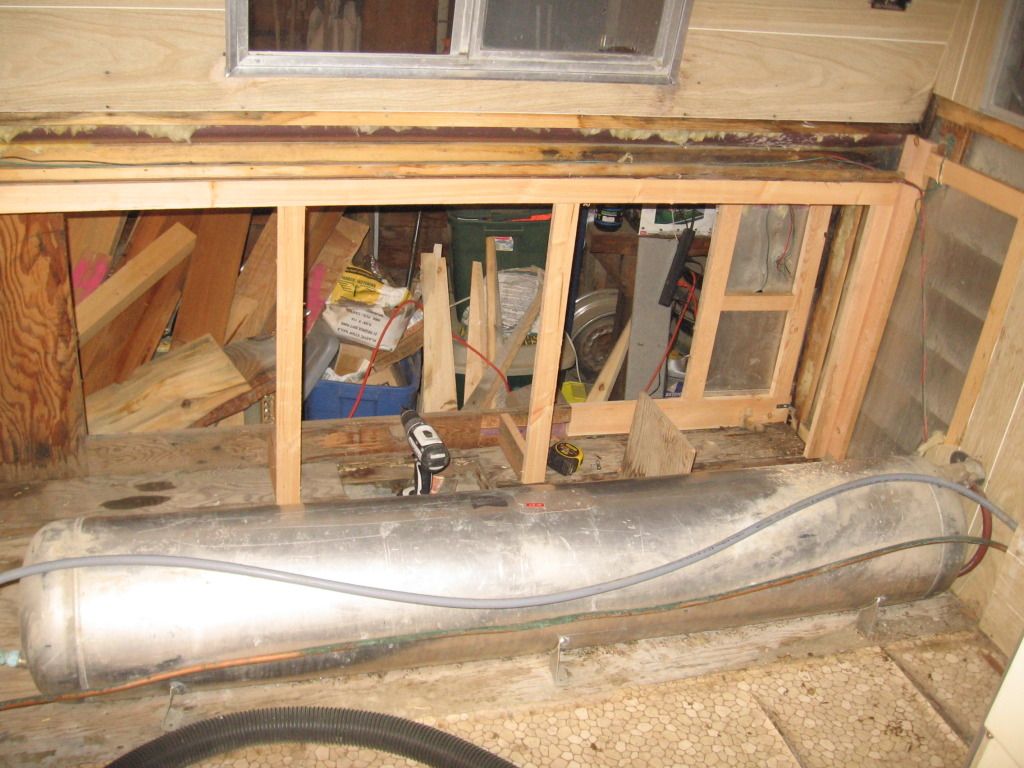 Inside of hatch door, bowed out and pushed off metal skin!! 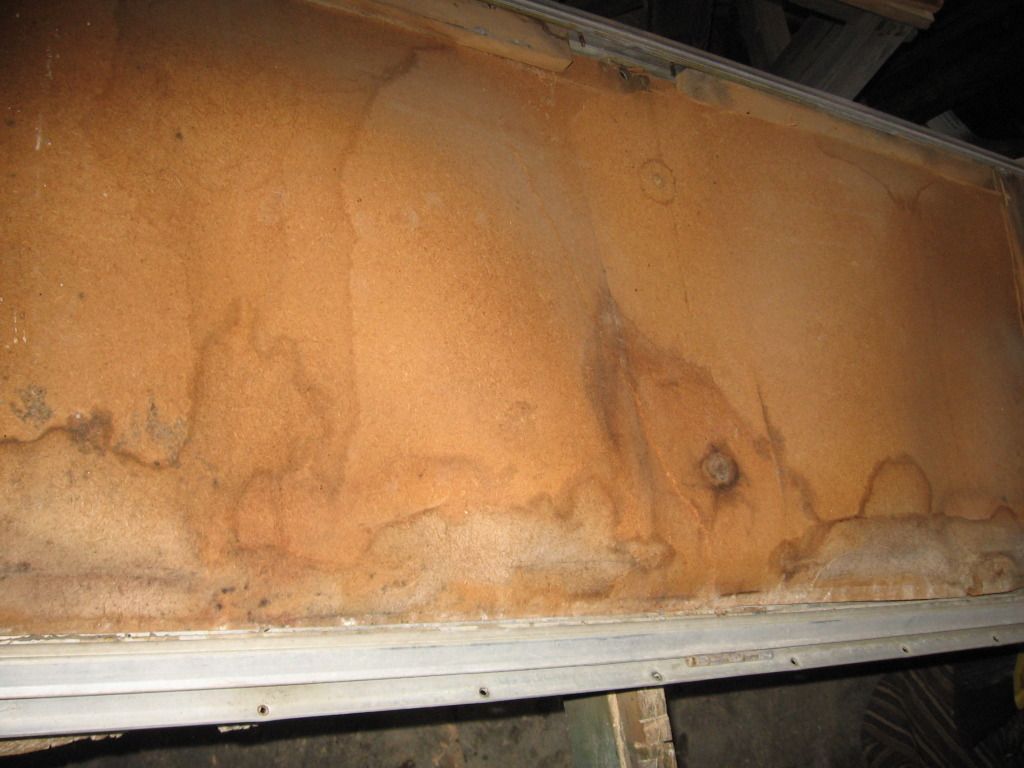 New insides to hatch door 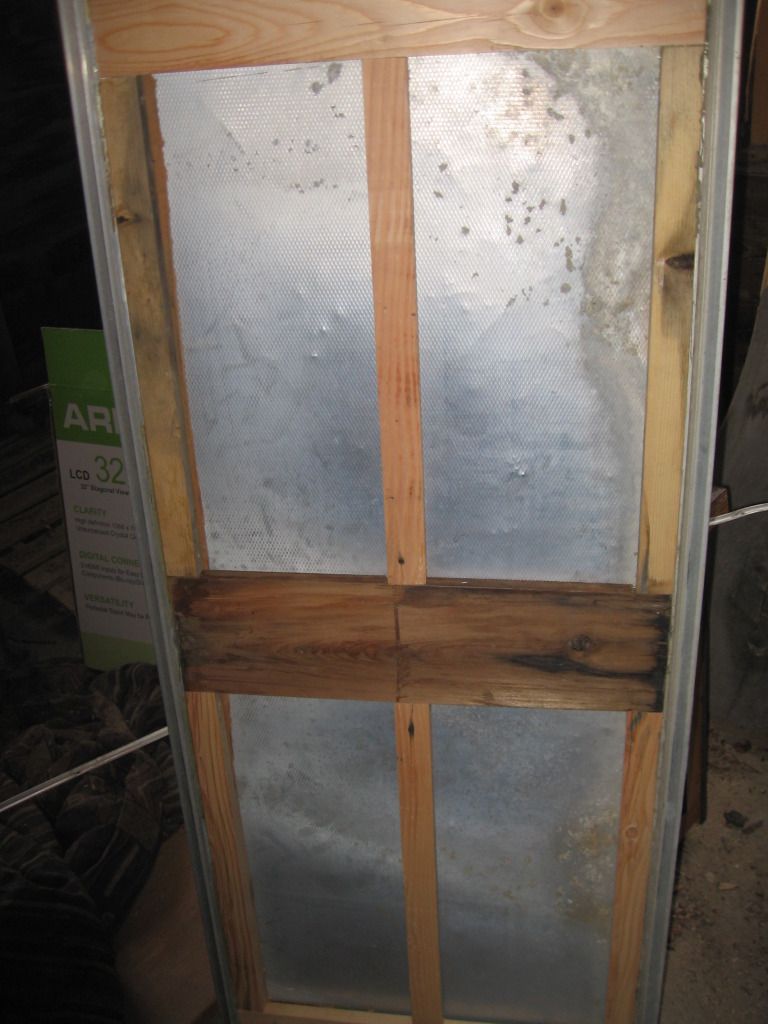 Nail found in the rotted wood 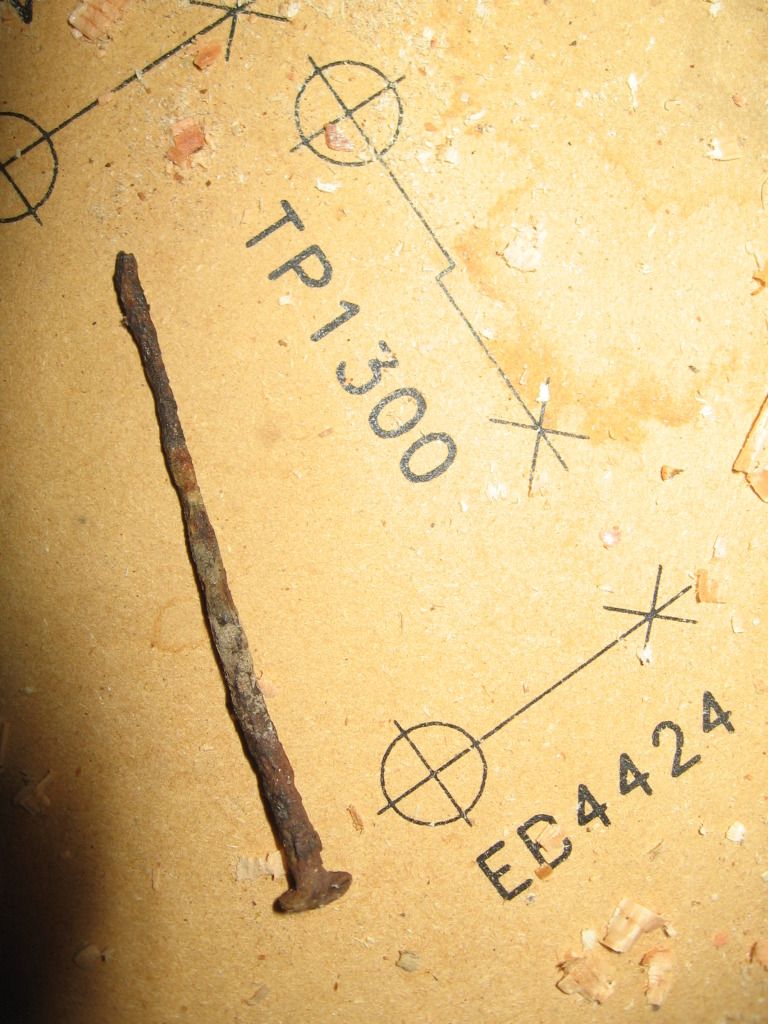 found out why it leaked in this corner No Butyl at all and lots of screws 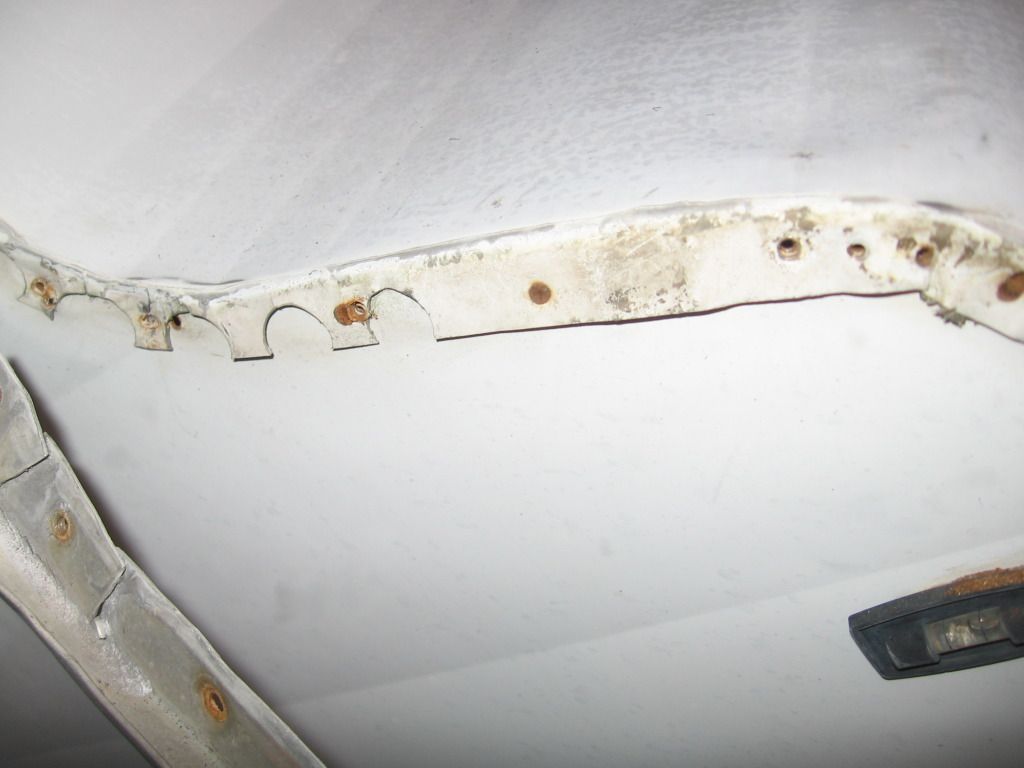 back wall reframed and insulated 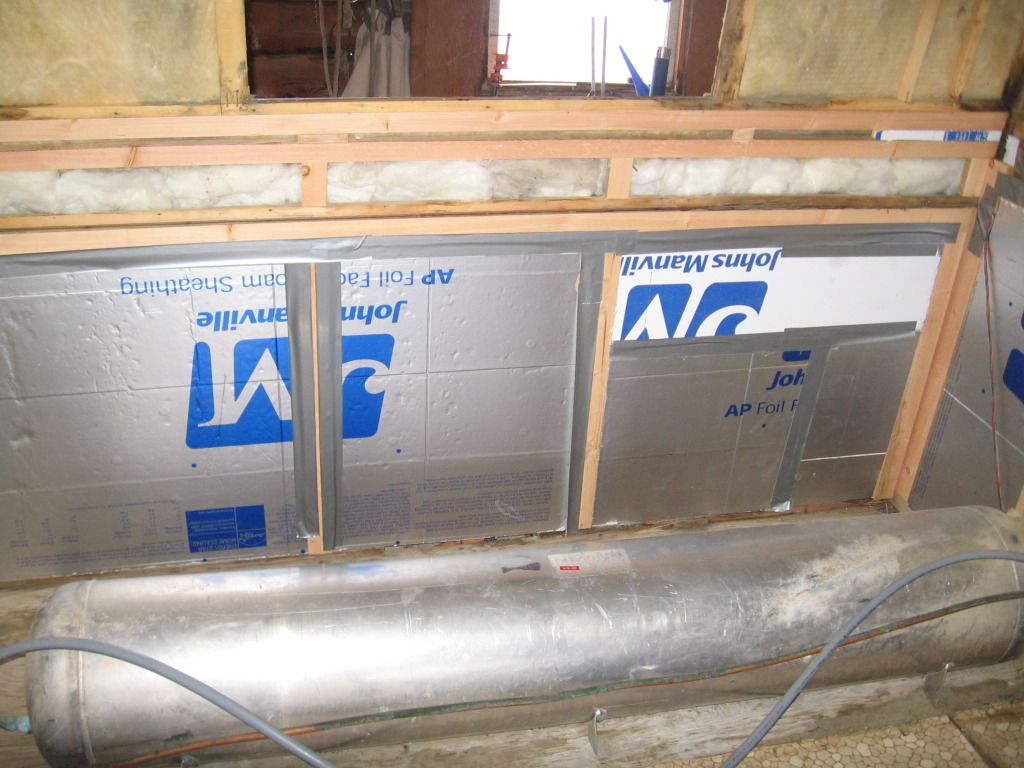 Ceiling reframed 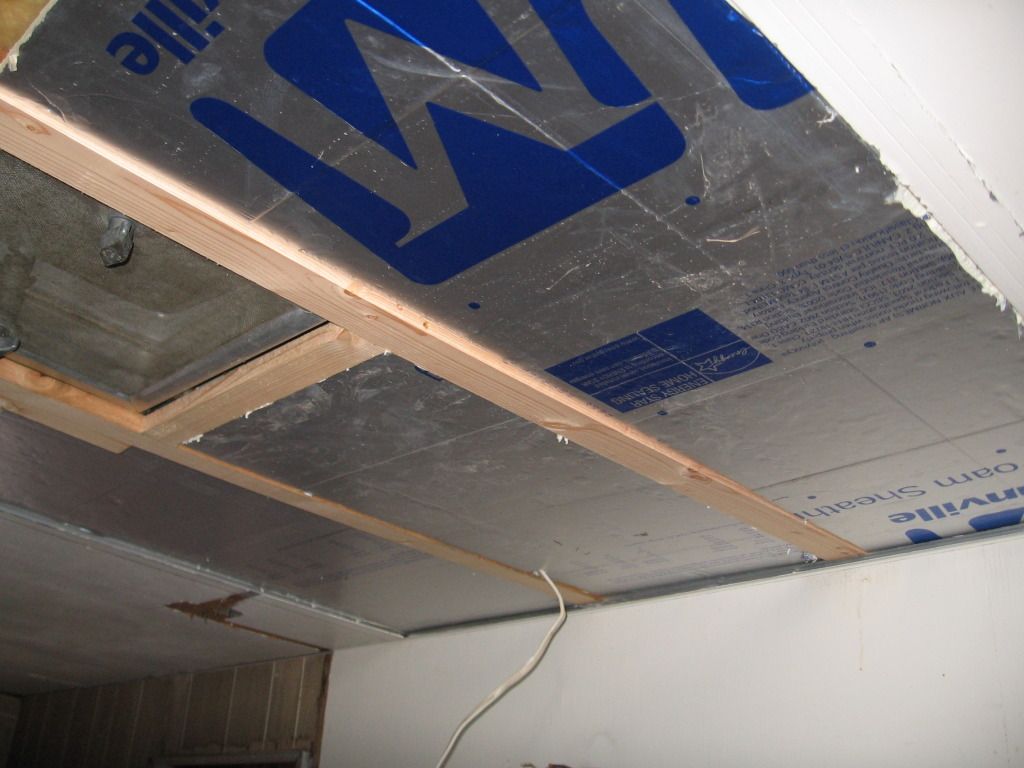 Ok no this one is a little putting the cart before the horse but I couldn't wait. Since this is remodel not a full blown rebuild we decide no the go stock. heres a sign of some of the changes to come. 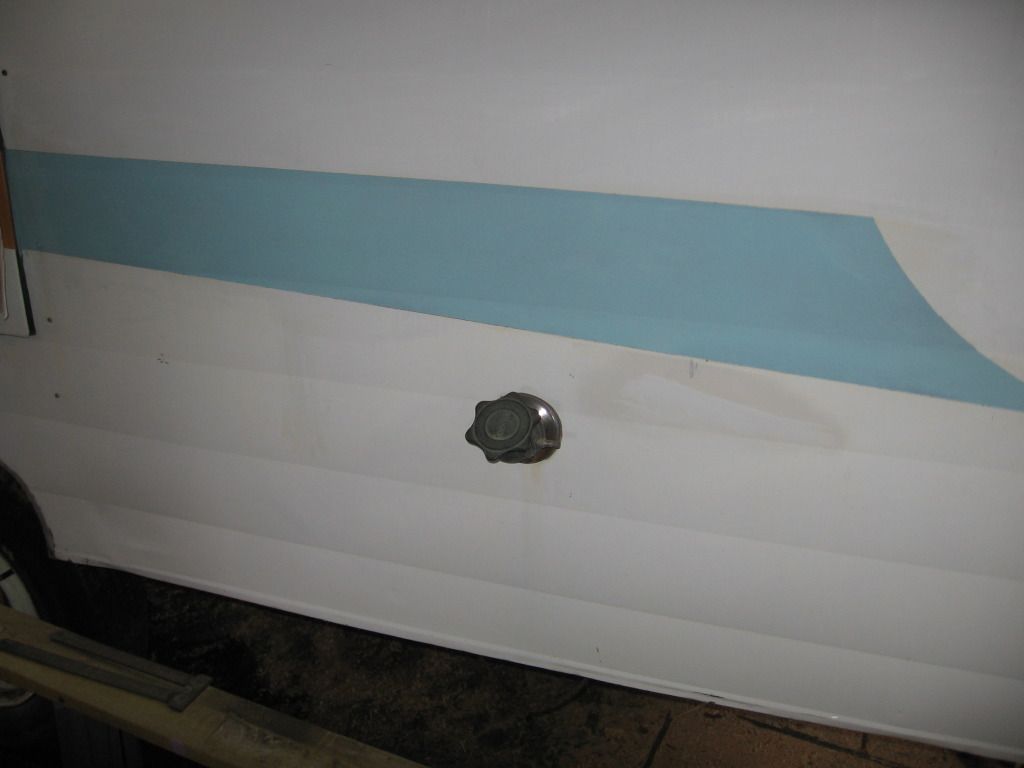 |
|
vikx
3K Post Member
  
Posts: 3,556
|
Post by vikx on Jan 22, 2012 0:59:10 GMT -5
Enjoying your picture story!
|
|
|
|
Post by hntnhrd on Feb 15, 2012 21:12:52 GMT -5
Haven't updated but have been working. started putting things back together this week. Still along way to go but here are a few shots of the progress. new back walls with one coat of Amber Shellac 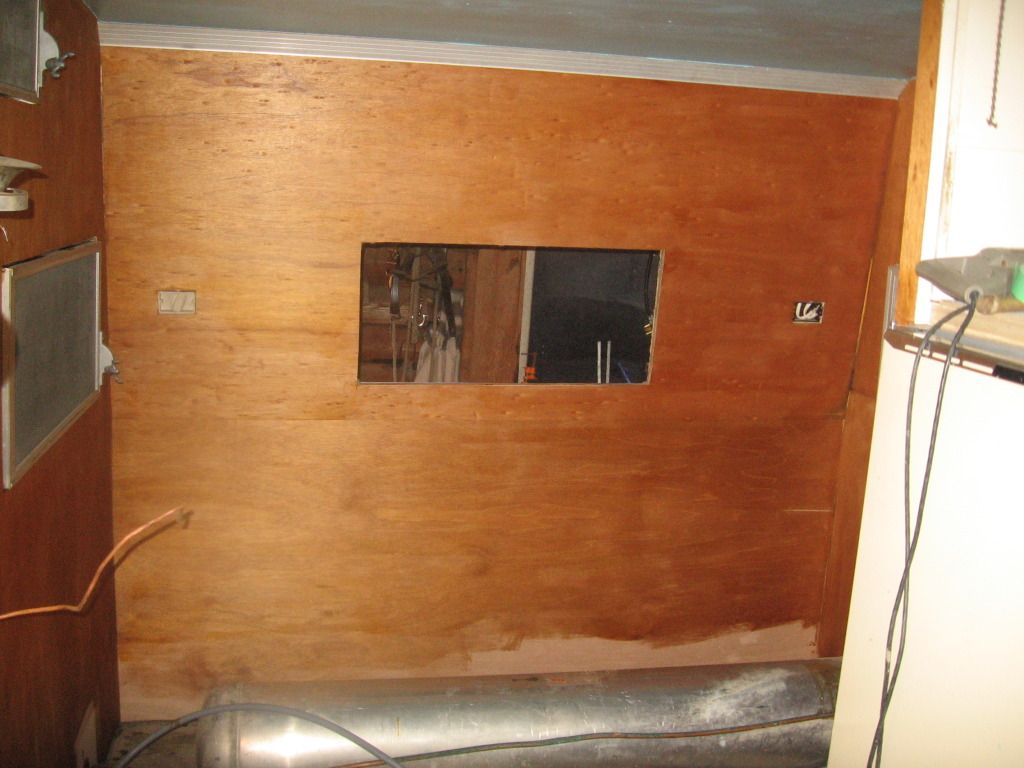 road side wall new paneling. And new paint on ceiling 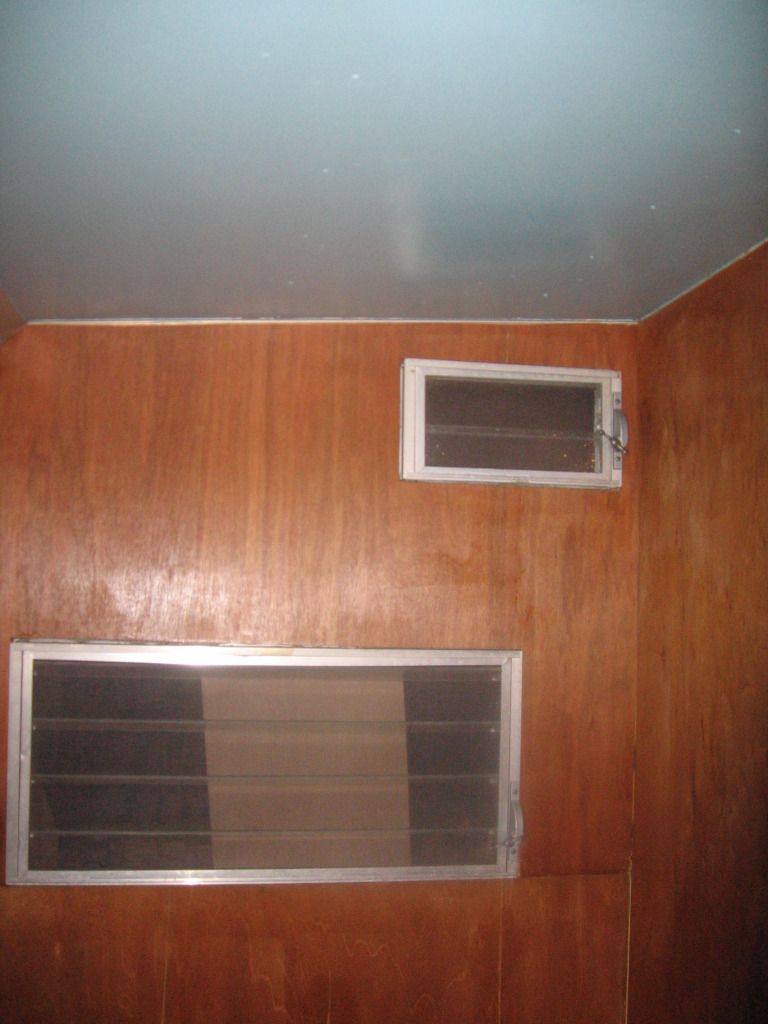 new bathroom wall and door skin. 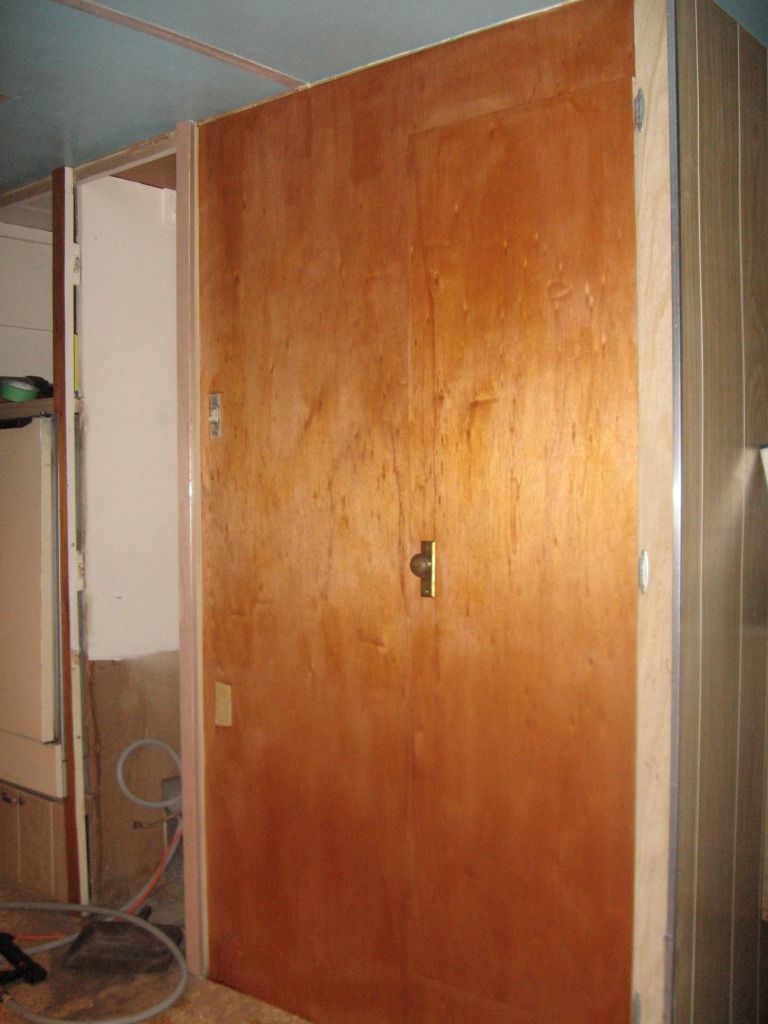 As you can tell we deviated from stock paneling. Decided we are going to keep this for a long time and wanted to redo it to our tastes. Hopefully more progress this weekend. trim the corners install a new outlet and rebuild the back couch/bed. Lots to do Spring is coming. |
|
|
|
Post by hntnhrd on Feb 25, 2012 20:41:58 GMT -5
So I have been plugging away. I cant wait to finally go camping!!!!. About 80% done on the inside but wanted to let you all see where were we are at. Few windows need to be put back in and trim but happy so far. Back couch/bed is back in 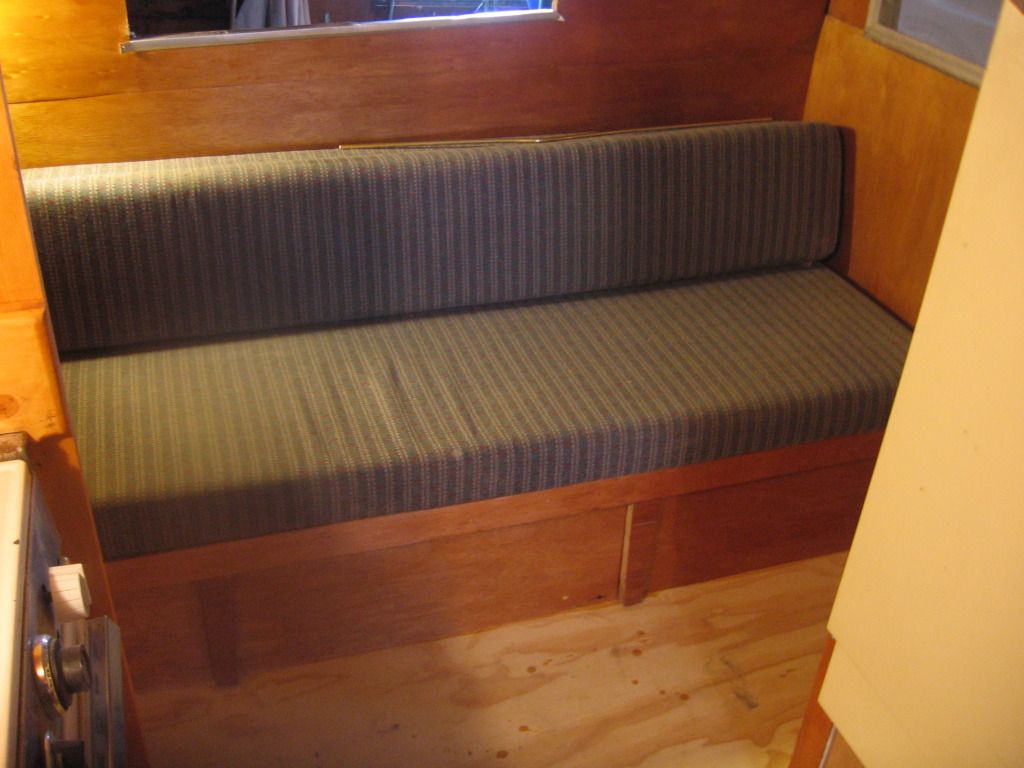 Kitchen is rebuilt. Did it with Douglas Fir as I had the lumber. Actually we cut the logs, and milled the lumber ourselves on a portable sawmill. 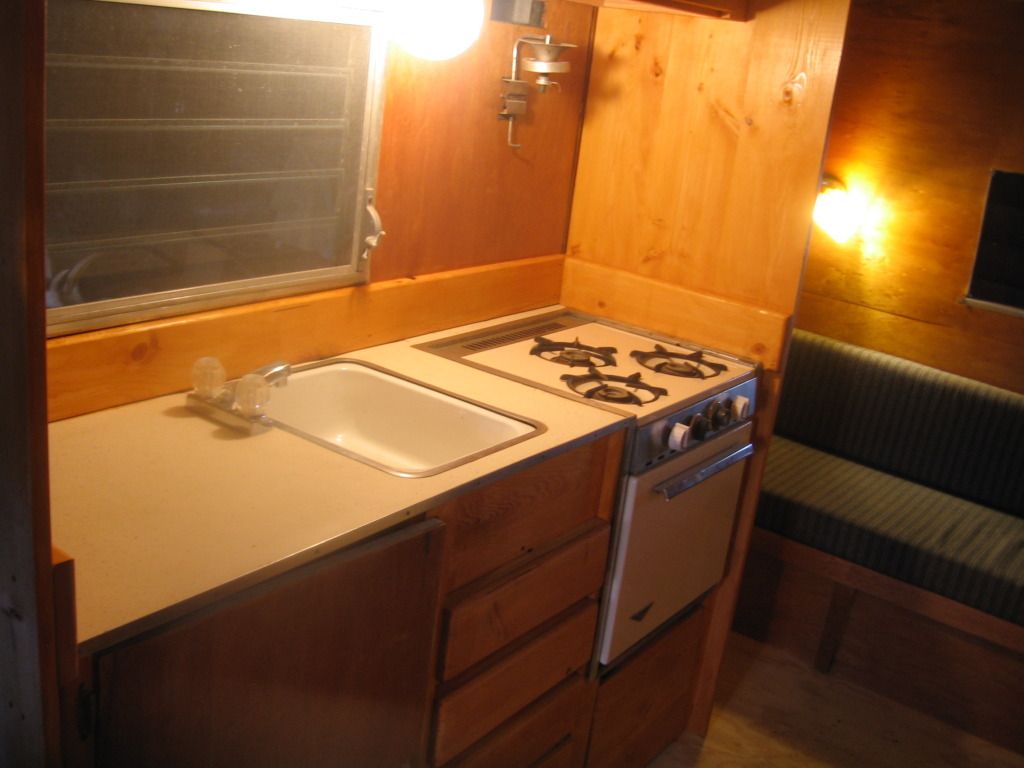 Dinnette is back together. 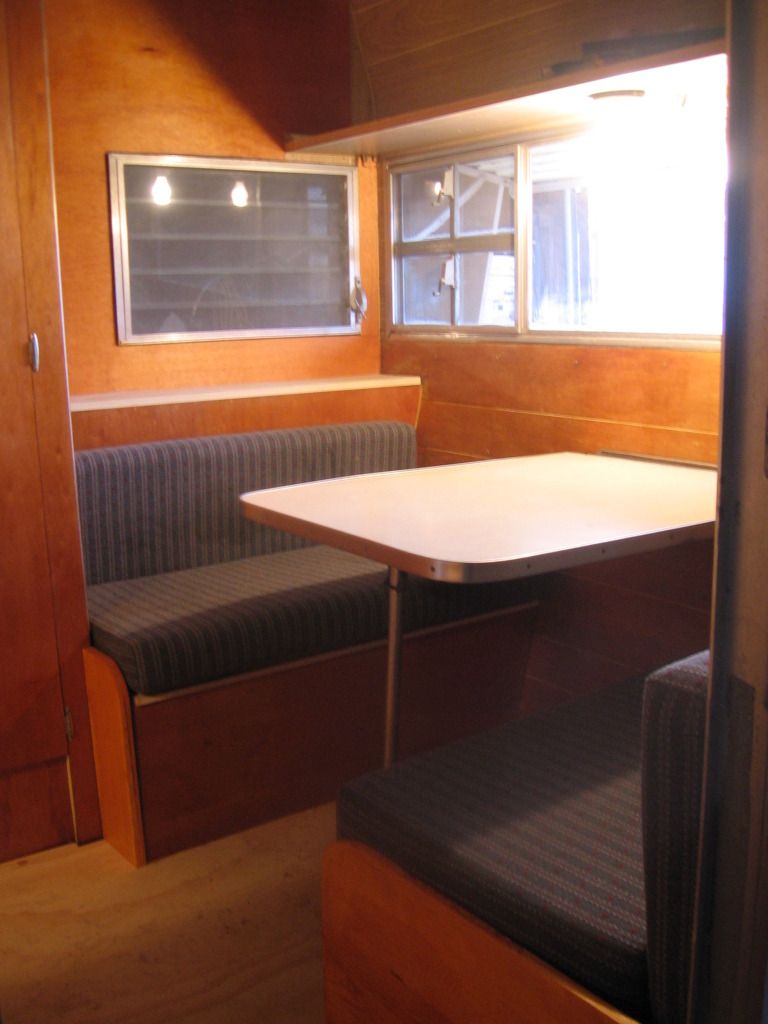 The bathroom wall is back together. Need to frame in where the furnace was but close to done 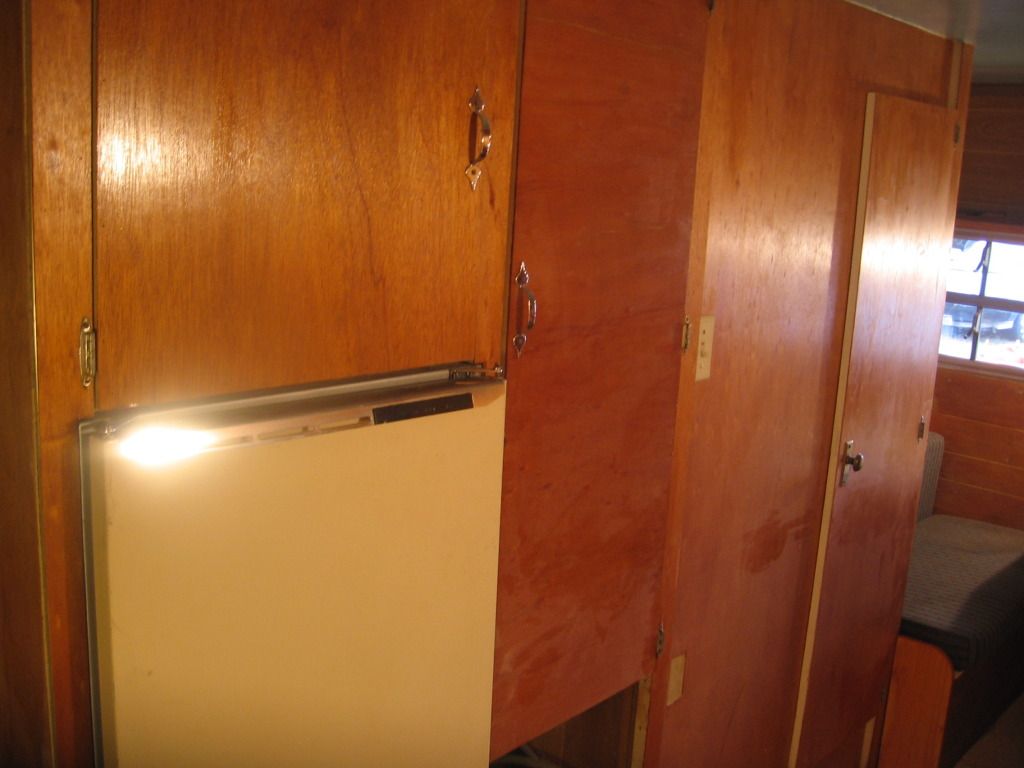 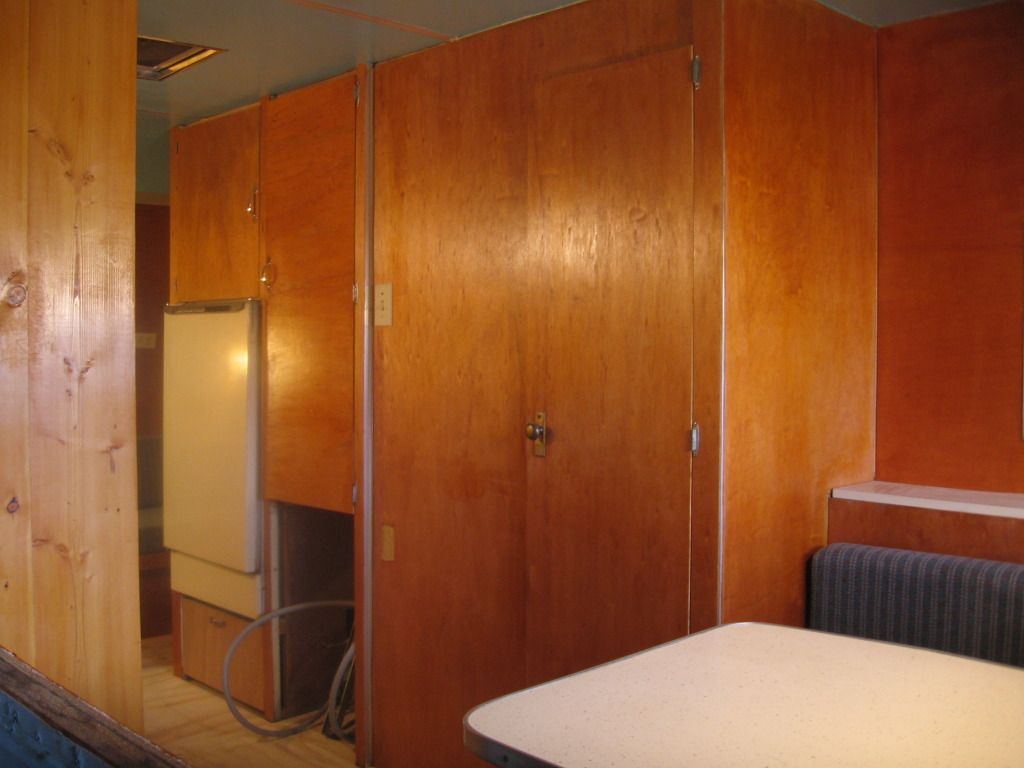 GETTING CLOSER!!!!!! |
|
|
|
Post by dragonfly on Feb 26, 2012 7:08:15 GMT -5
I had to go to the top of the thread to see your start date. Im impressed, in the middle of winter no less. It is so nice that you and your wife work together. Sounds like you haven't killed each other yet ;D
|
|
|
|
Post by thehorsepeople4 on Feb 26, 2012 11:26:40 GMT -5
I am also very impressed. What are you using to get the color and gloss on your new wood paneling?
|
|
|
|
Post by sodashoponwheels on Feb 26, 2012 18:34:49 GMT -5
Wowza! You are really going to town! At this rate, you'll be long done by Memorial Day. It is going to be beautiful. Can't wait to see the finished photos.
And 65callie, I went to your photobucket and I love what you've done. You are one of those rare people who can put together different colors and patterns and make them look effortlessly awesome.
|
|
|
|
Post by 65callie on Feb 26, 2012 19:13:37 GMT -5
Thanks sodashoponwheels! LOL. I just used bed-in-the-bag sets on clearance at Target @ $15 a set (the quilts for cushion slipcovers, the sheets for curtain fabric, the shams for table toppers, and the bags to store stuff in). I also already had lots of vintage stuff and it seemed to come together. I will eventually recover the cushions the "right" way but until then we are loving it. |
|
|
|
Post by hntnhrd on Feb 28, 2012 9:57:00 GMT -5
THP4, we are using Zinserr Amber shellac, One coat of that and then we are going to put on two coats of clear. I sanded lightly after the amber coat and put one coat of clear on. Still need one more coat of clear. I really wanted that old school look that shellac gives. Kind of reminds me of the old cabins I have been in , in northern NH and Maine. Also found if I scratch it, put things back in that a quick dab of the amber covers it right up.
More to follow soon.
|
|
|
|
Post by hntnhrd on May 22, 2013 15:51:09 GMT -5
I have not posted here in awhile. I am getting back to work on our 66 so hopefully some news pics soon
|
|




 . the back door to the storage area was all blown apart and the outside skin was half off. Got that taken off torn apart and almost rebuilt when I thought it was time to reward myself for a good days work


