boandsusan
2K Post Member
  Christmas parade 2012
Posts: 2,000
|
Post by boandsusan on May 29, 2013 20:29:58 GMT -5
|
|
boandsusan
2K Post Member
  Christmas parade 2012
Posts: 2,000
|
Post by boandsusan on May 29, 2013 21:17:26 GMT -5
Pretty sad huh?
|
|
Deleted
Deleted Member
Posts: 0
|
Post by Deleted on May 29, 2013 21:33:08 GMT -5
Wait...
|
|
Deleted
Deleted Member
Posts: 0
|
Post by Deleted on May 29, 2013 21:34:19 GMT -5
Not the recent Florida find eh? Is this one still in the stable awaiting your loving touch?
|
|
Hamlet
2K Post Member
 
Posts: 2,241 
|
Post by Hamlet on May 29, 2013 21:44:49 GMT -5
Or are these the original pictures, and you are going to wow us with the finished ones next?
|
|
Deleted
Deleted Member
Posts: 0
|
Post by Deleted on May 29, 2013 21:59:21 GMT -5
That isn't "Mr. Sam" in disguise is it???
|
|
boandsusan
2K Post Member
  Christmas parade 2012
Posts: 2,000
|
Post by boandsusan on May 29, 2013 23:20:58 GMT -5
No guys to all the above. I`m re-posting the restore/fix of a past project as I had vikx delete the last one due to the pics all been lost. This is the Compact we did with a front dinette and an under the bed AC. Its taking me a while as I`m not familiar with Photobucket  |
|
boandsusan
2K Post Member
  Christmas parade 2012
Posts: 2,000
|
Post by boandsusan on May 29, 2013 23:24:48 GMT -5
Youngest son measuring for a new window before we removed the ugly AC  |
|
boandsusan
2K Post Member
  Christmas parade 2012
Posts: 2,000
|
Post by boandsusan on May 29, 2013 23:29:01 GMT -5
Bo removing 2 screws that were giving me a fit. 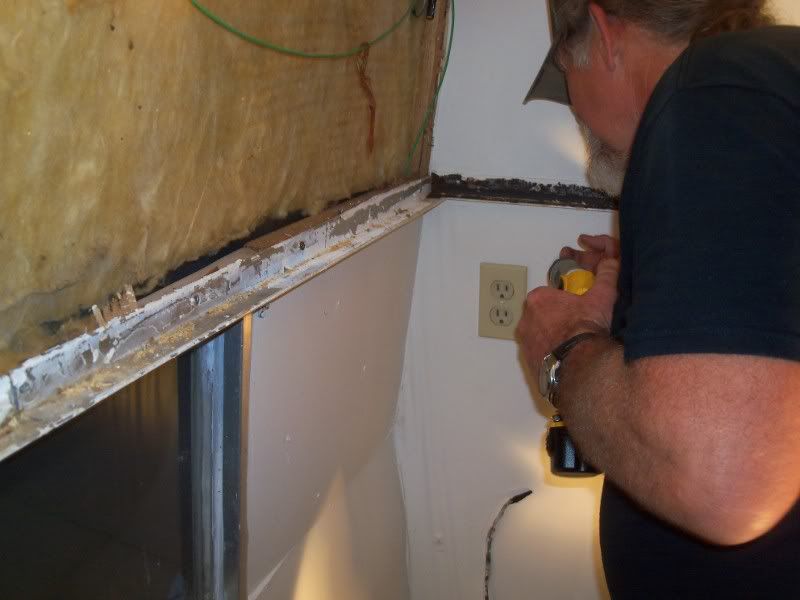 |
|
boandsusan
2K Post Member
  Christmas parade 2012
Posts: 2,000
|
Post by boandsusan on May 29, 2013 23:31:09 GMT -5
Rear window had been leaking for years, so a po had covered the existing paneling with a sheet of treated plywood. 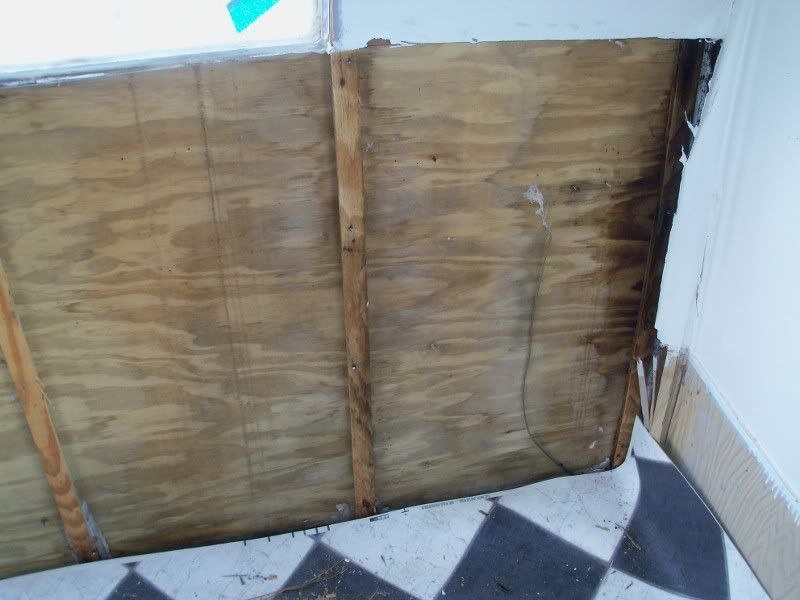 |
|
boandsusan
2K Post Member
  Christmas parade 2012
Posts: 2,000
|
Post by boandsusan on May 29, 2013 23:35:34 GMT -5
We found this metal strap and understand that other members have come across them in their trailers too. Its above the rear window and have no idea what use it was as it was attached at the bottom but not the top? 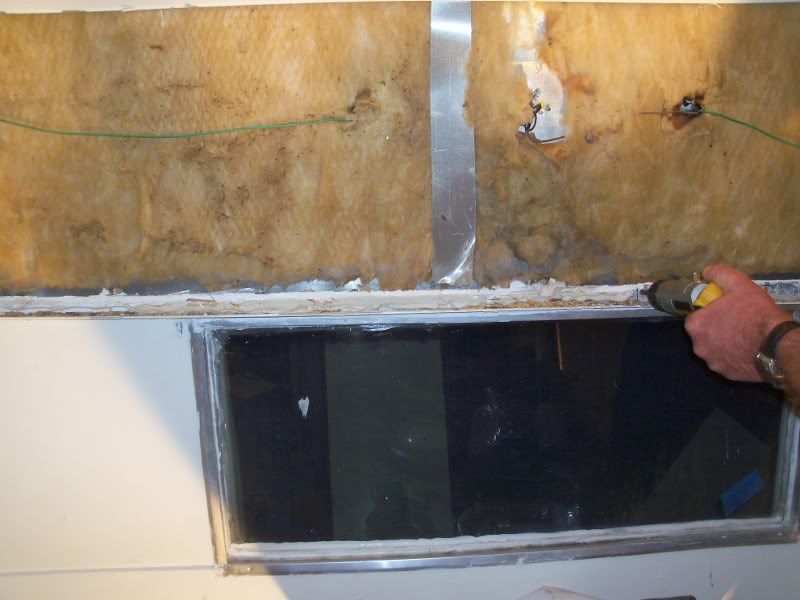 |
|
boandsusan
2K Post Member
  Christmas parade 2012
Posts: 2,000
|
Post by boandsusan on May 29, 2013 23:39:48 GMT -5
|
|
boandsusan
2K Post Member
  Christmas parade 2012
Posts: 2,000
|
Post by boandsusan on May 29, 2013 23:43:48 GMT -5
|
|
boandsusan
2K Post Member
  Christmas parade 2012
Posts: 2,000
|
Post by boandsusan on May 29, 2013 23:53:01 GMT -5
Also found a surprising amount of clean dry insulation but we pulled it all anyway.  |
|
boandsusan
2K Post Member
  Christmas parade 2012
Posts: 2,000
|
Post by boandsusan on May 29, 2013 23:59:33 GMT -5
|
|
boandsusan
2K Post Member
  Christmas parade 2012
Posts: 2,000
|
Post by boandsusan on May 30, 2013 0:02:57 GMT -5
And more rot... 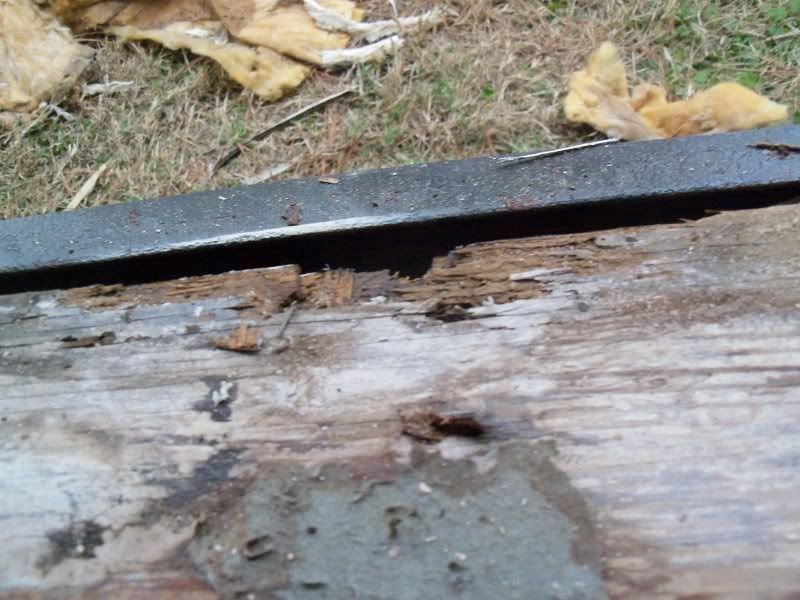 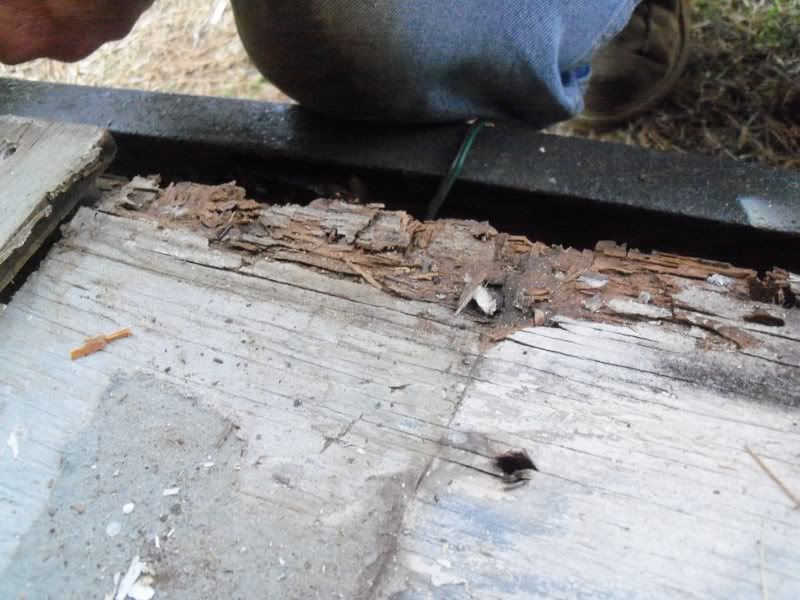 |
|
boandsusan
2K Post Member
  Christmas parade 2012
Posts: 2,000
|
Post by boandsusan on May 30, 2013 0:04:17 GMT -5
Sooo, the last 2 feet of the floor was removed. 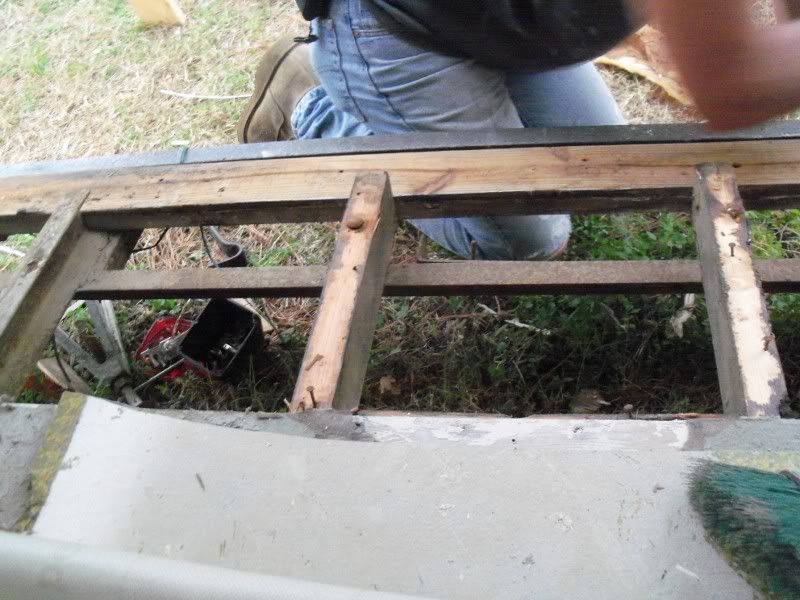 |
|
boandsusan
2K Post Member
  Christmas parade 2012
Posts: 2,000
|
Post by boandsusan on May 30, 2013 0:10:30 GMT -5
|
|
boandsusan
2K Post Member
  Christmas parade 2012
Posts: 2,000
|
Post by boandsusan on May 30, 2013 0:16:04 GMT -5
|
|
boandsusan
2K Post Member
  Christmas parade 2012
Posts: 2,000
|
Post by boandsusan on May 30, 2013 0:19:57 GMT -5
New wiring and all new insulation went in walls and ceiling. 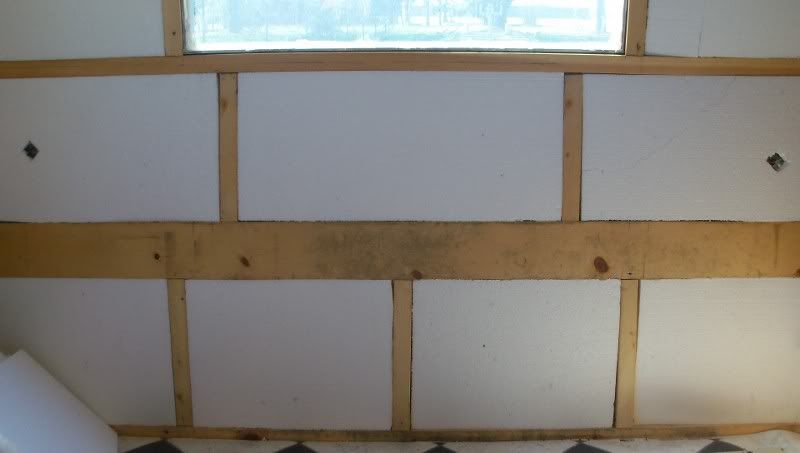 |
|
boandsusan
2K Post Member
  Christmas parade 2012
Posts: 2,000
|
Post by boandsusan on May 30, 2013 0:27:29 GMT -5
I figured 13 sheets of 1/4 inch Birch for the interior (including wardrobe, benches and new kitchen facinc etc). I shellacked on a plastic covered pool table inside the house as I wanted it to dry in the AC  . This is, one sheet raw, 1 sheet with one coat and one sheet with 3 coats Sanded lightly with sand paper between each coat. We decided on 3 coats but had the interior been larger, we would go with 4-5 coats of amber shellac. 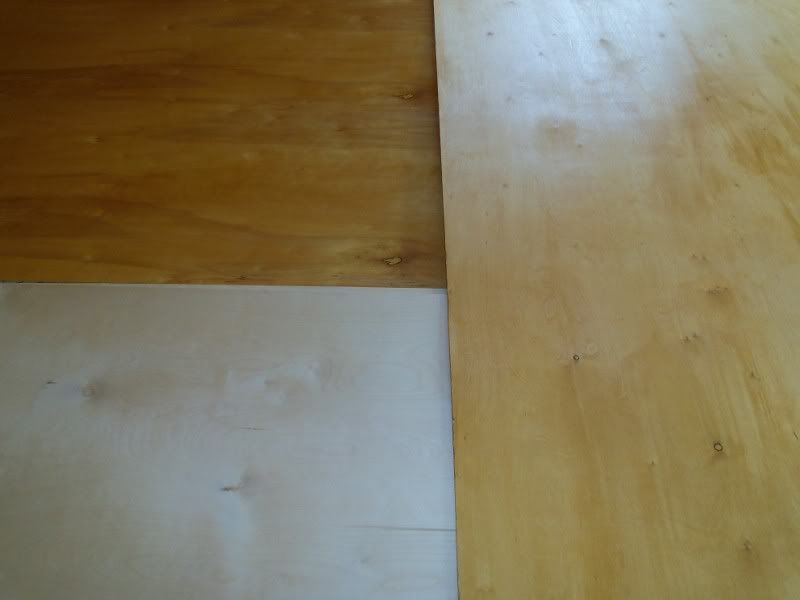 |
|
boandsusan
2K Post Member
  Christmas parade 2012
Posts: 2,000
|
Post by boandsusan on May 30, 2013 0:30:37 GMT -5
It took about a week for me to shellac and install all the birch. It was my favorite part of this project. 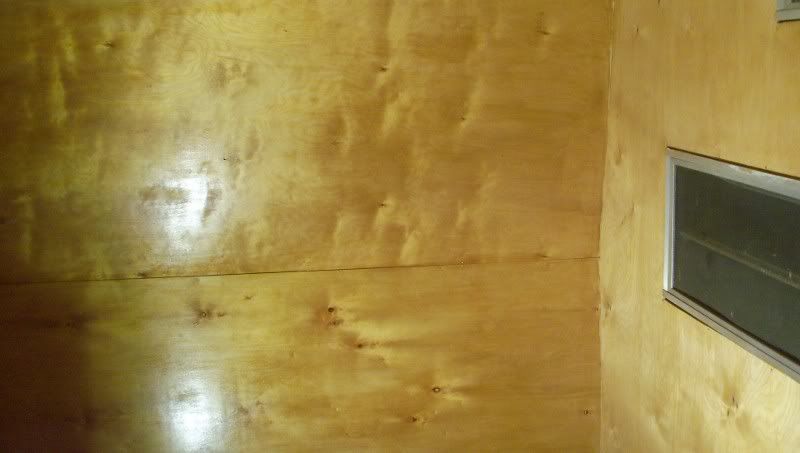 |
|
boandsusan
2K Post Member
  Christmas parade 2012
Posts: 2,000
|
Post by boandsusan on May 30, 2013 0:32:24 GMT -5
I hadn`t cut out the back window yet in the above picture.
|
|
boandsusan
2K Post Member
  Christmas parade 2012
Posts: 2,000
|
Post by boandsusan on May 30, 2013 0:38:30 GMT -5
I used flat screen trim where the sheets butted up across the ceiling. 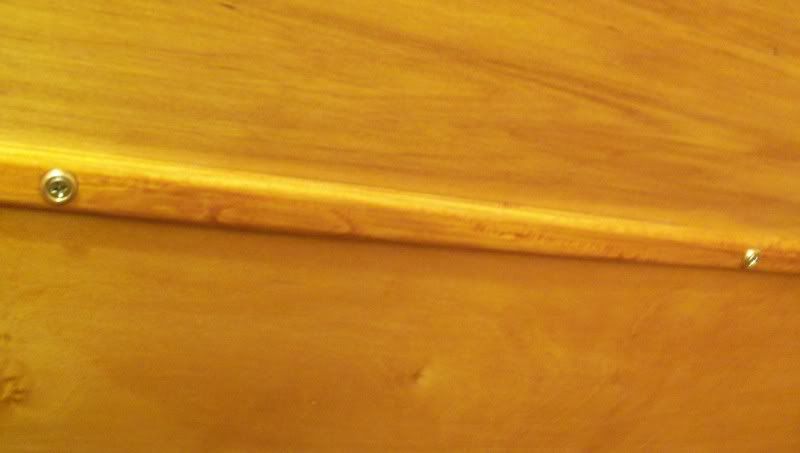 |
|
boandsusan
2K Post Member
  Christmas parade 2012
Posts: 2,000
|
Post by boandsusan on May 30, 2013 0:40:05 GMT -5
Close up of the trim screws that I chose to use. 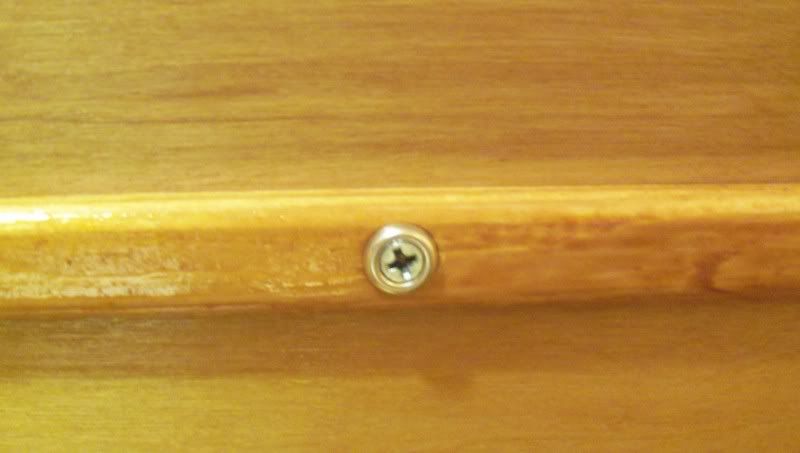 |
|
boandsusan
2K Post Member
  Christmas parade 2012
Posts: 2,000
|
Post by boandsusan on May 30, 2013 0:42:51 GMT -5
I used 1/4 round (wood) on the corner seams. A 20 degree cut on the Horizontal flat trim where it butts upto the 1/4 round. 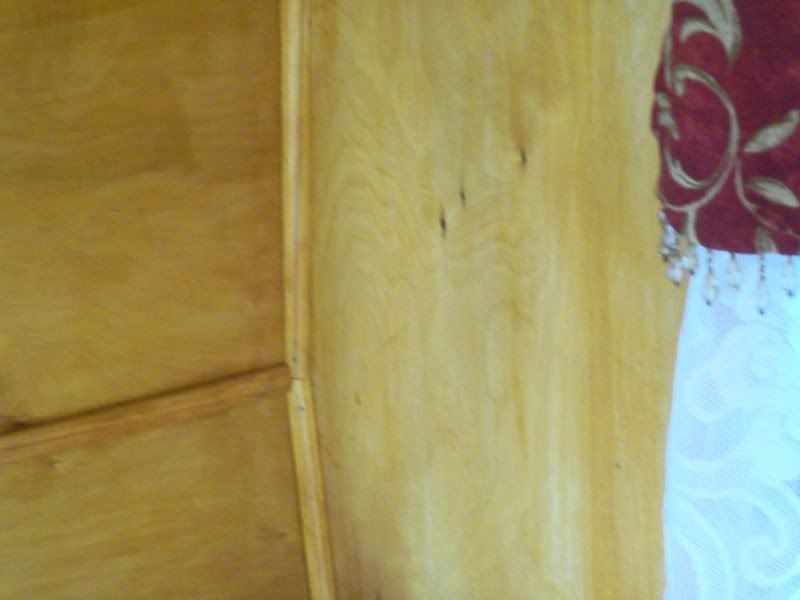 |
|
boandsusan
2K Post Member
  Christmas parade 2012
Posts: 2,000
|
Post by boandsusan on May 30, 2013 0:44:51 GMT -5
We decided on the wavy overhead cabinet up front. 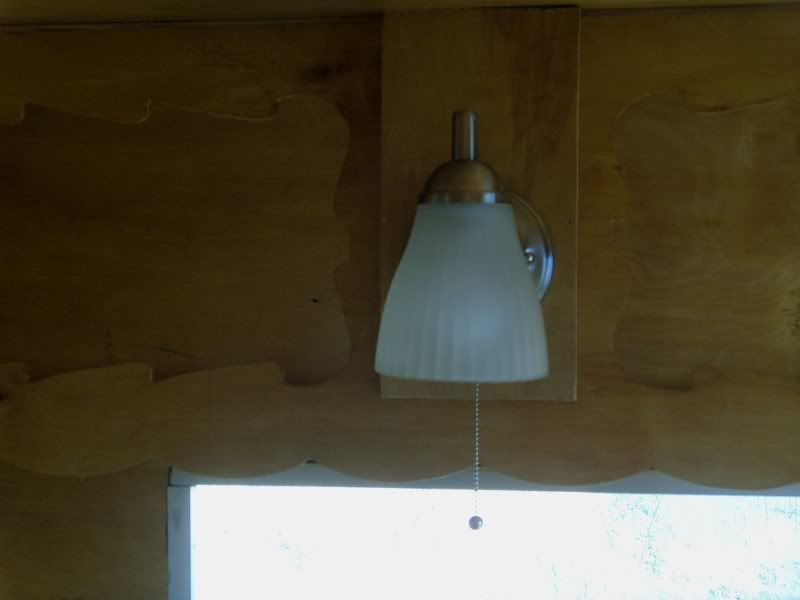 |
|
boandsusan
2K Post Member
  Christmas parade 2012
Posts: 2,000
|
Post by boandsusan on May 30, 2013 0:47:35 GMT -5
At this point Bo finished up the wiring for me:) 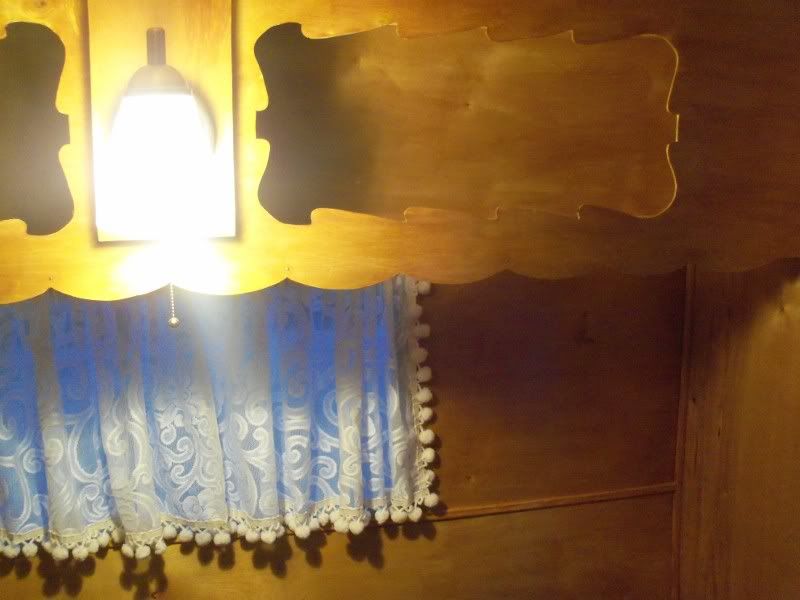 |
|
boandsusan
2K Post Member
  Christmas parade 2012
Posts: 2,000
|
Post by boandsusan on May 30, 2013 0:51:01 GMT -5
Next was the 3/4 bed and new kitchen framing. 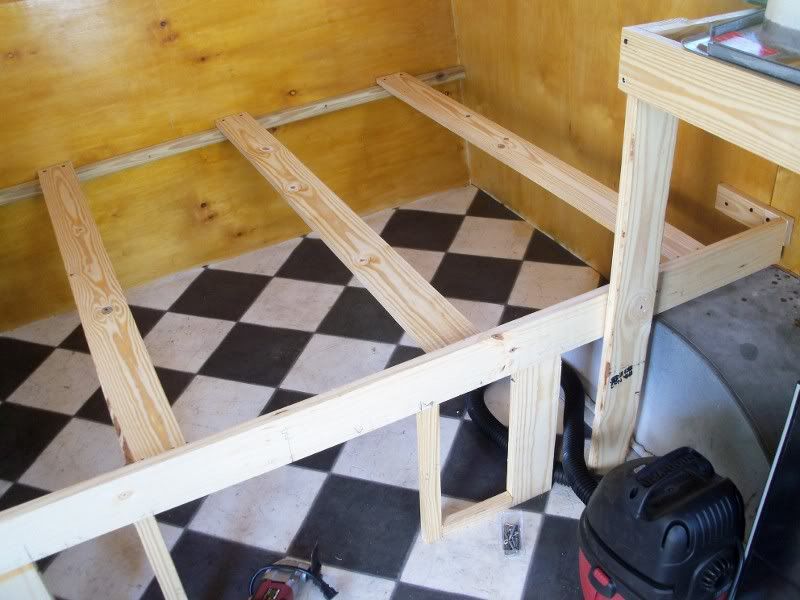 |
|
boandsusan
2K Post Member
  Christmas parade 2012
Posts: 2,000
|
Post by boandsusan on May 30, 2013 0:58:49 GMT -5
The weather was starting to warm up at this point so we decided to get the AC installed. We started by running the ac on a stand and determining where the water built up on the base. We had to remove the top and sides of the unit to do this. Once we found the lowest point in the floor of the AC, Bo drilled a 3/4 inch hole for the water to drain. Then we placed the AC in place and marked the trailer floor, where the drain hole needed to be. We drilled a hole through the camper floor for the drain tube. 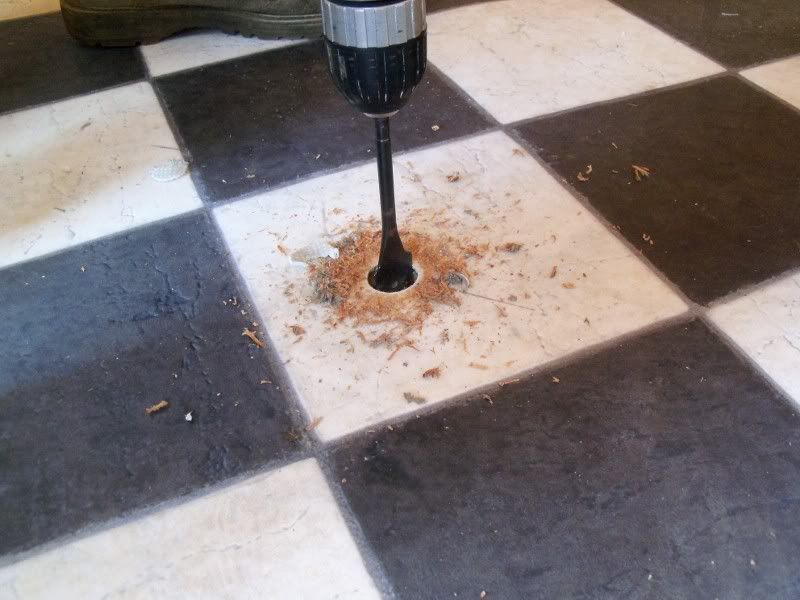 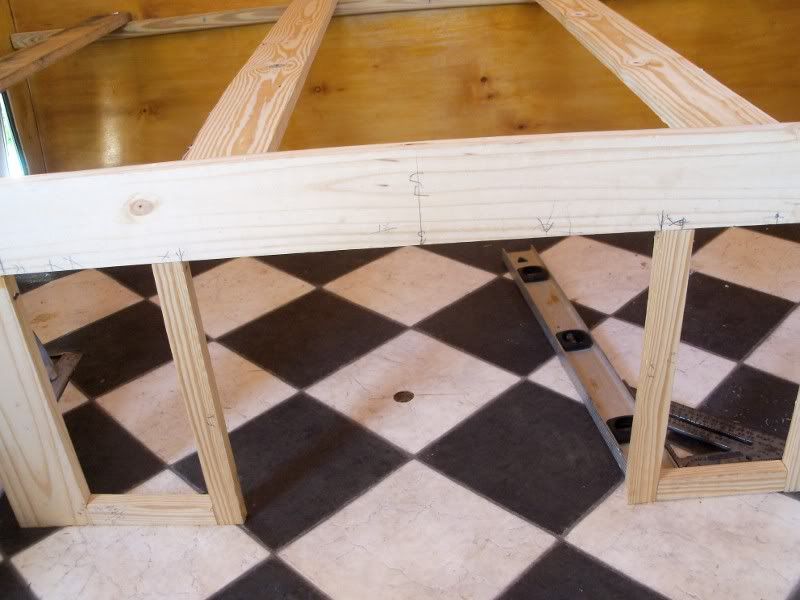 |
|